Google Web Master
If you found this article over here , you might be looking for google webmaster tools to improve your website. There are approximately 1 billion website out there on the internet .In order to get your site visible . There are some essential tools you should have as a Web Master.
Google Web Master
Google Web Master is a resource centre for webmaster to monitor crawling and indexing queries by Google Bot.Using Google Web Master ,you will be able to investigate your traffic , and causes which can hinder your site from getting more visitor.
Step 1
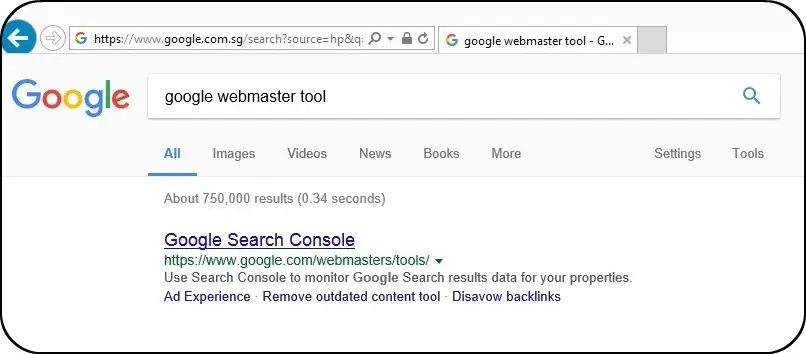
Sign Up For Google Web Master Account
If you don’t have a google account , sign up one.
Step 2
Sign Up and Sign In
After you have sign up a google account Click here Google Webmaster
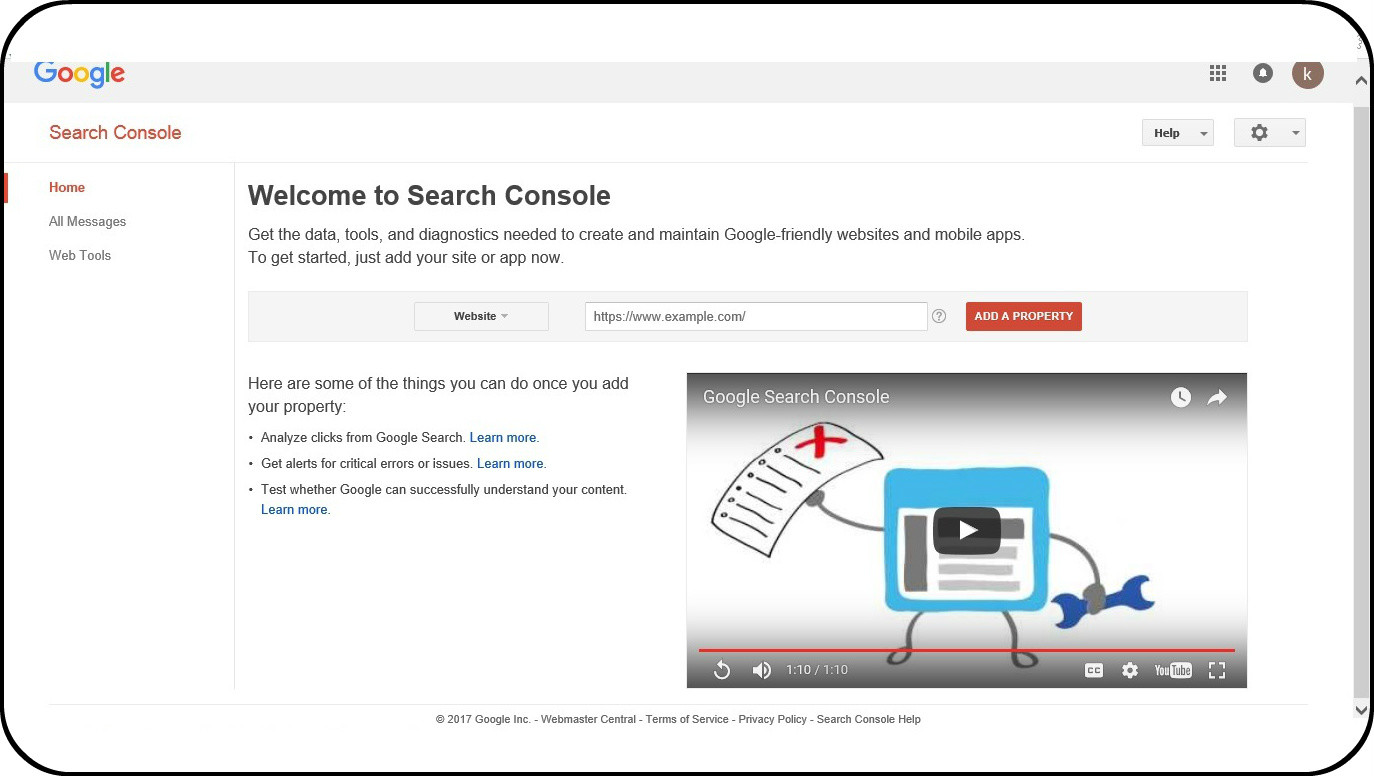
Input your website domain name.
Step 3
Select a method to verified your website
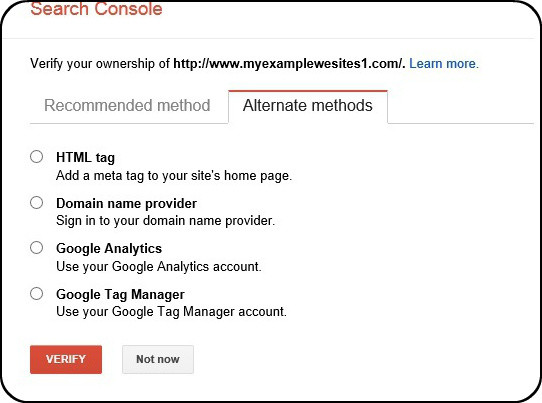
There are a few methods provided to you :
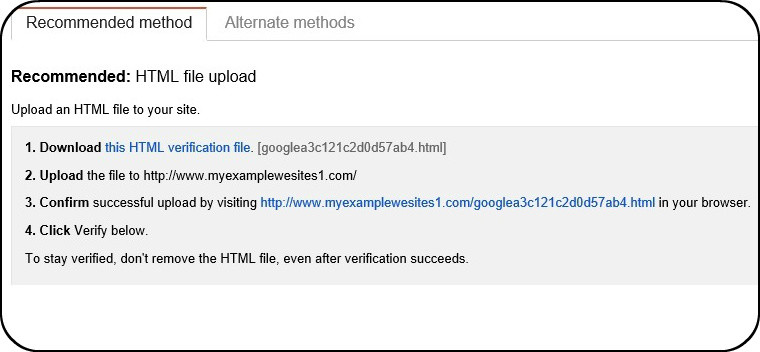
- Upload HTML File To your Side , in this article i will show how to do that.
- Alternate method using HTML Tag , Domain Name Provider , Google Analytic , Google Tag Manager
Step 4
In this Article I will Select the Recommended Method HTML File Upload
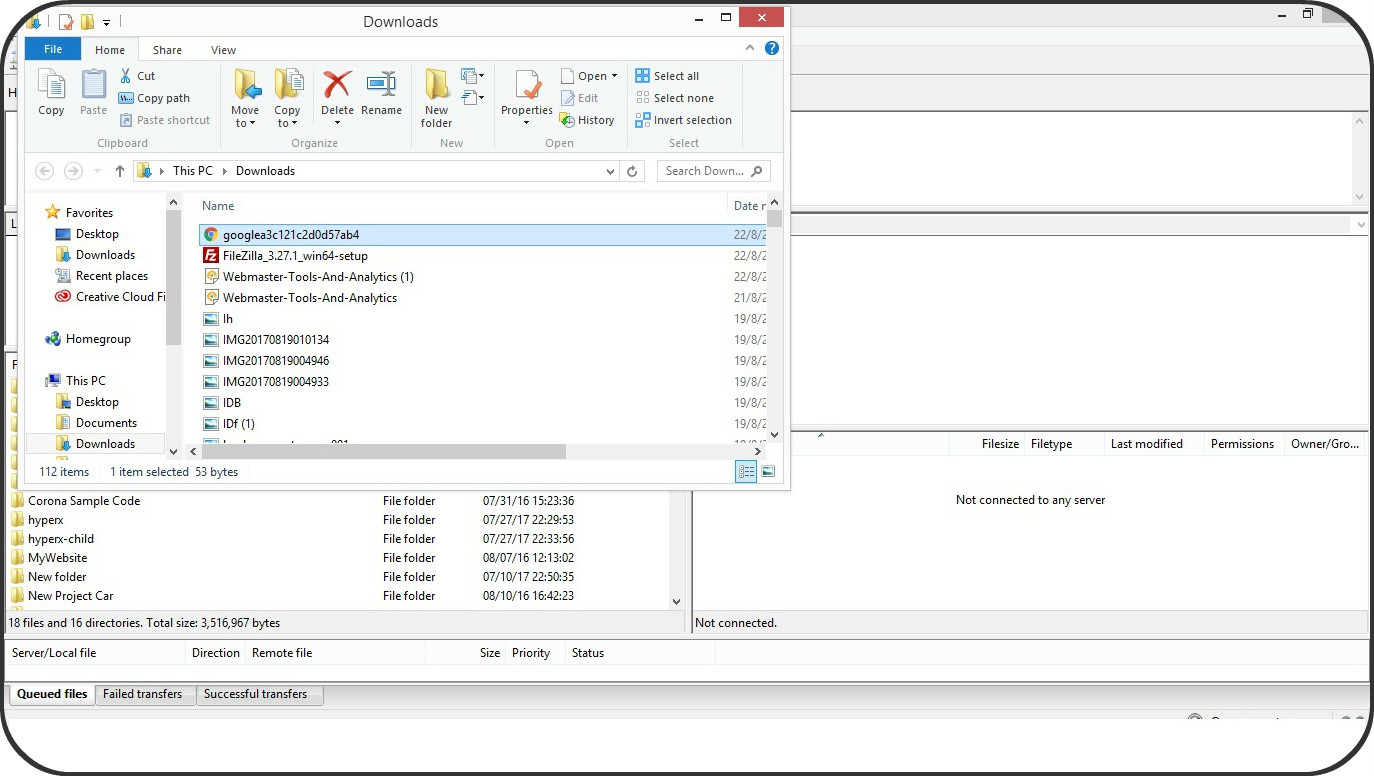
Click the link and download the verification file , fire up Filezilla and start uploading the File you have Dowloaded
If you don’t have FileZilla Click Here
Step 5
Log in FTP (Filezilla)
Login FTP with your web hosting username ,Password and press Quick Connect.

Step 6
Upload the HTML File
Upload HTML file that you have downloaded, to Root directory.
Browse the file you downloaded and drag it into the root directory.

Step 7
Confirm the Link
After uploading, navigate back to google webmaster and click the link to confirm that you have successfully uploaded the File

Step 7
Get Verified
Navigate back to Google Webmaster page , click the red button and get verified.
Congratulation you are done now.
How to use Google Web Master
What does Google Web Master Tool do?
- To view How google indexing your site.
- Show how your site appears in search results.
- Problem which prevent google from indexing your site.
- Investigate how well your website rank.
Google Webmaster Dash Board
Exploring Google web master dash board.
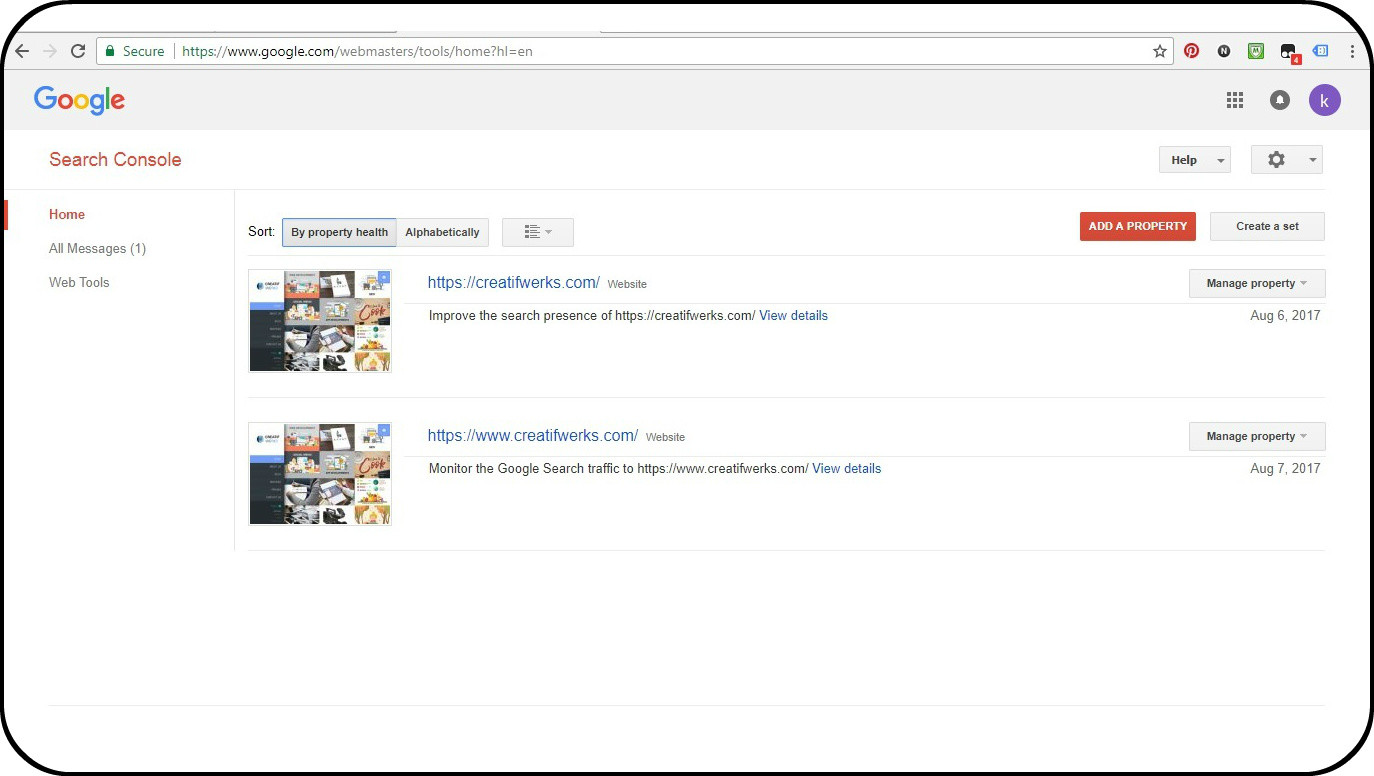
As you can see the picture below i have added 2 different website extension . The first one is www.creatifwerks.com the other is creatifwerks.com .
I strongly advice you to do that , so when the user searching with a different extension , google can display your site search.
In this Article we will look into each single details one by one , and learn how to use all those basic function.
Step 1
Click on the Website property you have added
Click on the website property , go into the website control to explore all the features.
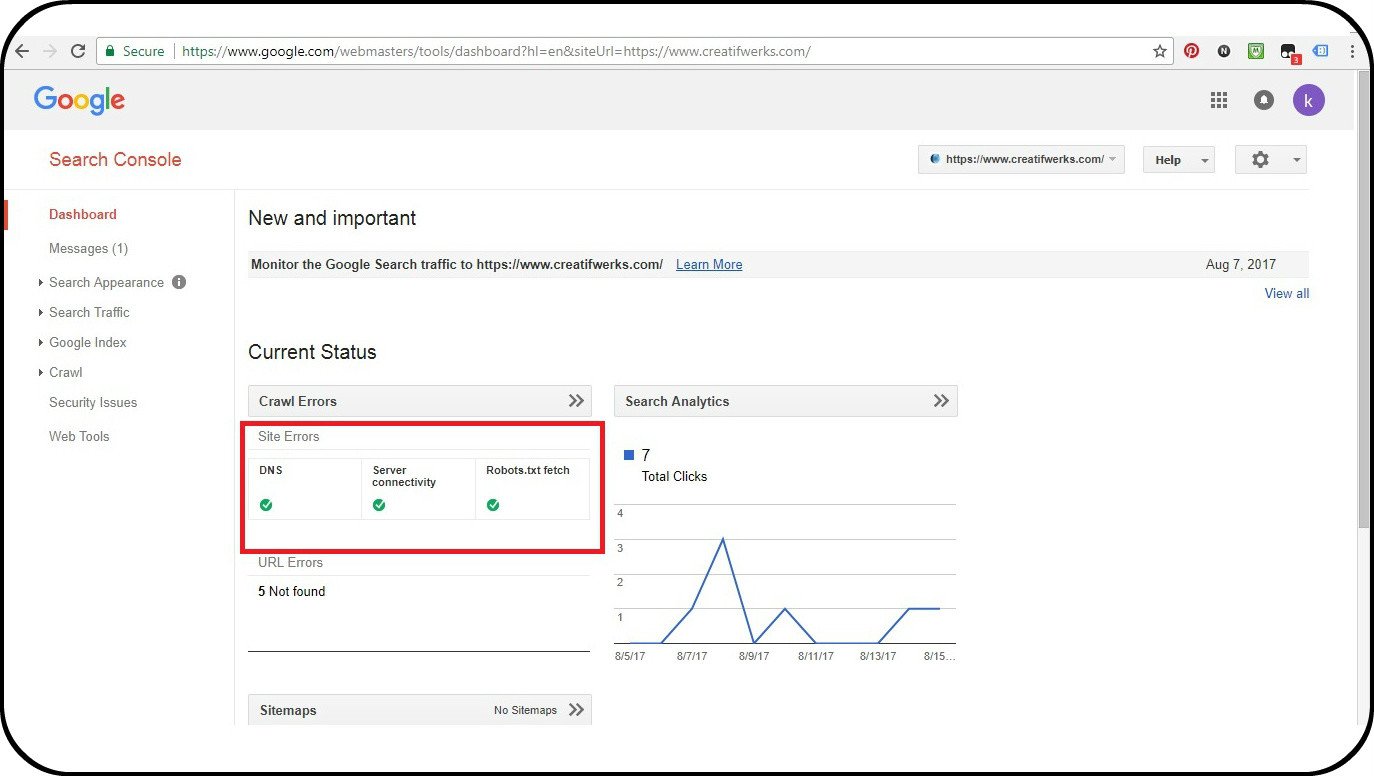
For a healthy Website ,”DNS”, “Server Connectivity”, “Robot.txt” should be green.
Step 2
Check out the Crawl Tab
Crawl Errors
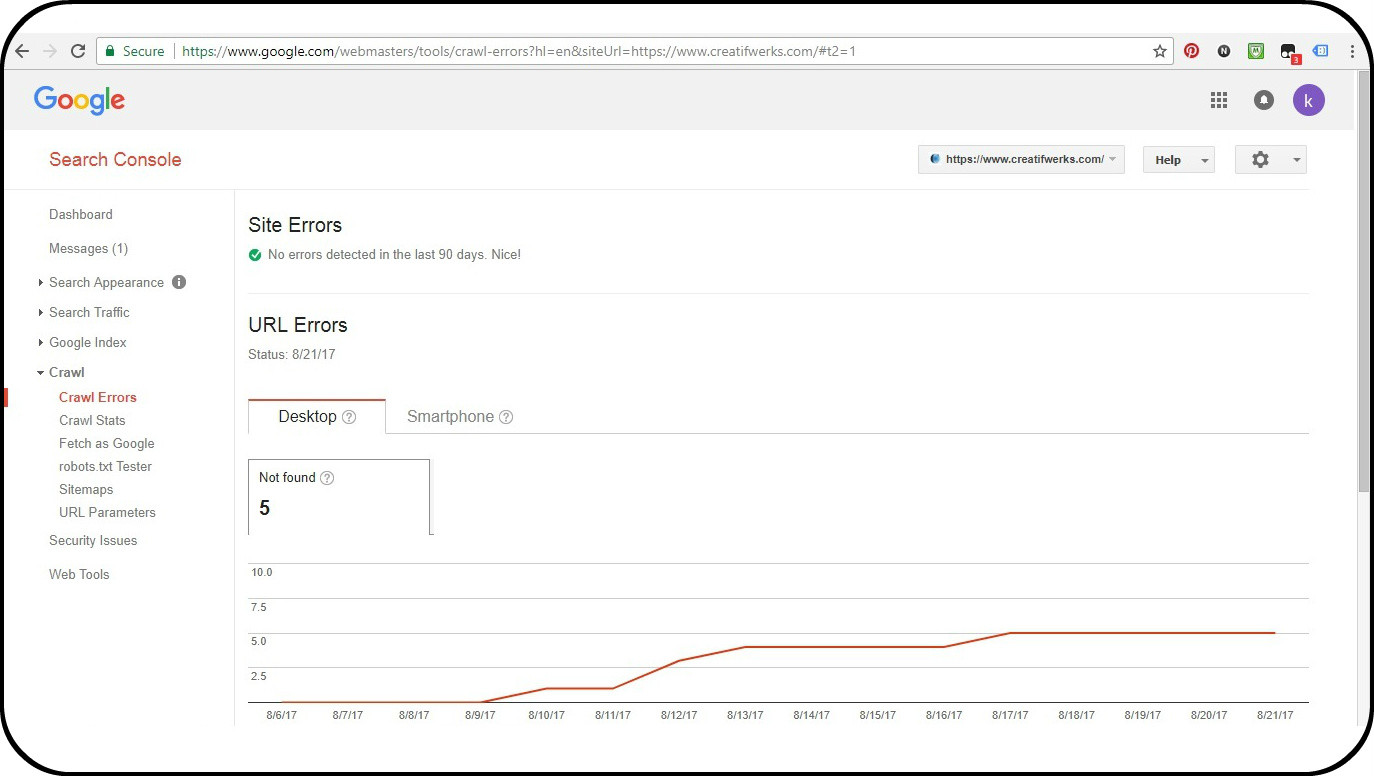
Crawl Errors are divided into Site Errors and URL Errors,
Site Errors– Cause by Google bot can’t crawl your site. Check with your web host for any problem with their server which prevent google from crawling.
URL Errors – When google is trying to crawl a specific page on a desktop or Mobile phone, some errors prevent it to do so.
Find Out More Click Here
Crawl Stats
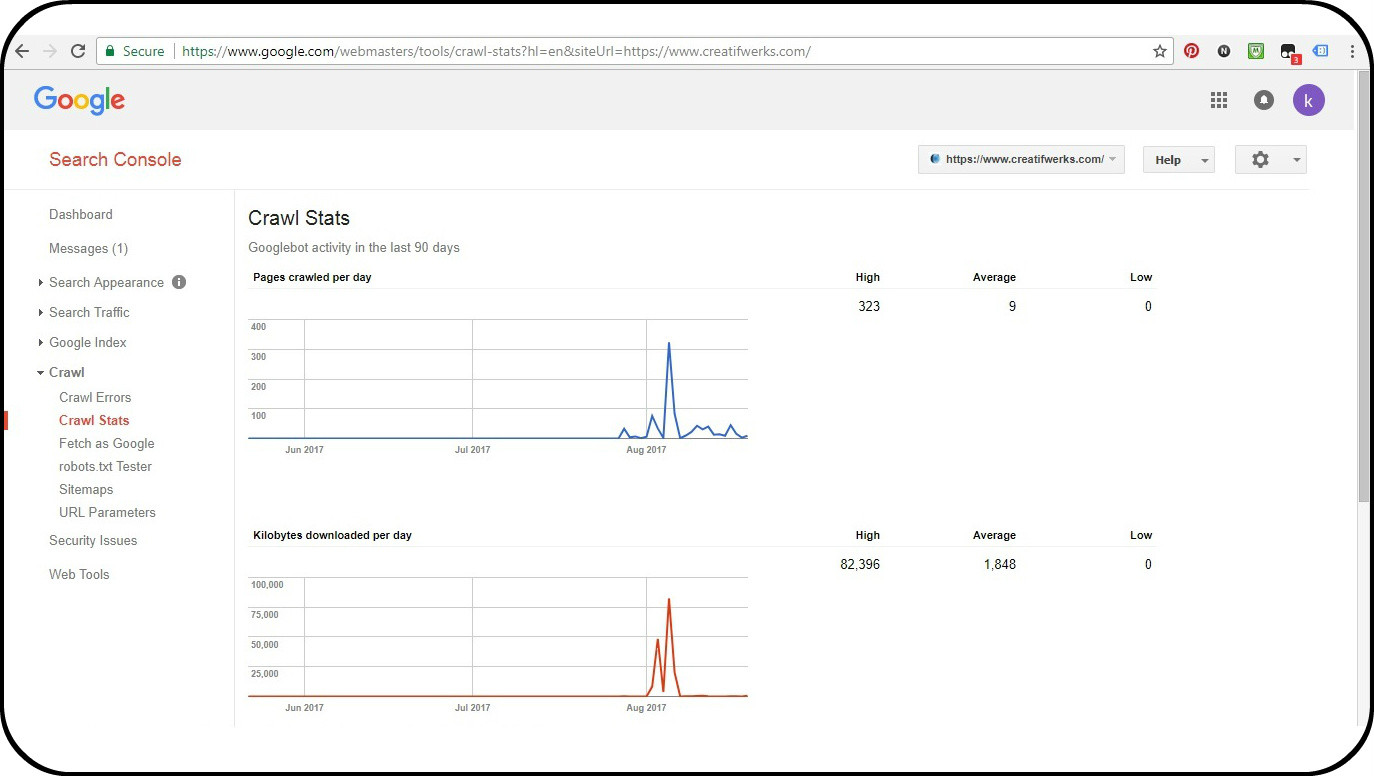
This Section show you how often google crawl your sites.
The more often you update your site , the more frequent Google will visit .
Fetch as Google
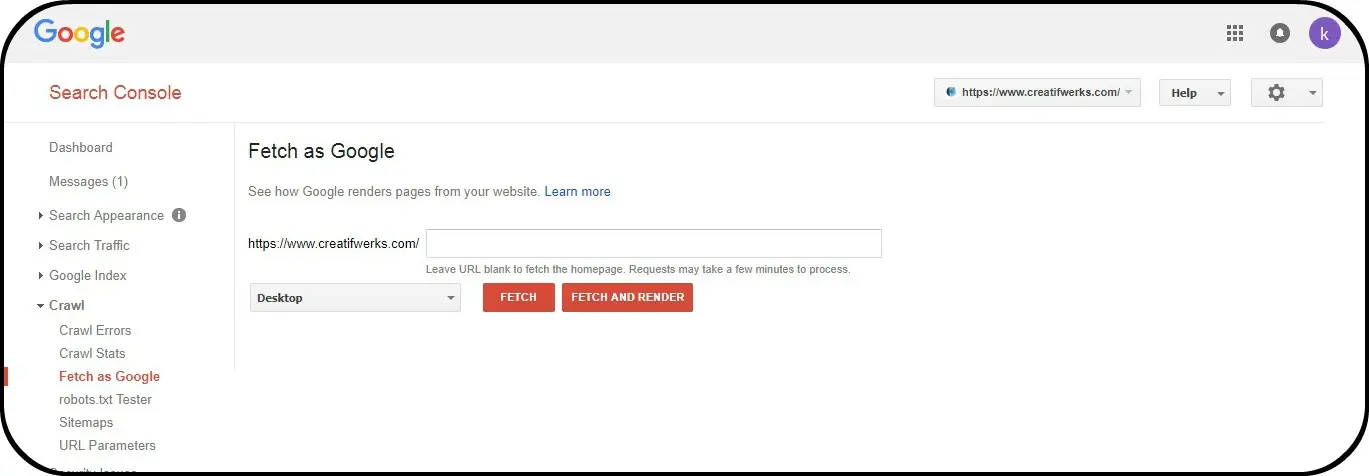
This is the section , instruct Google Bot to Crawl a specific section of your Site or the Entire Page of your Site.
So when ever you have updated or launch a new page and it does not on google. You should go to here.
You can fetch the Specific Page where you want google Bot to crawl.
SiteMaps
Submit a XML -site map, to instruct google Bot on how to crawl or index your Website.
There are several ways.
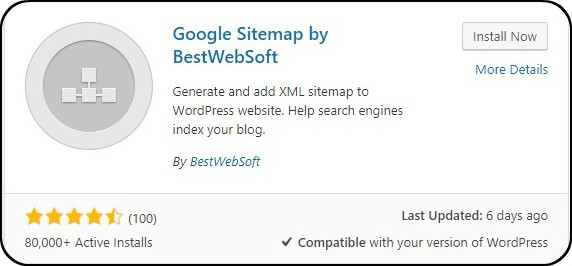
- Install a Plugin in WordPress . Go to Plugin –> Add New –> Seacrh Google SiteMap
2.You can create free online using this website Click Here
If you already generated a site map from using the above tools, is time to test and submit it.
Navigate back to Google Web Master tool test it and then Submit.


So after you have test your Site Map with no errors, submit it.
Step 3
Check out Google Index
Index Status
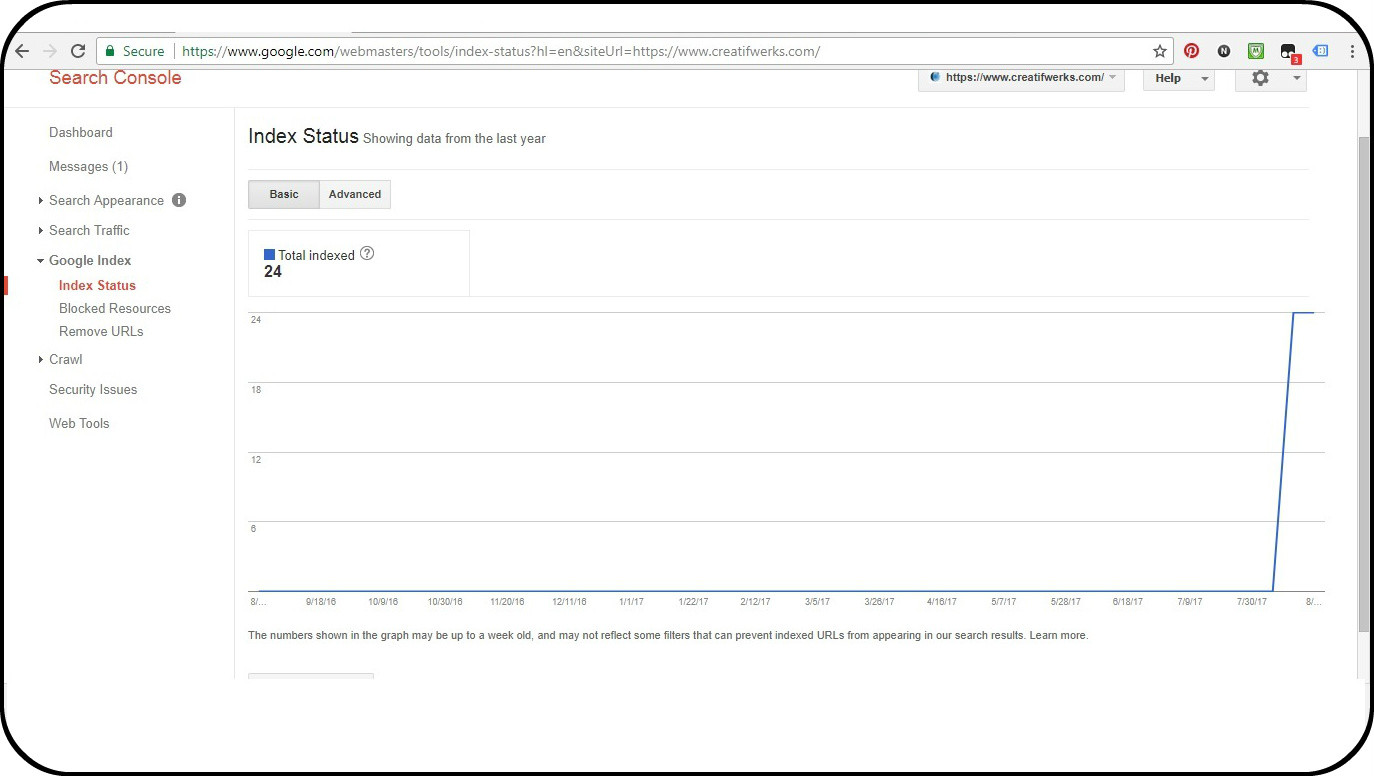
Below Picture shows the number of page Indexed by Google Bot vs time Frame. As at this moment my site is very new, basically there are nothing much to be indexed.
Blocked Resources
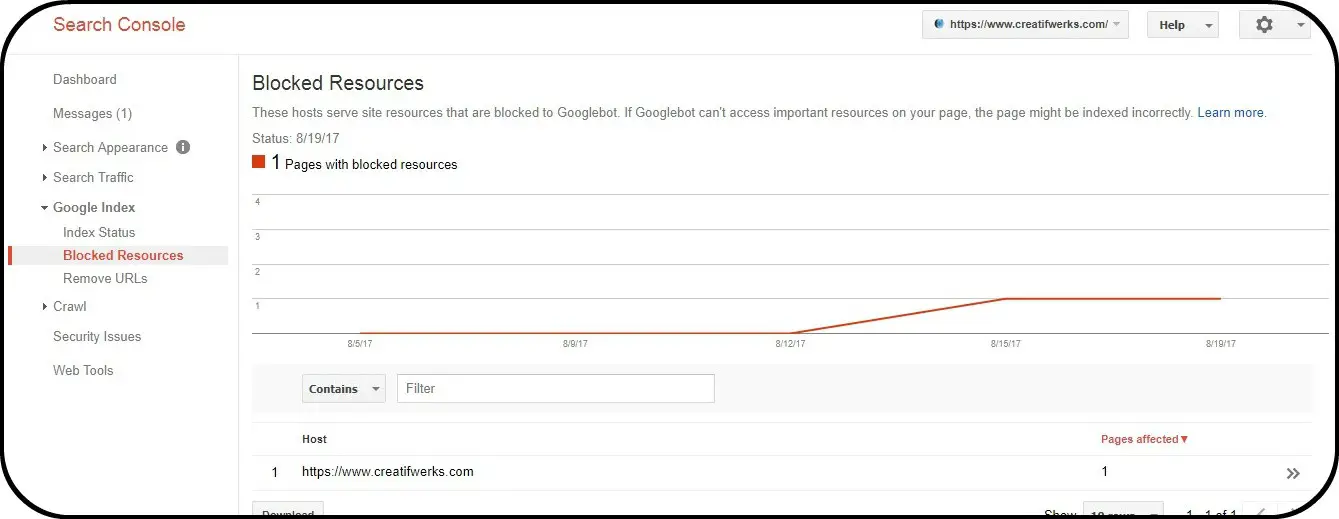
Pages that could not be accessed by Google Bot.
Check your web host or your Root File code to determine what is preventing Google Bot from Accessing
Step 4
Check out Search Traffic
Search Analytics
At this section it will show analytic for Search like , page ranking , search volume, key word , countries that view your website. etc

Link to your Side
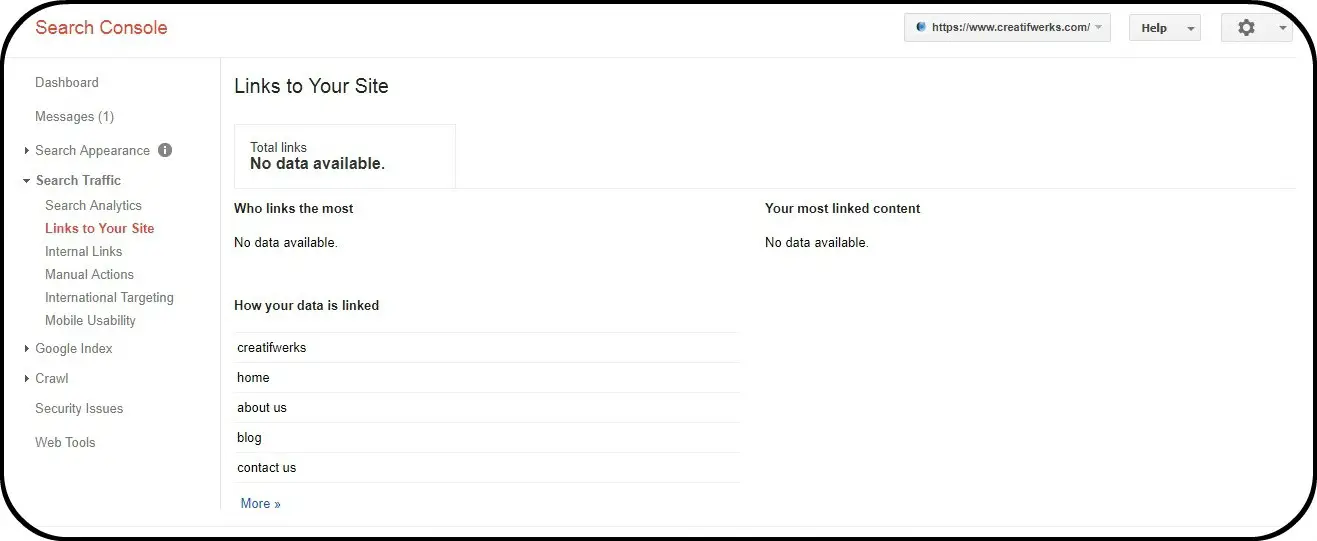
This section you can check out back link to your side, if there is any bad links or spam links which affect your site you can investigate at here.
At this Current Moment My Side is quite new ,as i haven’t done any back link optimisation, thus there are 0 links.
Internal Links
This Section shows how you link site internally.
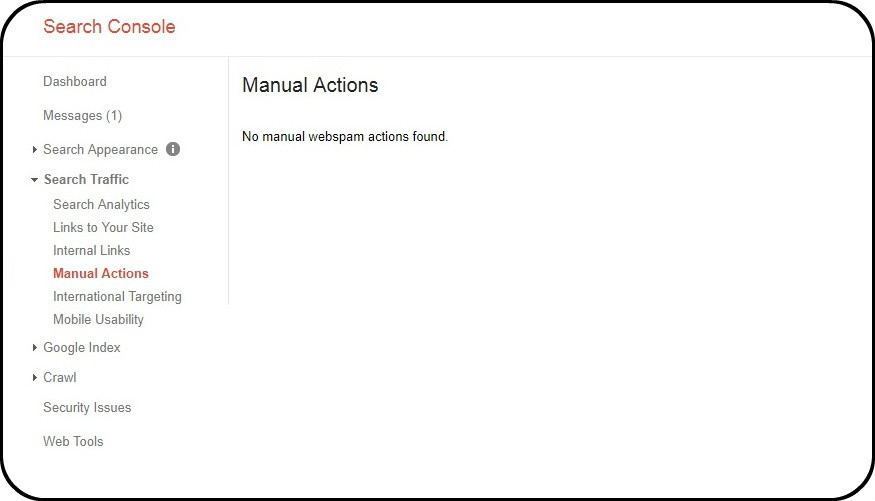
Manual Action
This Section shows whether your site is being labelled as Spam, if it is empty is a good news.
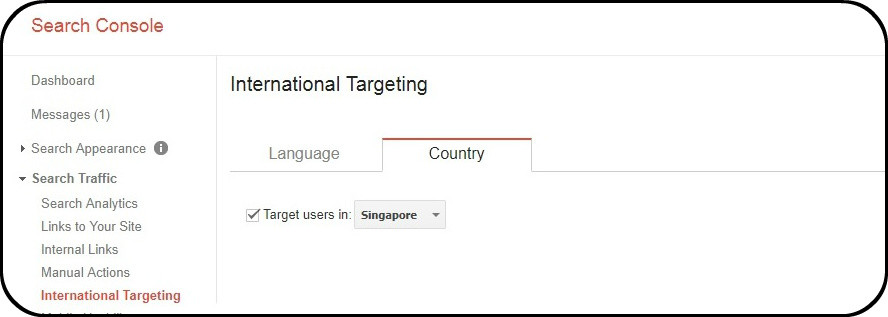
International Targeting
This section , is to select what language and country audience you are targeting.
In my context i am targeting Singapore.
Mobile Usability
Check out your website is it mobile friendly.

I think up to this stage i have covered most of the important information for Google Web Master, hopefully these info will help you out with your website.
For the remaining is up to yourself to explore.
If you are curious to learn the below Check out the Link
