Mail Chimp
In this Article , i will talk about an awesome mail Automated System which is free, and we will learn how to setup MailChimp.
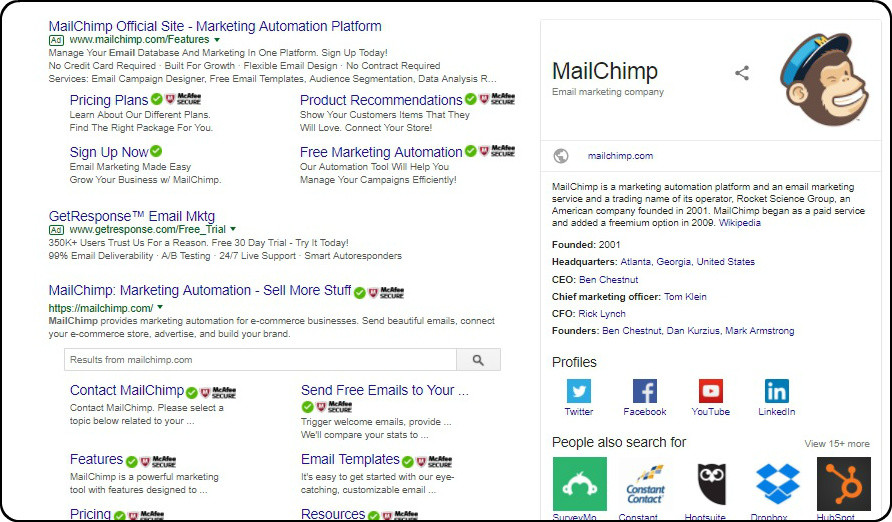
What is MailChimp?
Mail Chimp is a email marketing automation tool, which help sites to grow and manage Subscribers.When ever a Subscriber enters his or her email and click the Subscribe button .Details of the Subscriber will be sent to your mail chimp account database.
At the MailChimp Database you will be able to view the sign up analytics.To Learn More Click Here.
MailChimp is Free , you don’t need a credit card to Sign Up.
Waste no time , lets get into the fun part setting up MailChimp.
Signing Up MailChimp
How to Setup MailChimp
Follow the Step below to Sign Up and Setup a MailChimp Account on your site.
Step 1
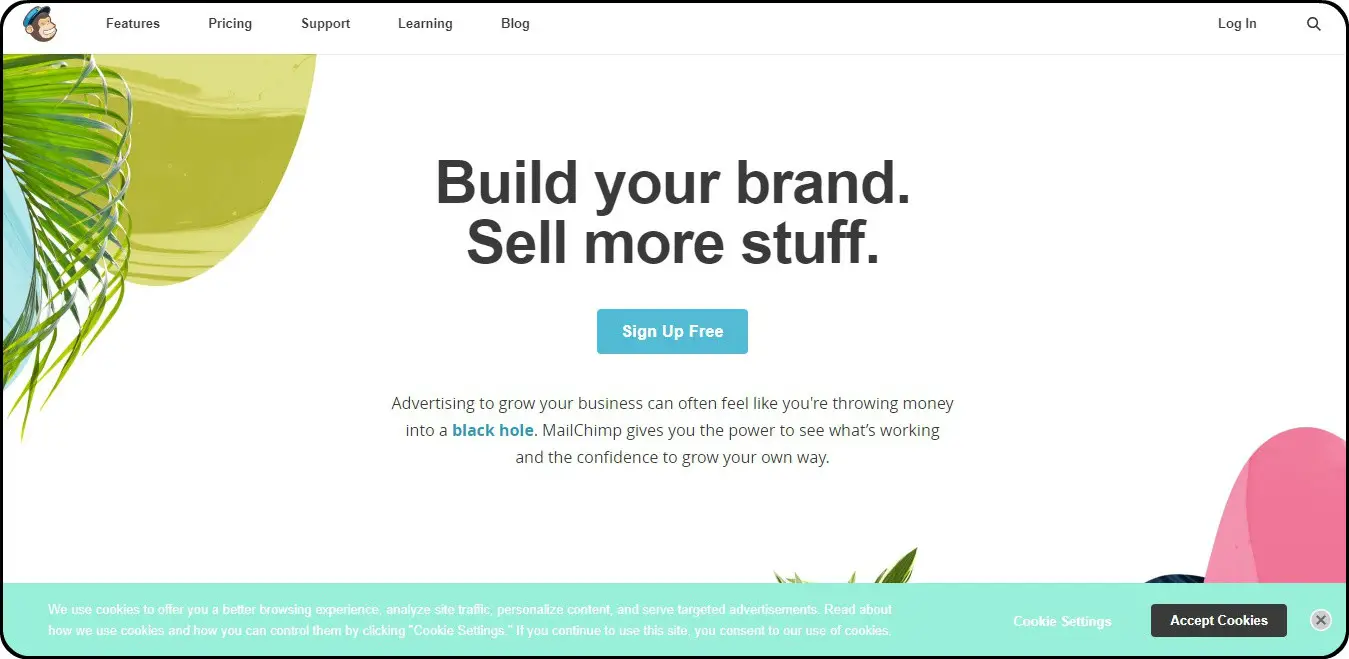
Navigate to MailChimp Site and Sign Up Click here.
Step 2
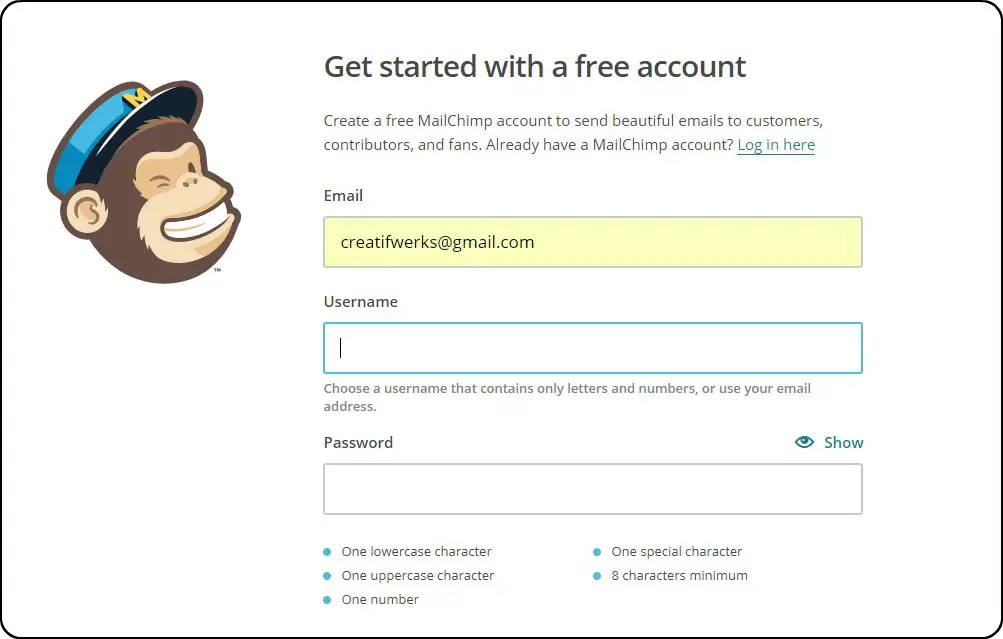
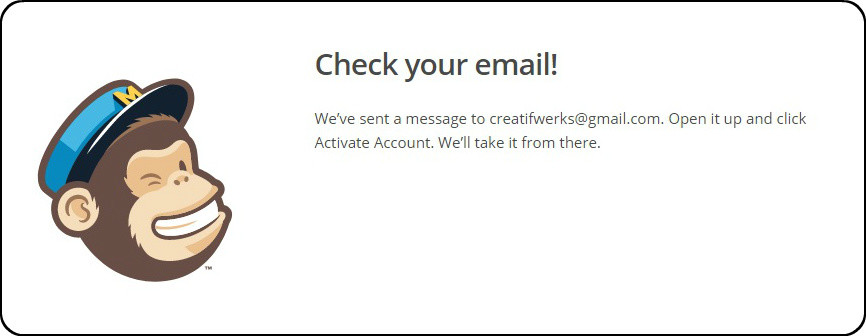
Fill in the Sign Up Form , check your email and verify.
Step 3
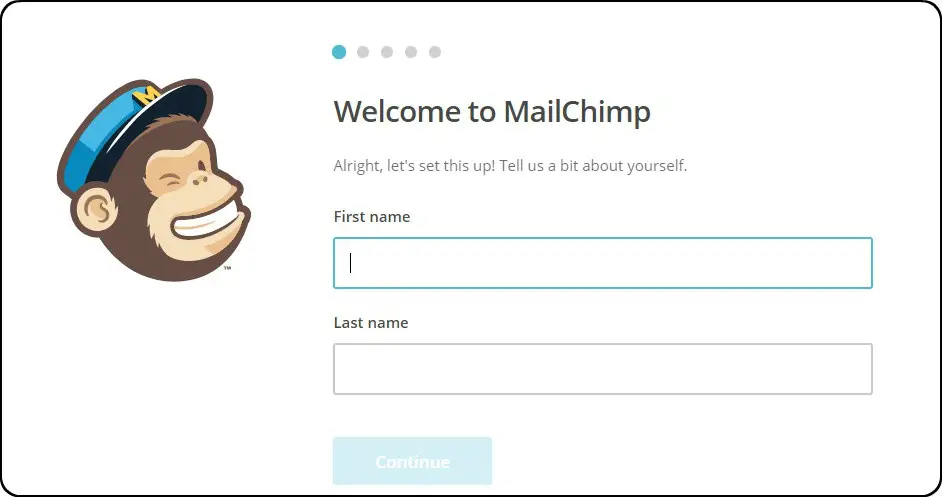
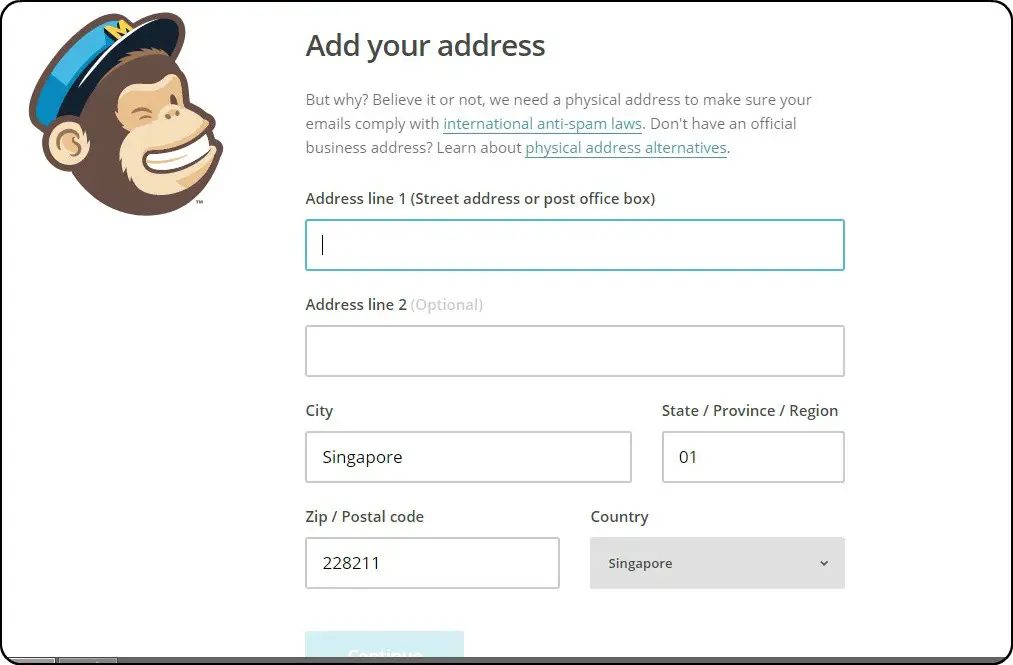
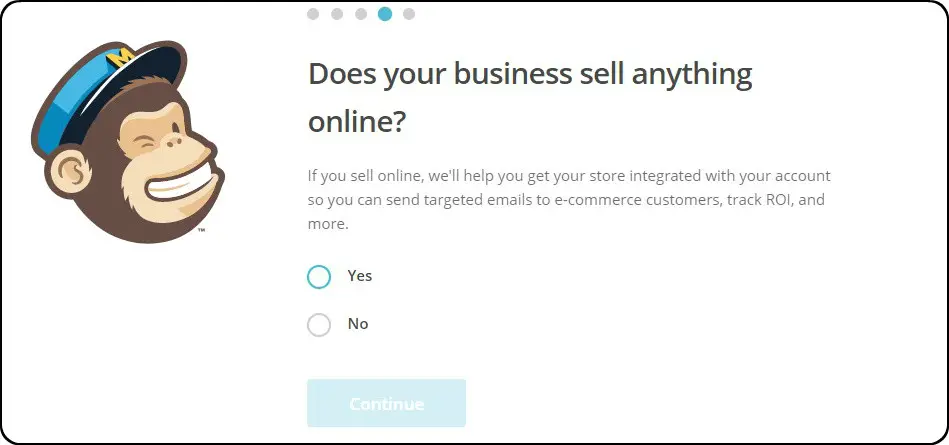
Now, you have got your MailChimp , account verified , you will be redirect to the MailChimp Welcome Page to Setup the account profile.
Step 4
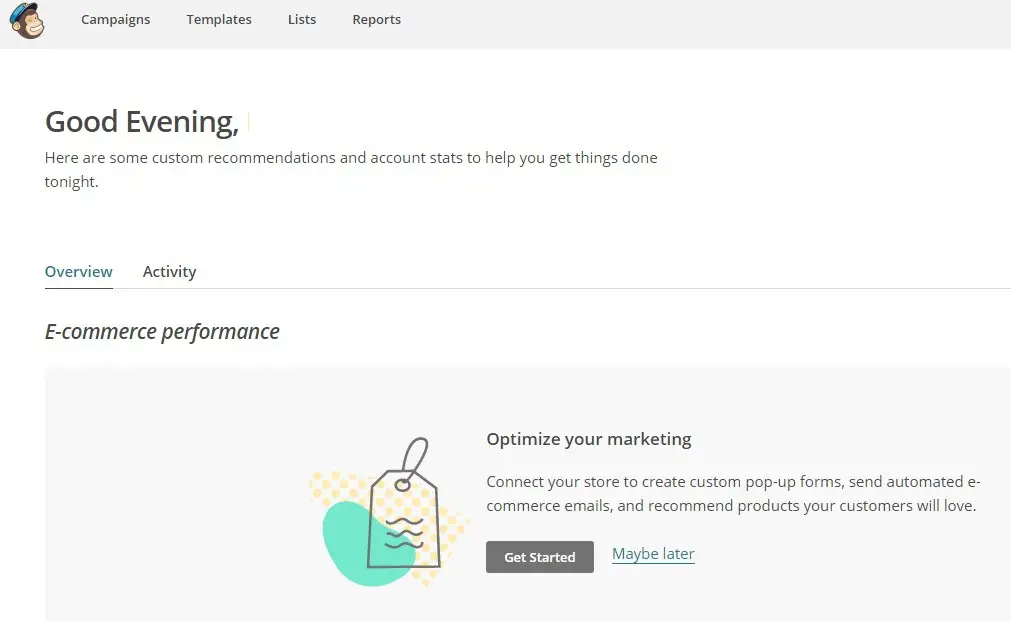
You are all set, check out your MailChimp Dash Board.
Step 5
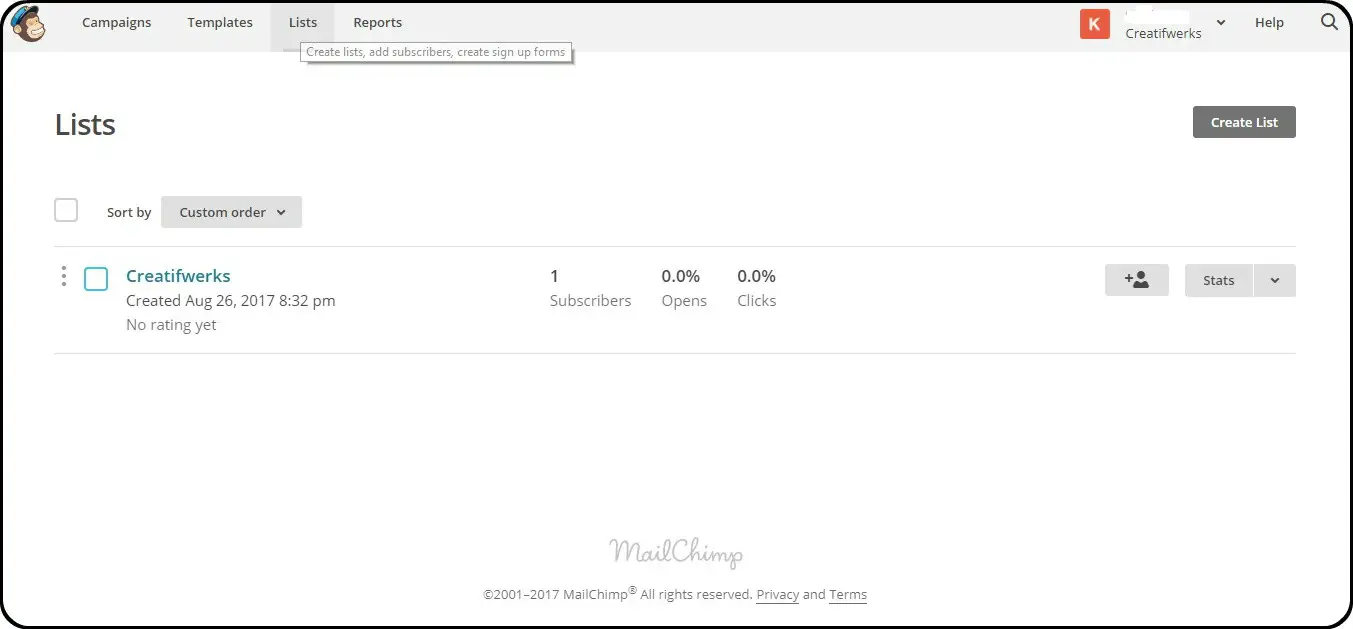
Create a Mailing List.Click on a create list button.

Step 5
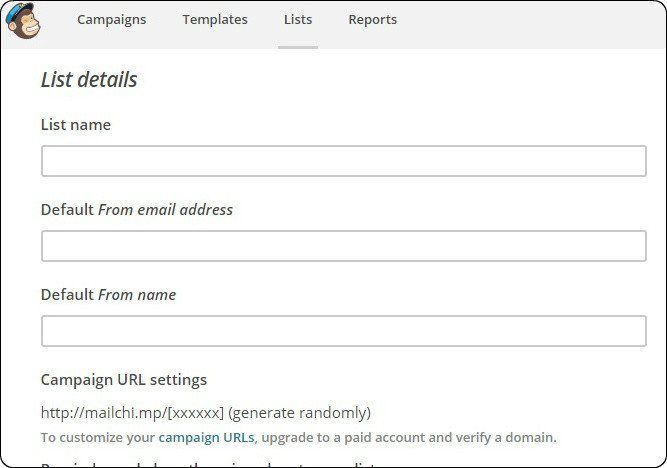
Fill in the Mailing List Details.
Step 6
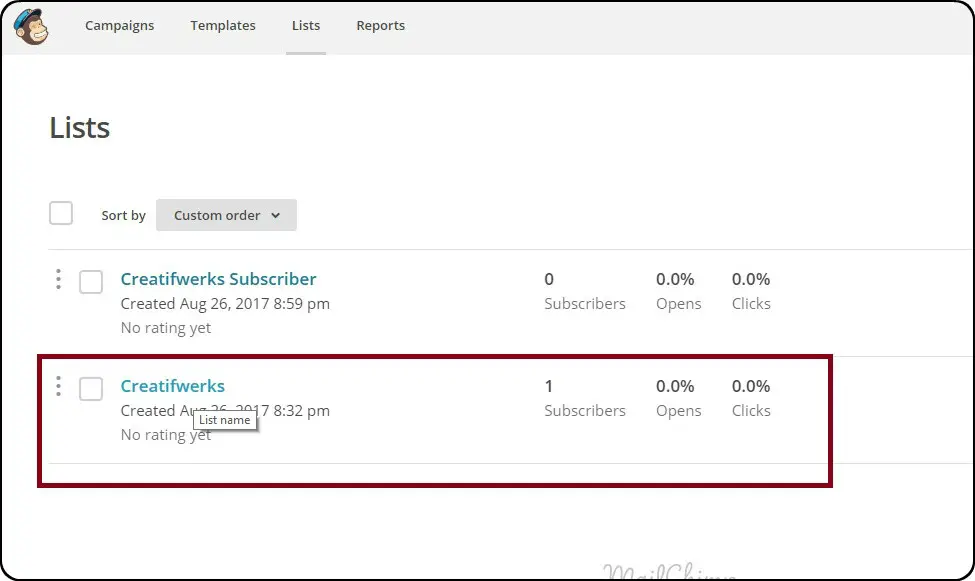
Well you have done creating the List, click on the new list you have created.
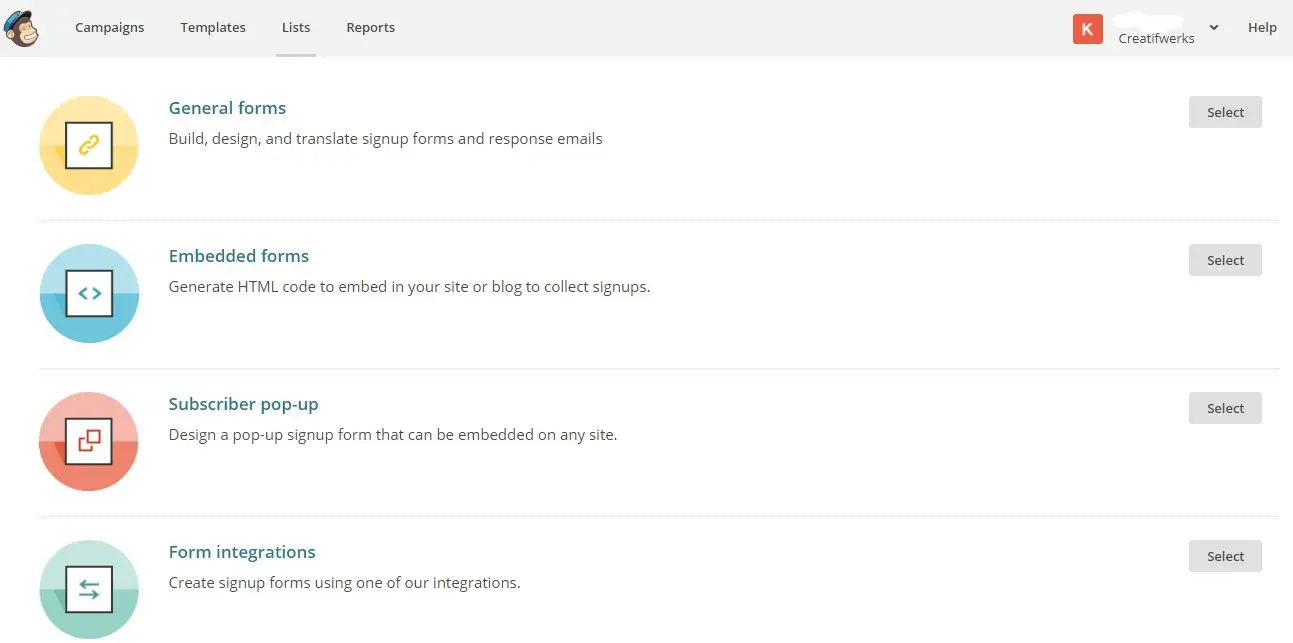
Next step will be creating a Sign-Up Form.
Step 7
Select the default Sign Up Form Template.
Step 8
Setup and design your Sign Up Form.
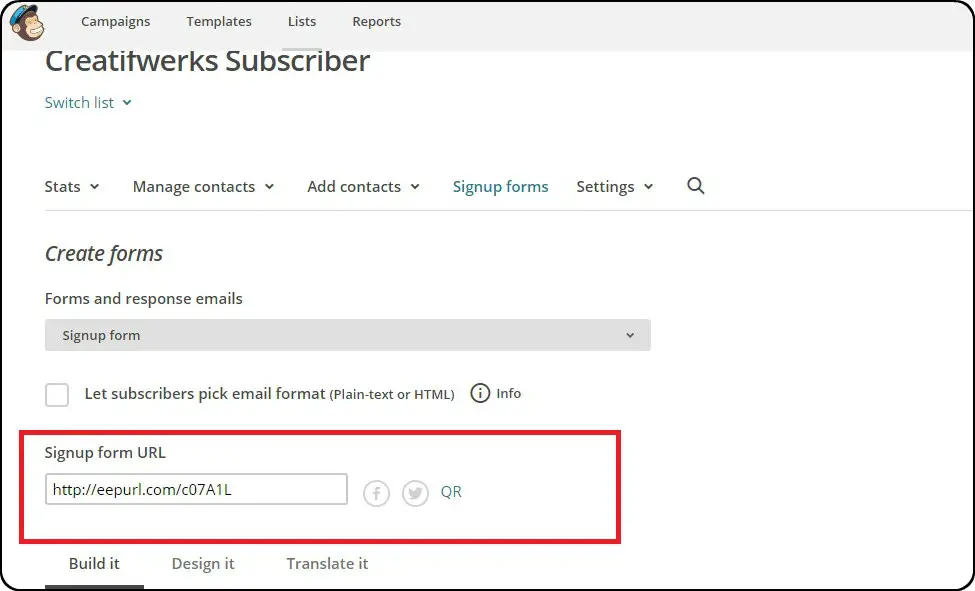
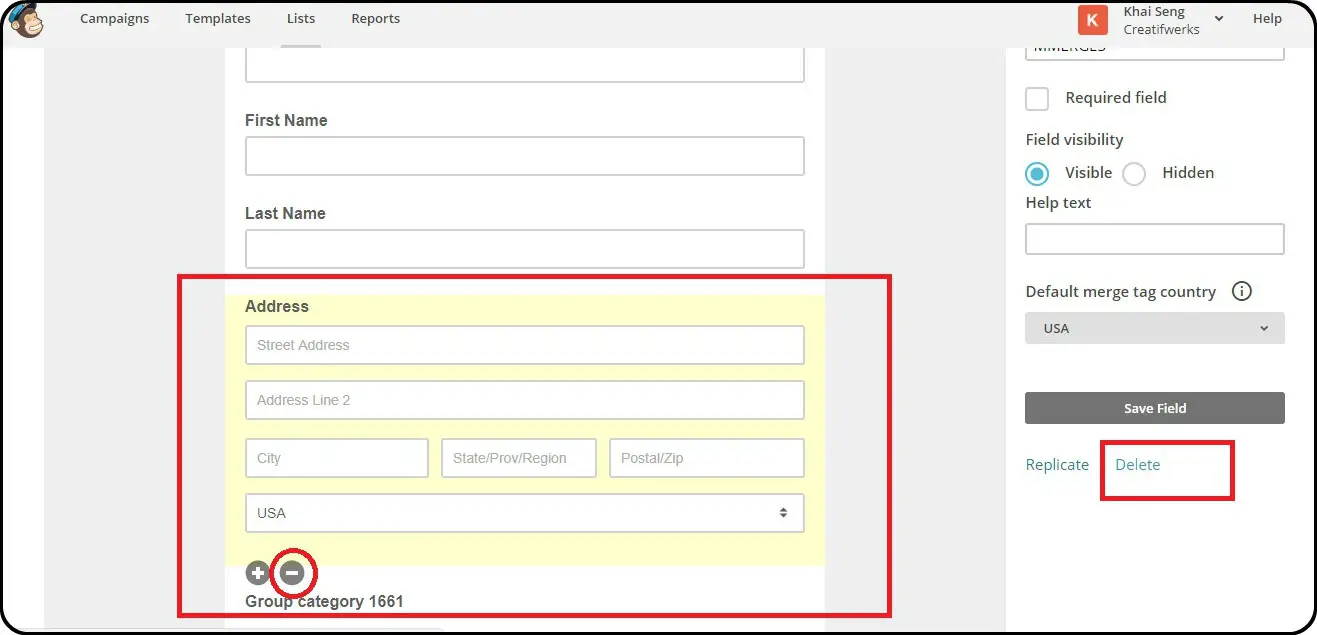
Step 9
Well, you have just created a Static form , let create a Pop Up form for a new campaign.
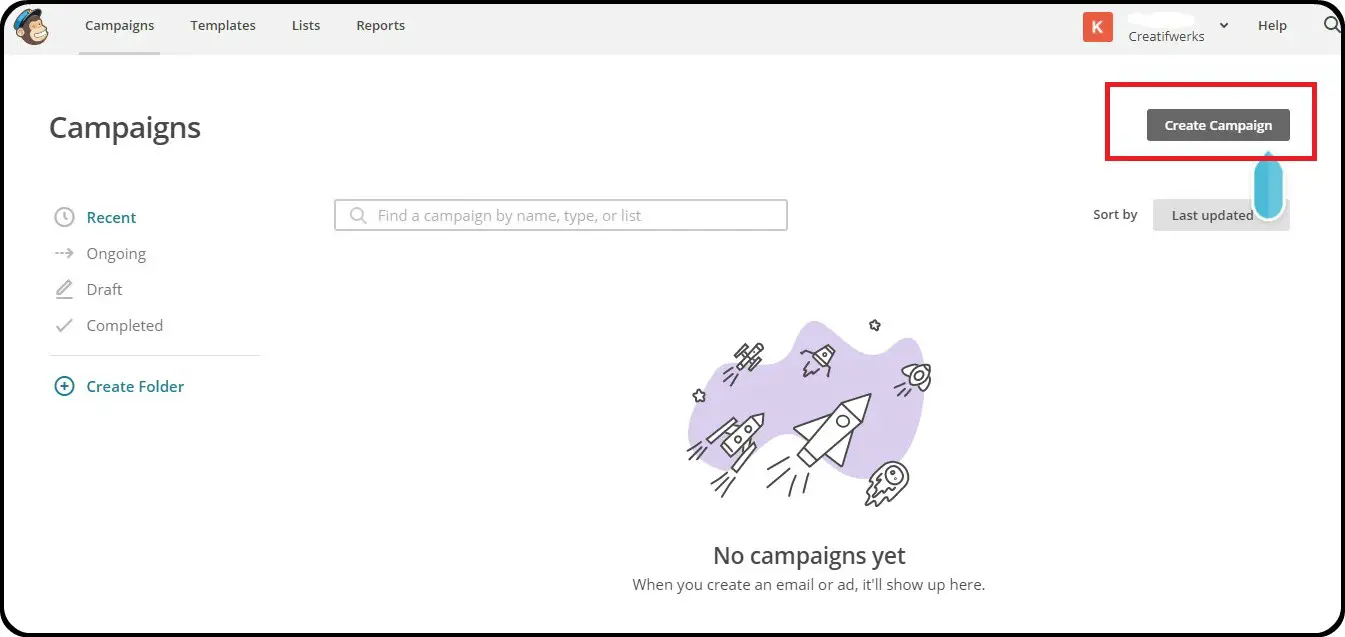
Step 10
Let MailChimp Guide you through the process.
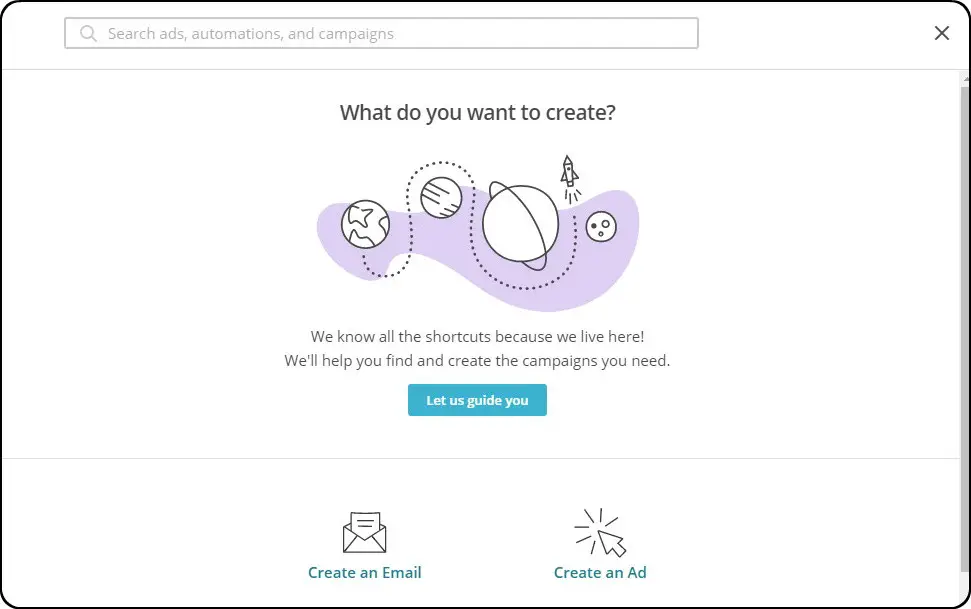
Step 11
Select Collect Subscriber with a Pop Up Form.
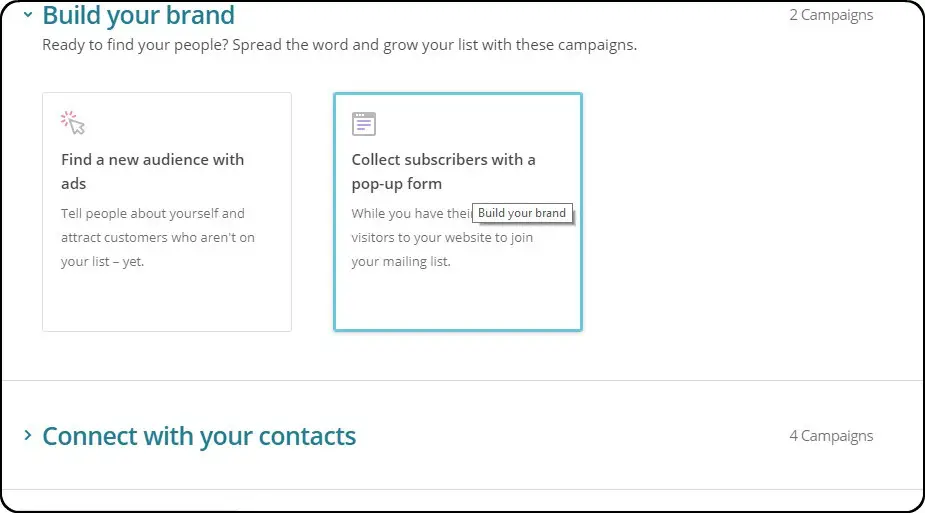
Step 12
Select the Mailing List you have created.
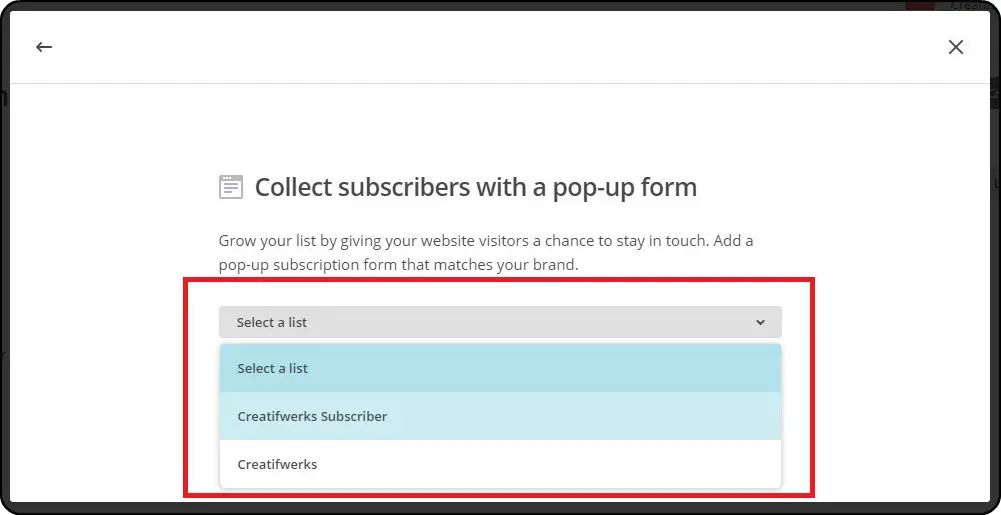
Step 13
Design your Pop-Up Form.
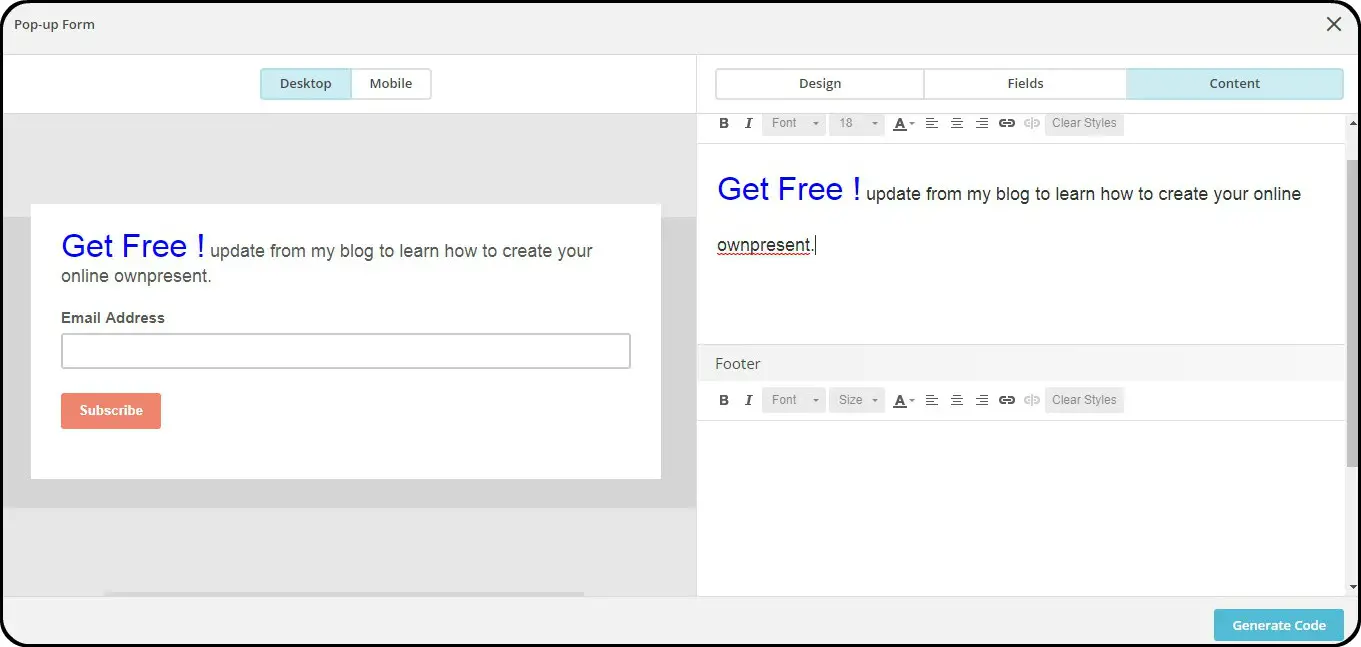
Step 13
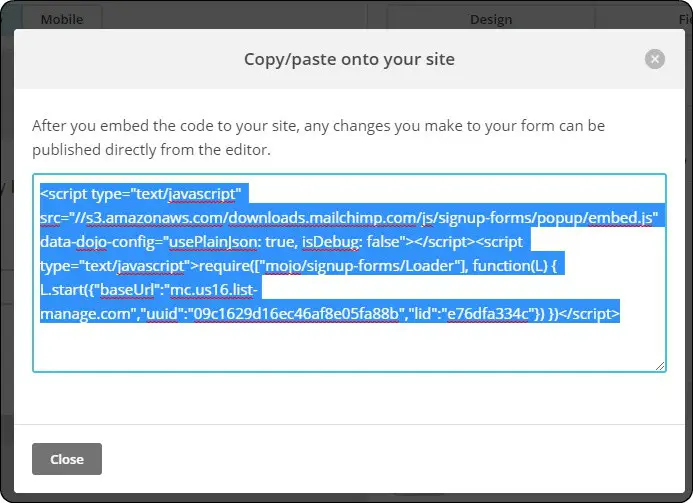
When you done with your design, generate and copy the generated code.
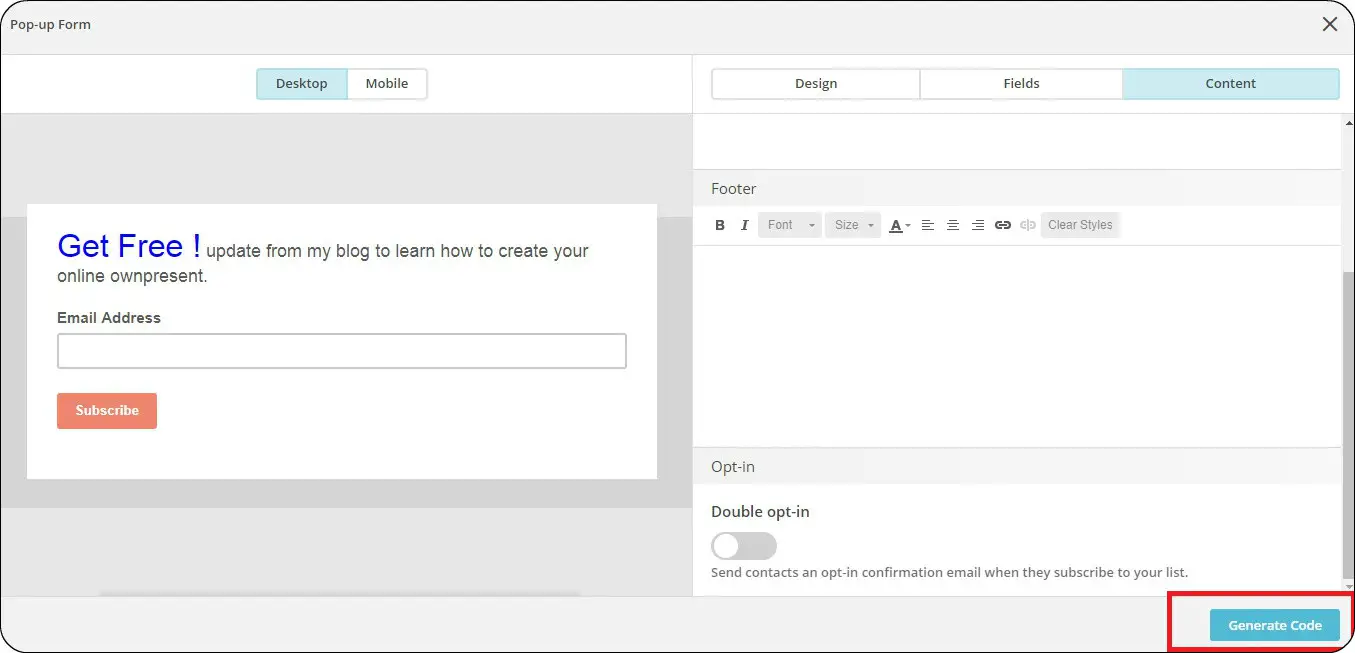
Step 14
Paste the Code into your WordPress.
There are 3 ways to do that.
First Method
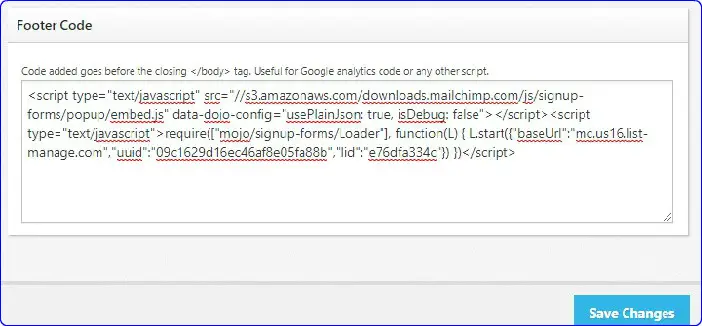
If your WordPress Theme have a Footer Editor text box.
Paste it there.
Second Method
Paste it into the Footer Code.
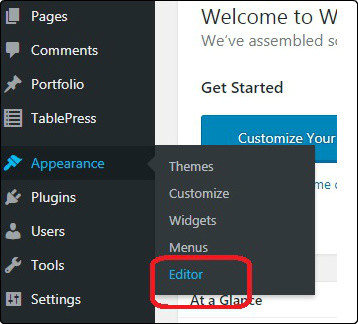
On WordPress Dash Board navigate to Appearance then Editor.
Look for the PHP Footer.
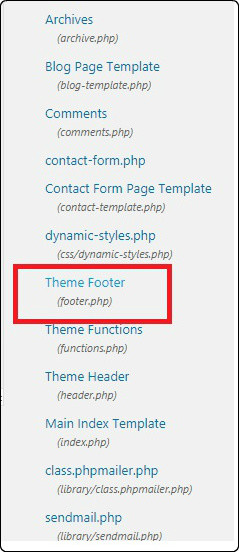
Open the PHP Footer file and paste your code as below.
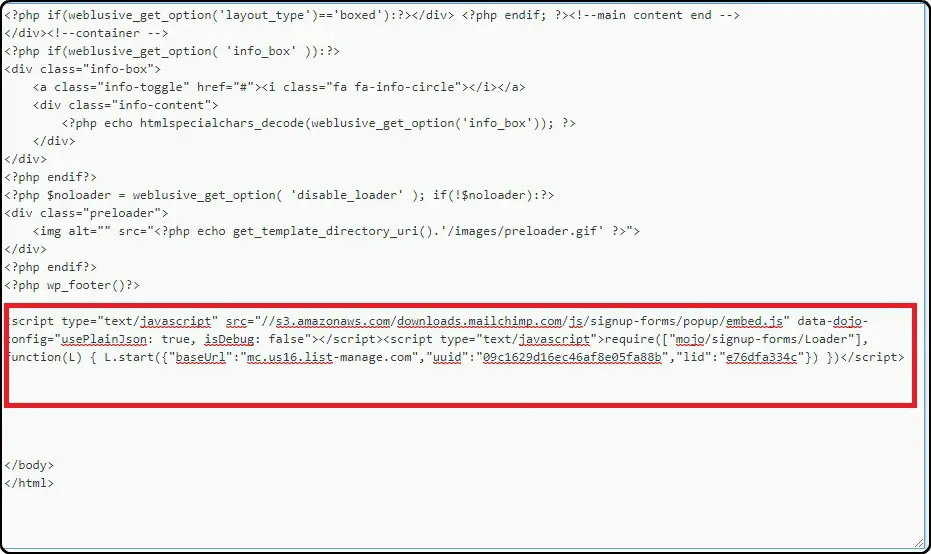
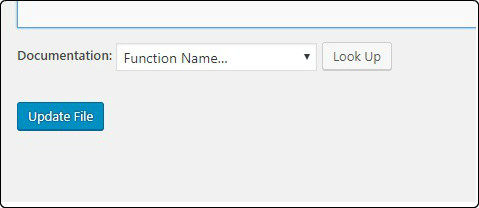
Click Update Button.
Third Method
Download a Footer Plugin and paste the code there.

Step 15
Final Step, navigate to your site, fill in the details and subscribe to your own mailing list.Navigate back to MailChimp Dash Board and checl out the list.Check whether your subscription is recorded
Congratulation to you! we have just learn how to setup mailchimp, hopefully this article will help you out on your site business.
If you are interested to learn the below click it .
