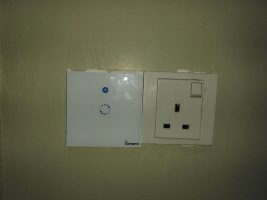
How to Install Sonoff Wall Switch
How To Install Sonoff Wall Switch.In this Article i will show you how to install and integrate Sonoff Wall Switch to Alexa.
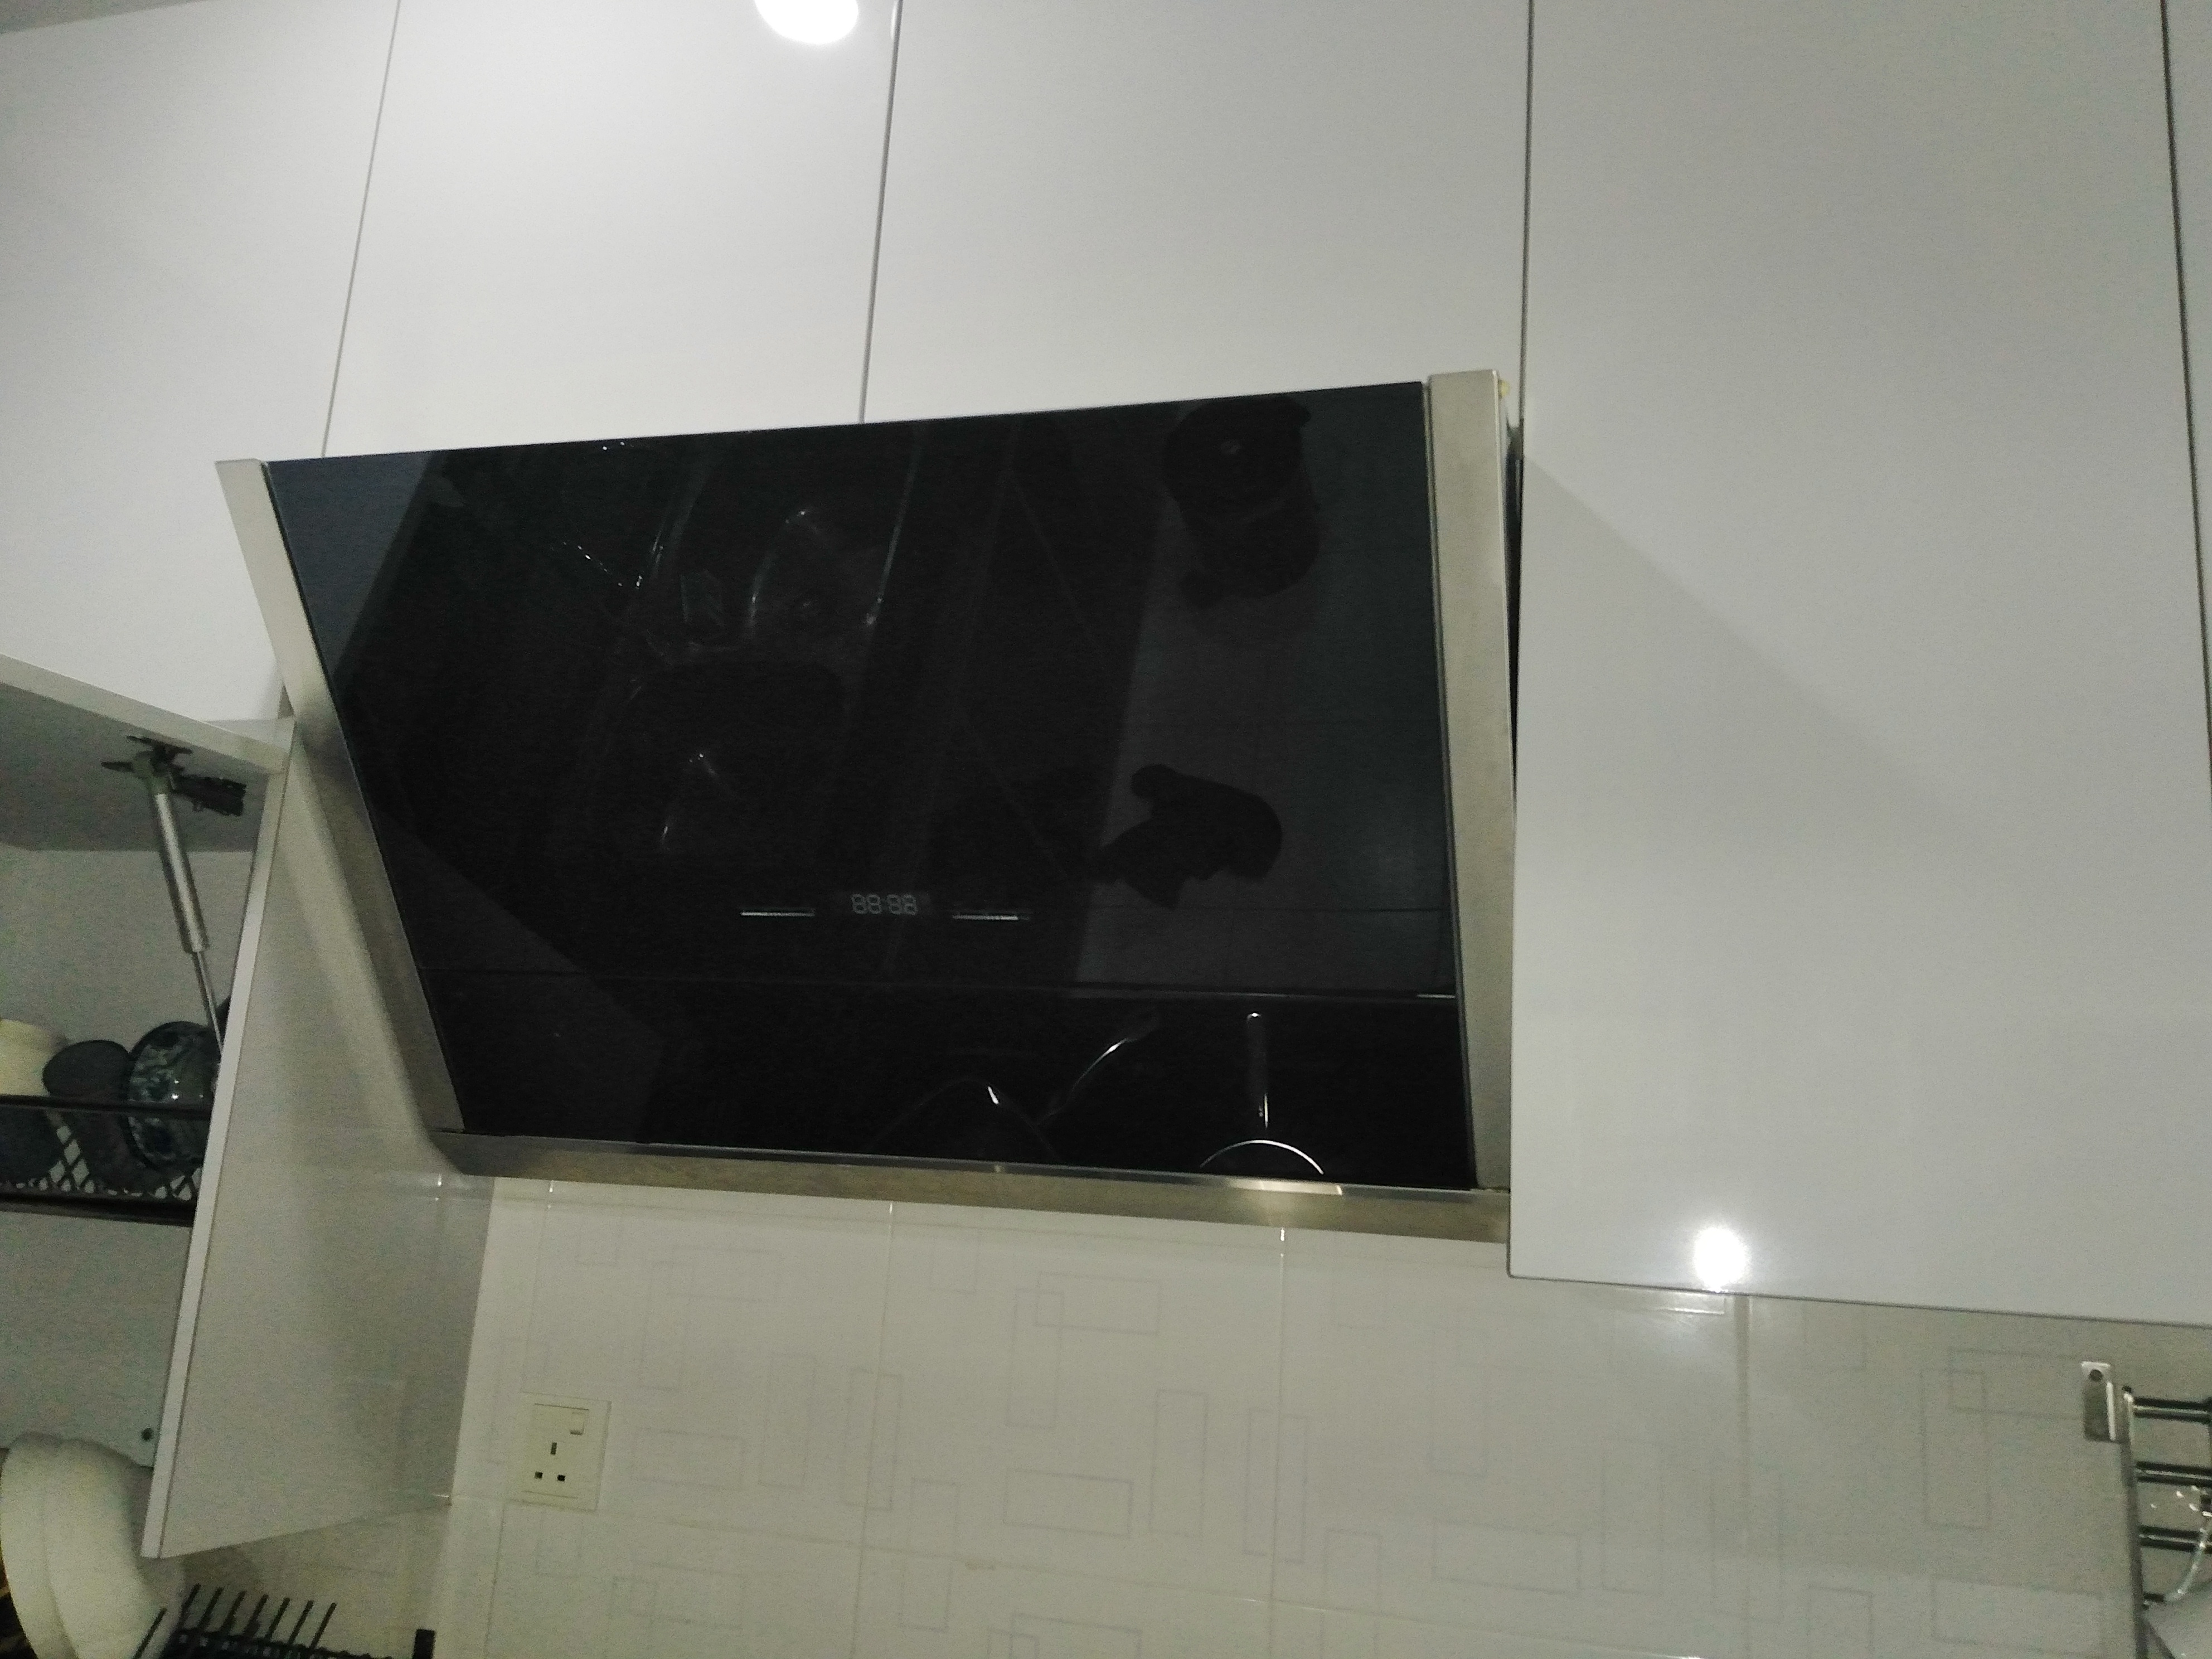
The Switch will be used to turn on my Kitchen Hood , by triggering Alexa a
command ” Alexa Turn On Kitchen Hood”.
Precaution Before Starting : When dealing with electricity, take things slowly , one step by one step. Don’t rush to complete the work . Safety first.
Note: Firstly This is not a Sponsored article ,
is just a share of experience blog .The Web Master ( Creatifwerks.com) will not be responsible for any damages and Injuries occurs.
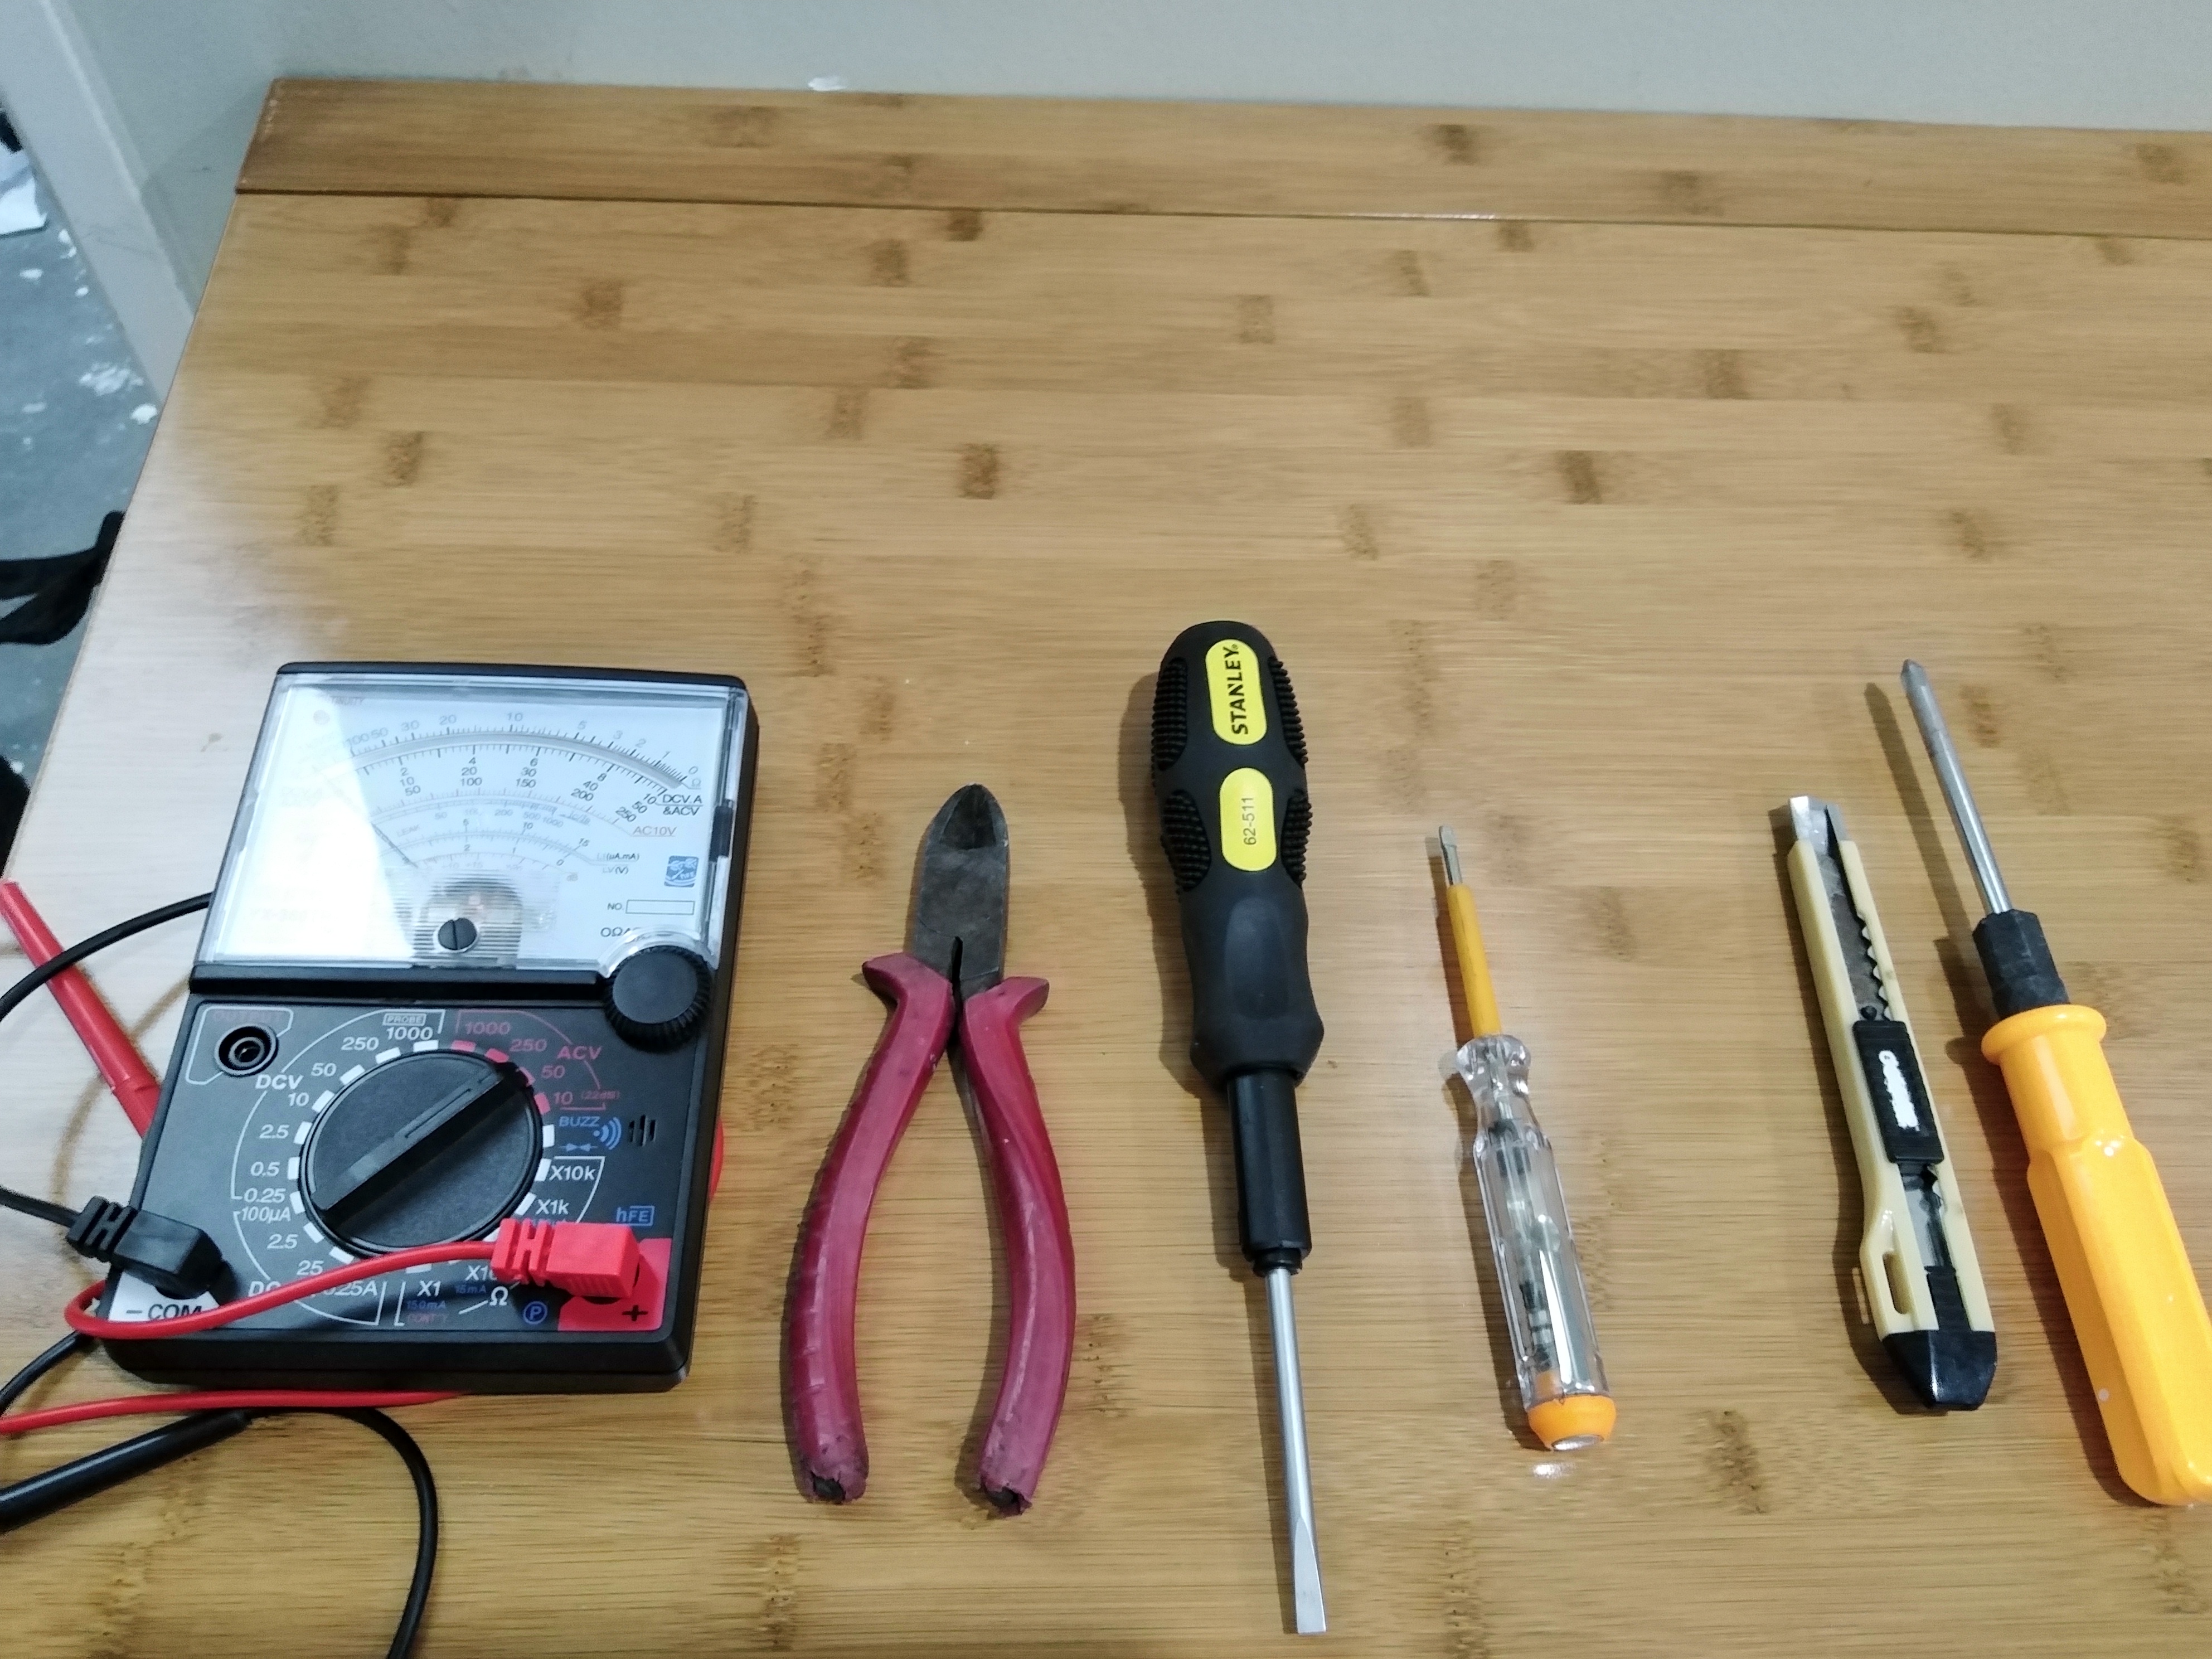
Step 1
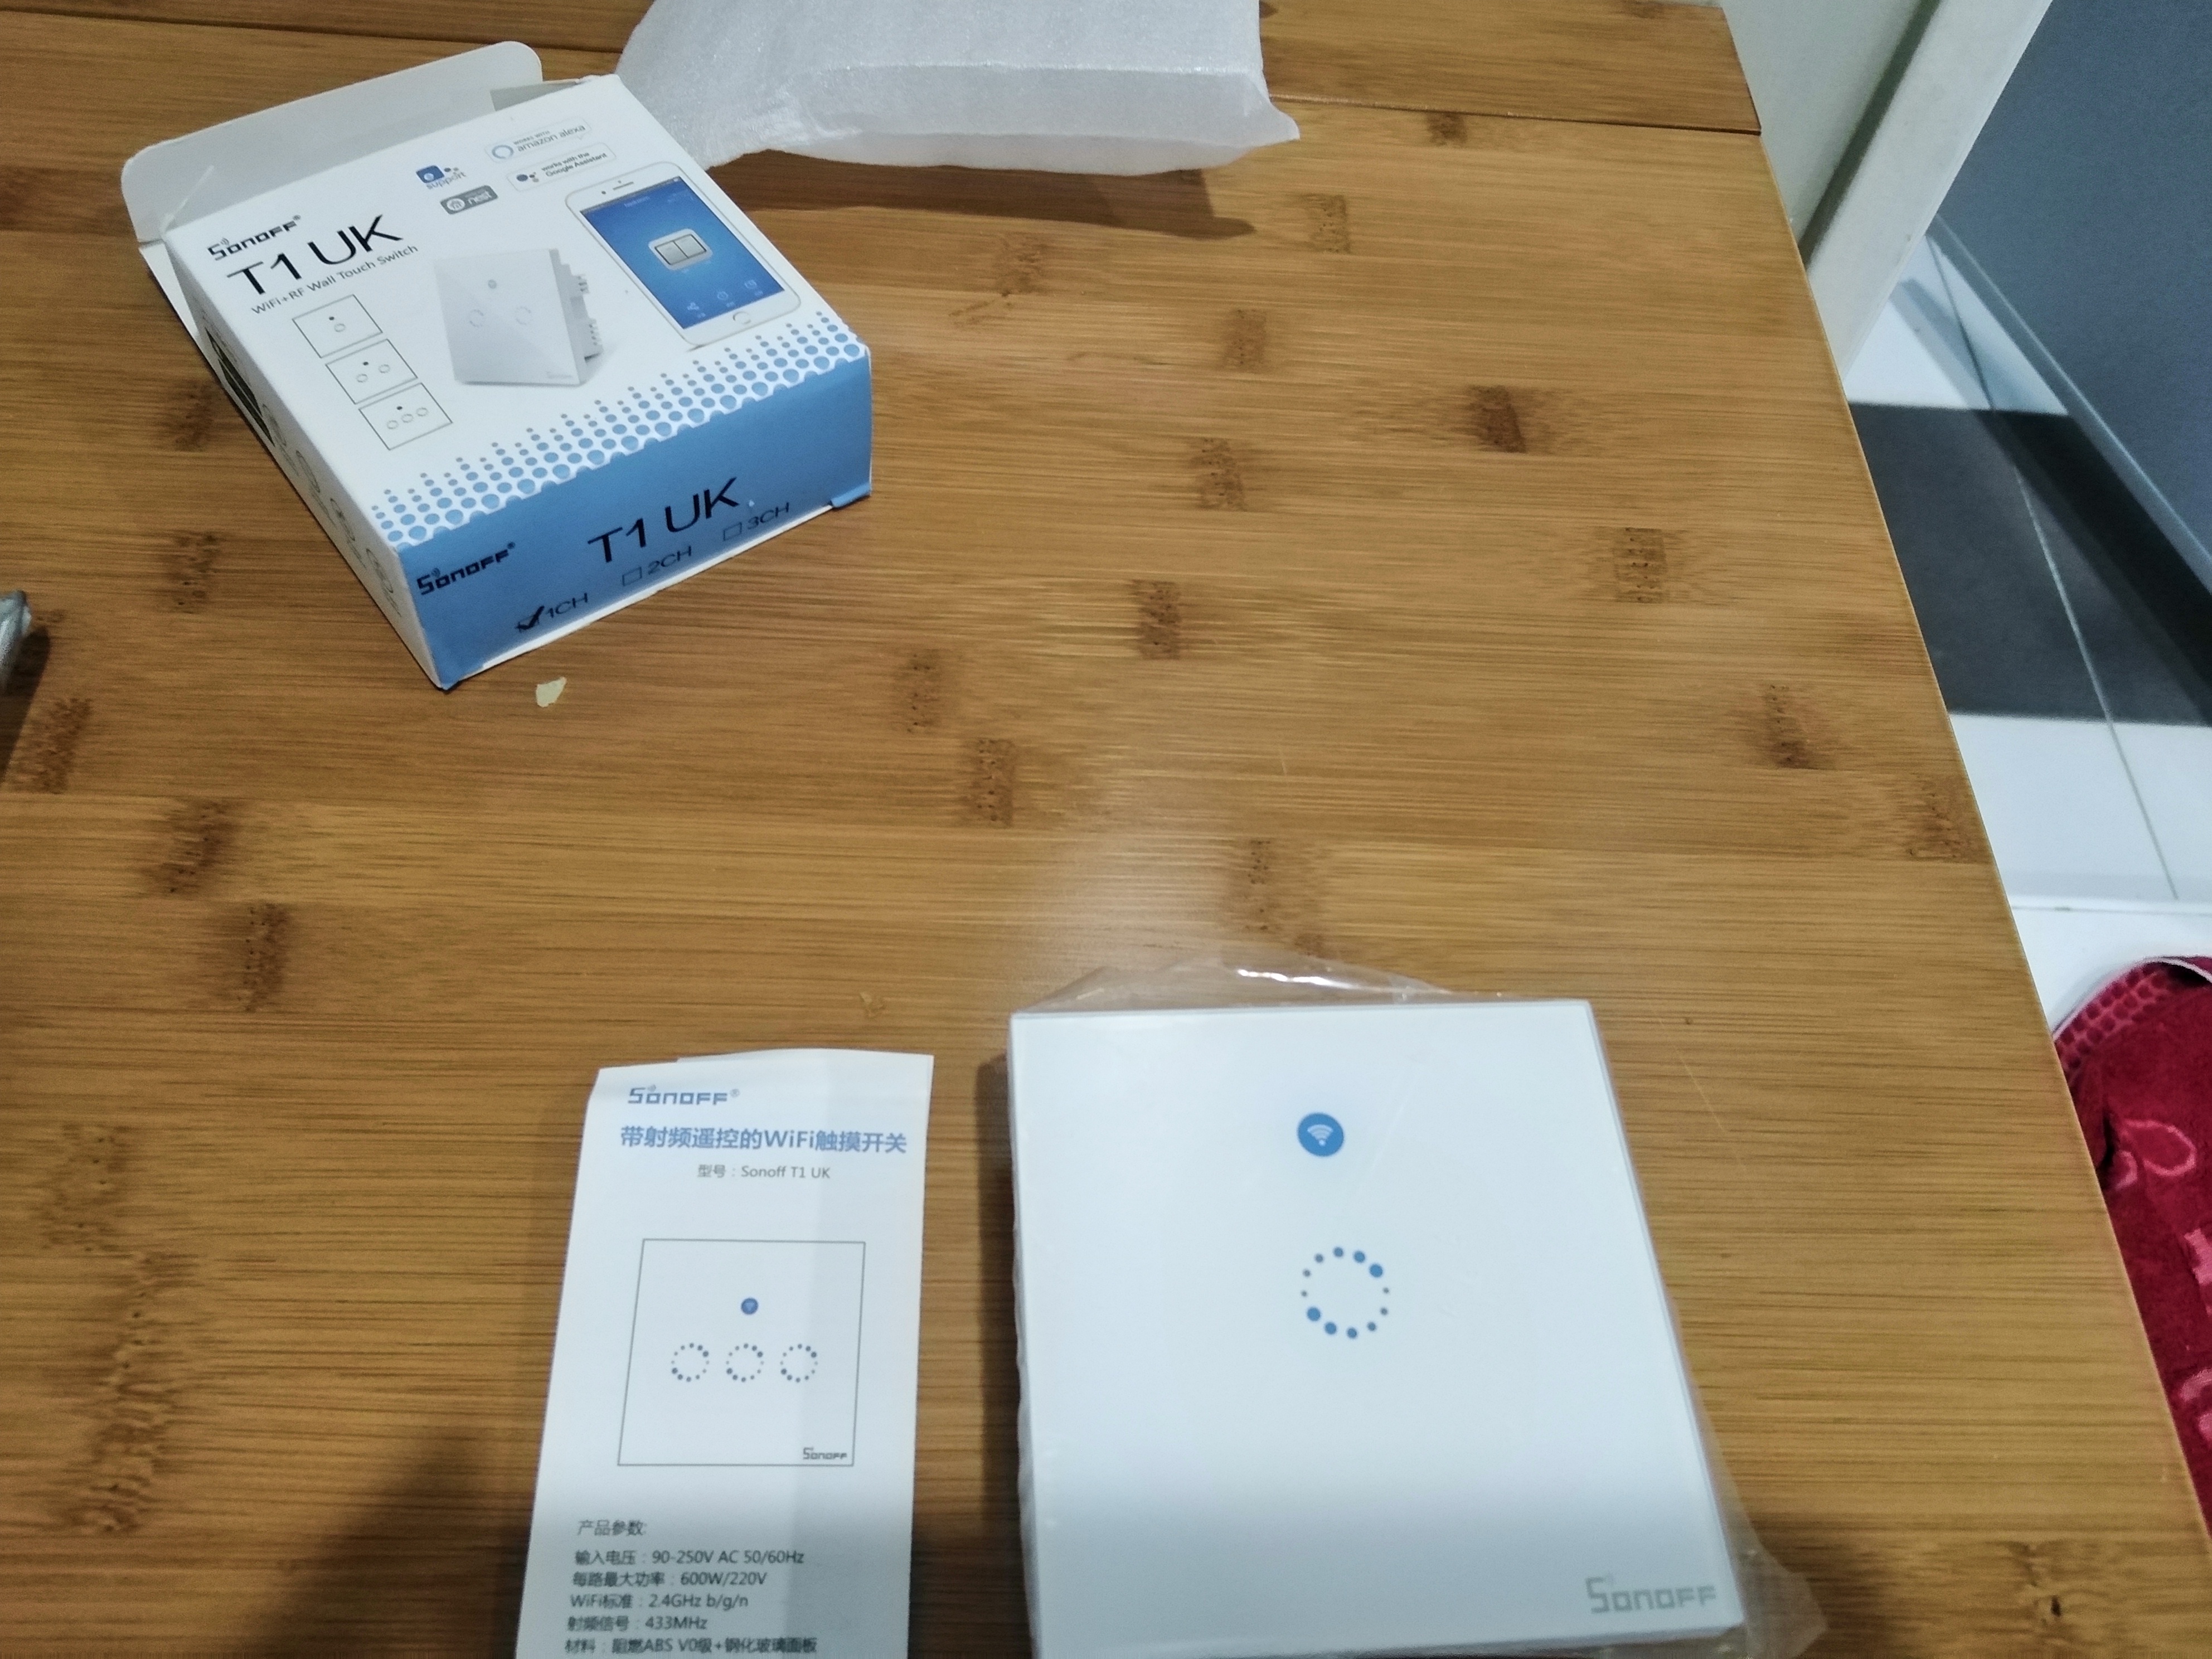
Prepare the Installation Tools and Material
Step 2
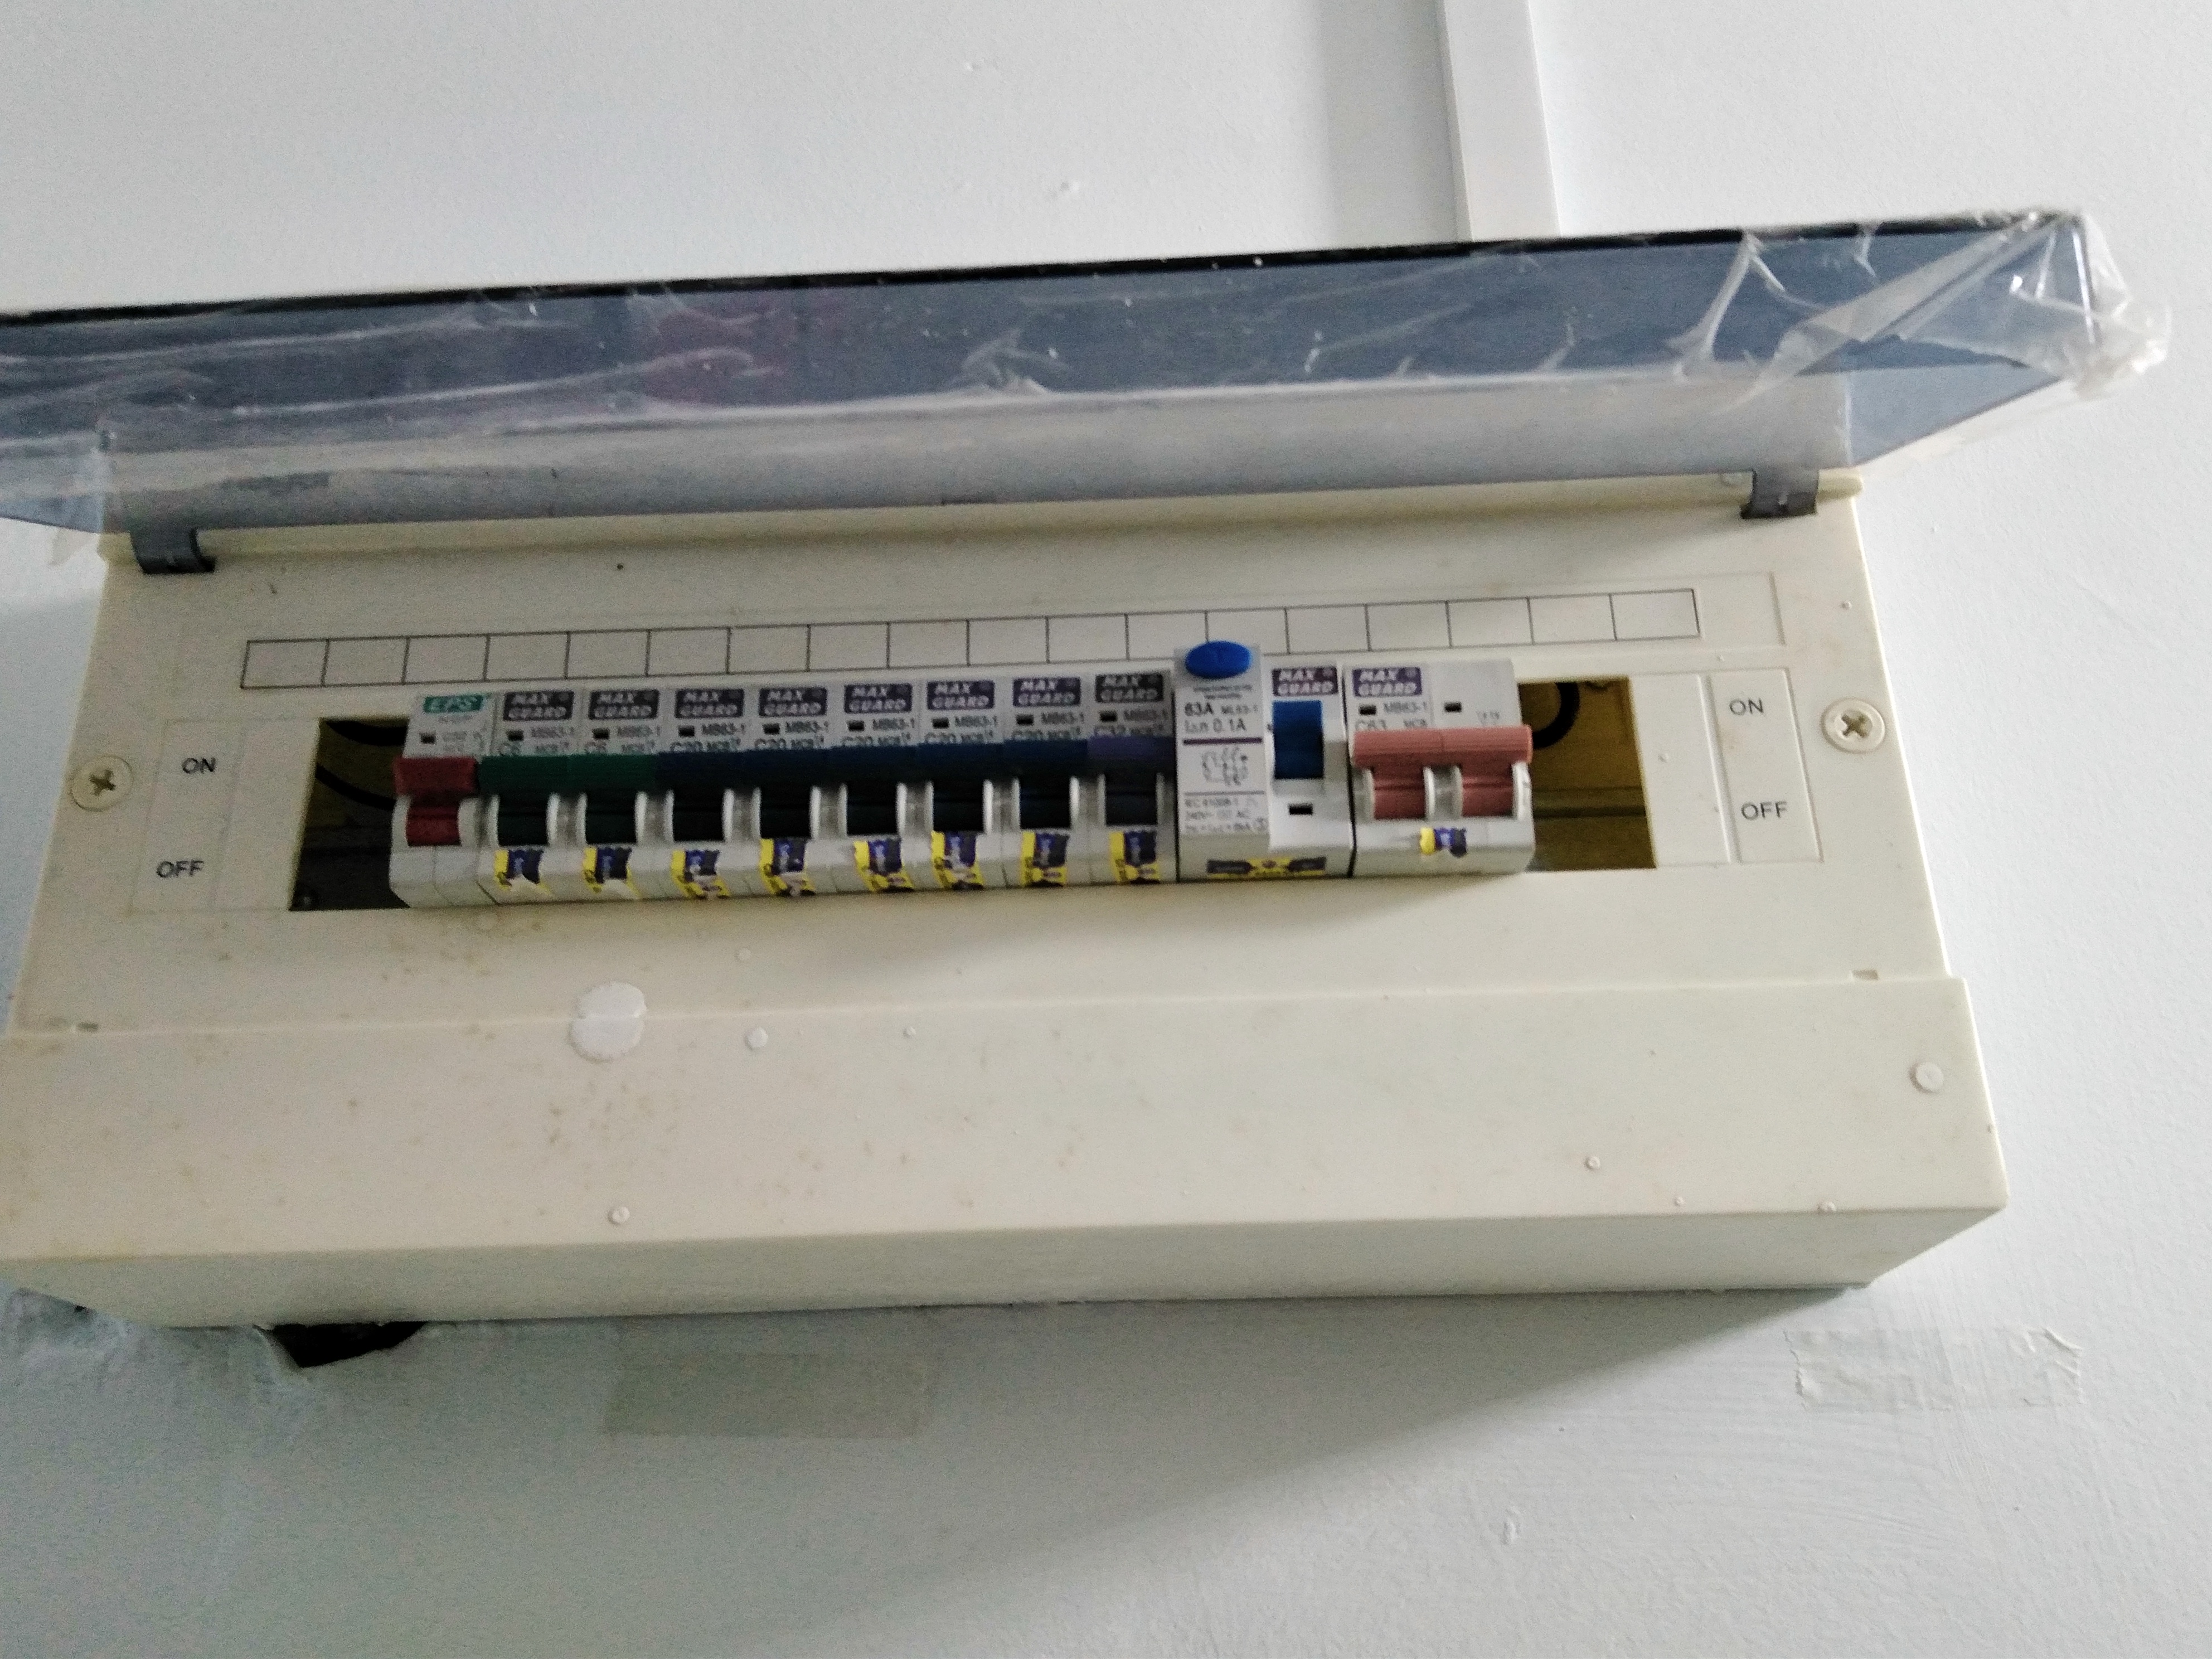
Locate where your home main Switch Box
Identify which is the MCB Switch . link to your Device that you are going to work on.
Step 3
This Sonoff Smart Switch will required a Neutral Cable to be connected to the Smart Switch.
Precaution : The cable code used by your previous Electrical installer, might not be correct. Do not Assume , check every single Cable with a Test Pen or Multi-meter.
Warning : Do not have any physical contact with the Cable.
- Identify Neutral Cable by using a Test Pen / Multi-meter
- Identify Life Cable by using a Test Pen / Multi-meter
- Identify Out going cable to the ” Kitchen Hood ” / Multi-meter
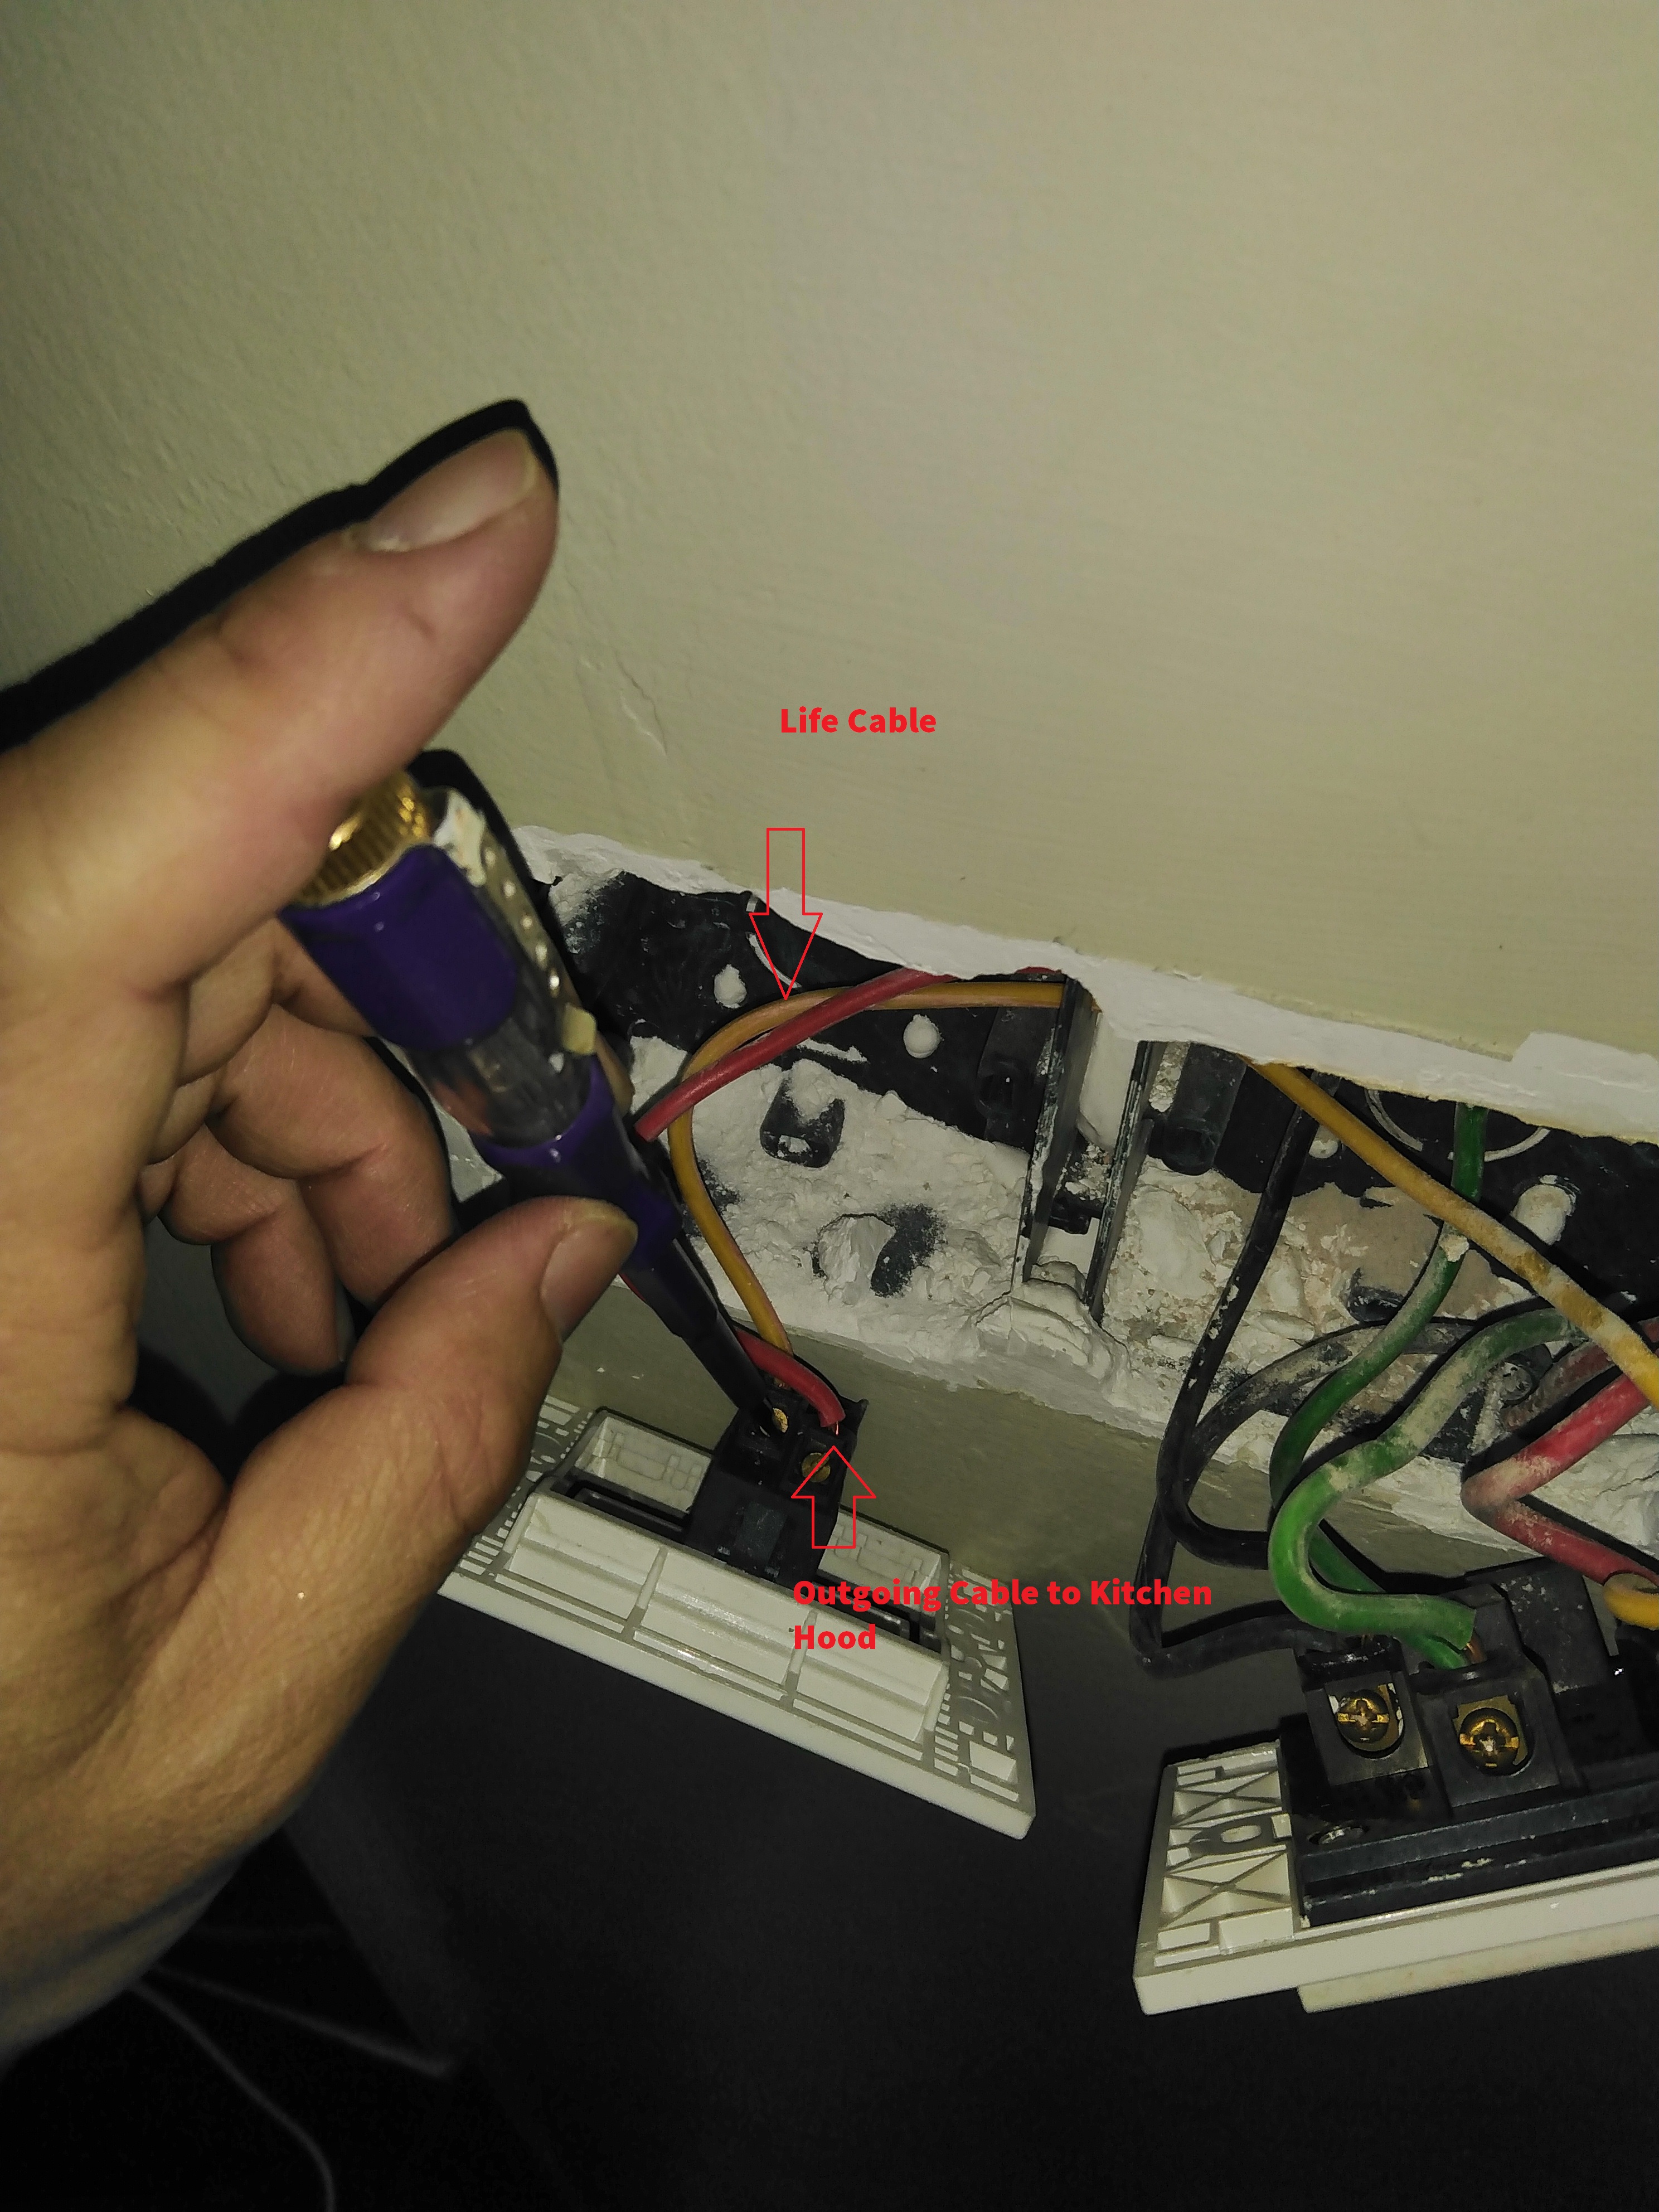
(2) (3) Identifying Life Cable and Outgoing Cable
(a)Place your test pen at the Switch Contact , if the Test Pen Indicator Lights UP is a Life Cable
(b) The Remaining Cable can be automatically identify as out going . As there are only 2 Cables ( incoming and outgoing)
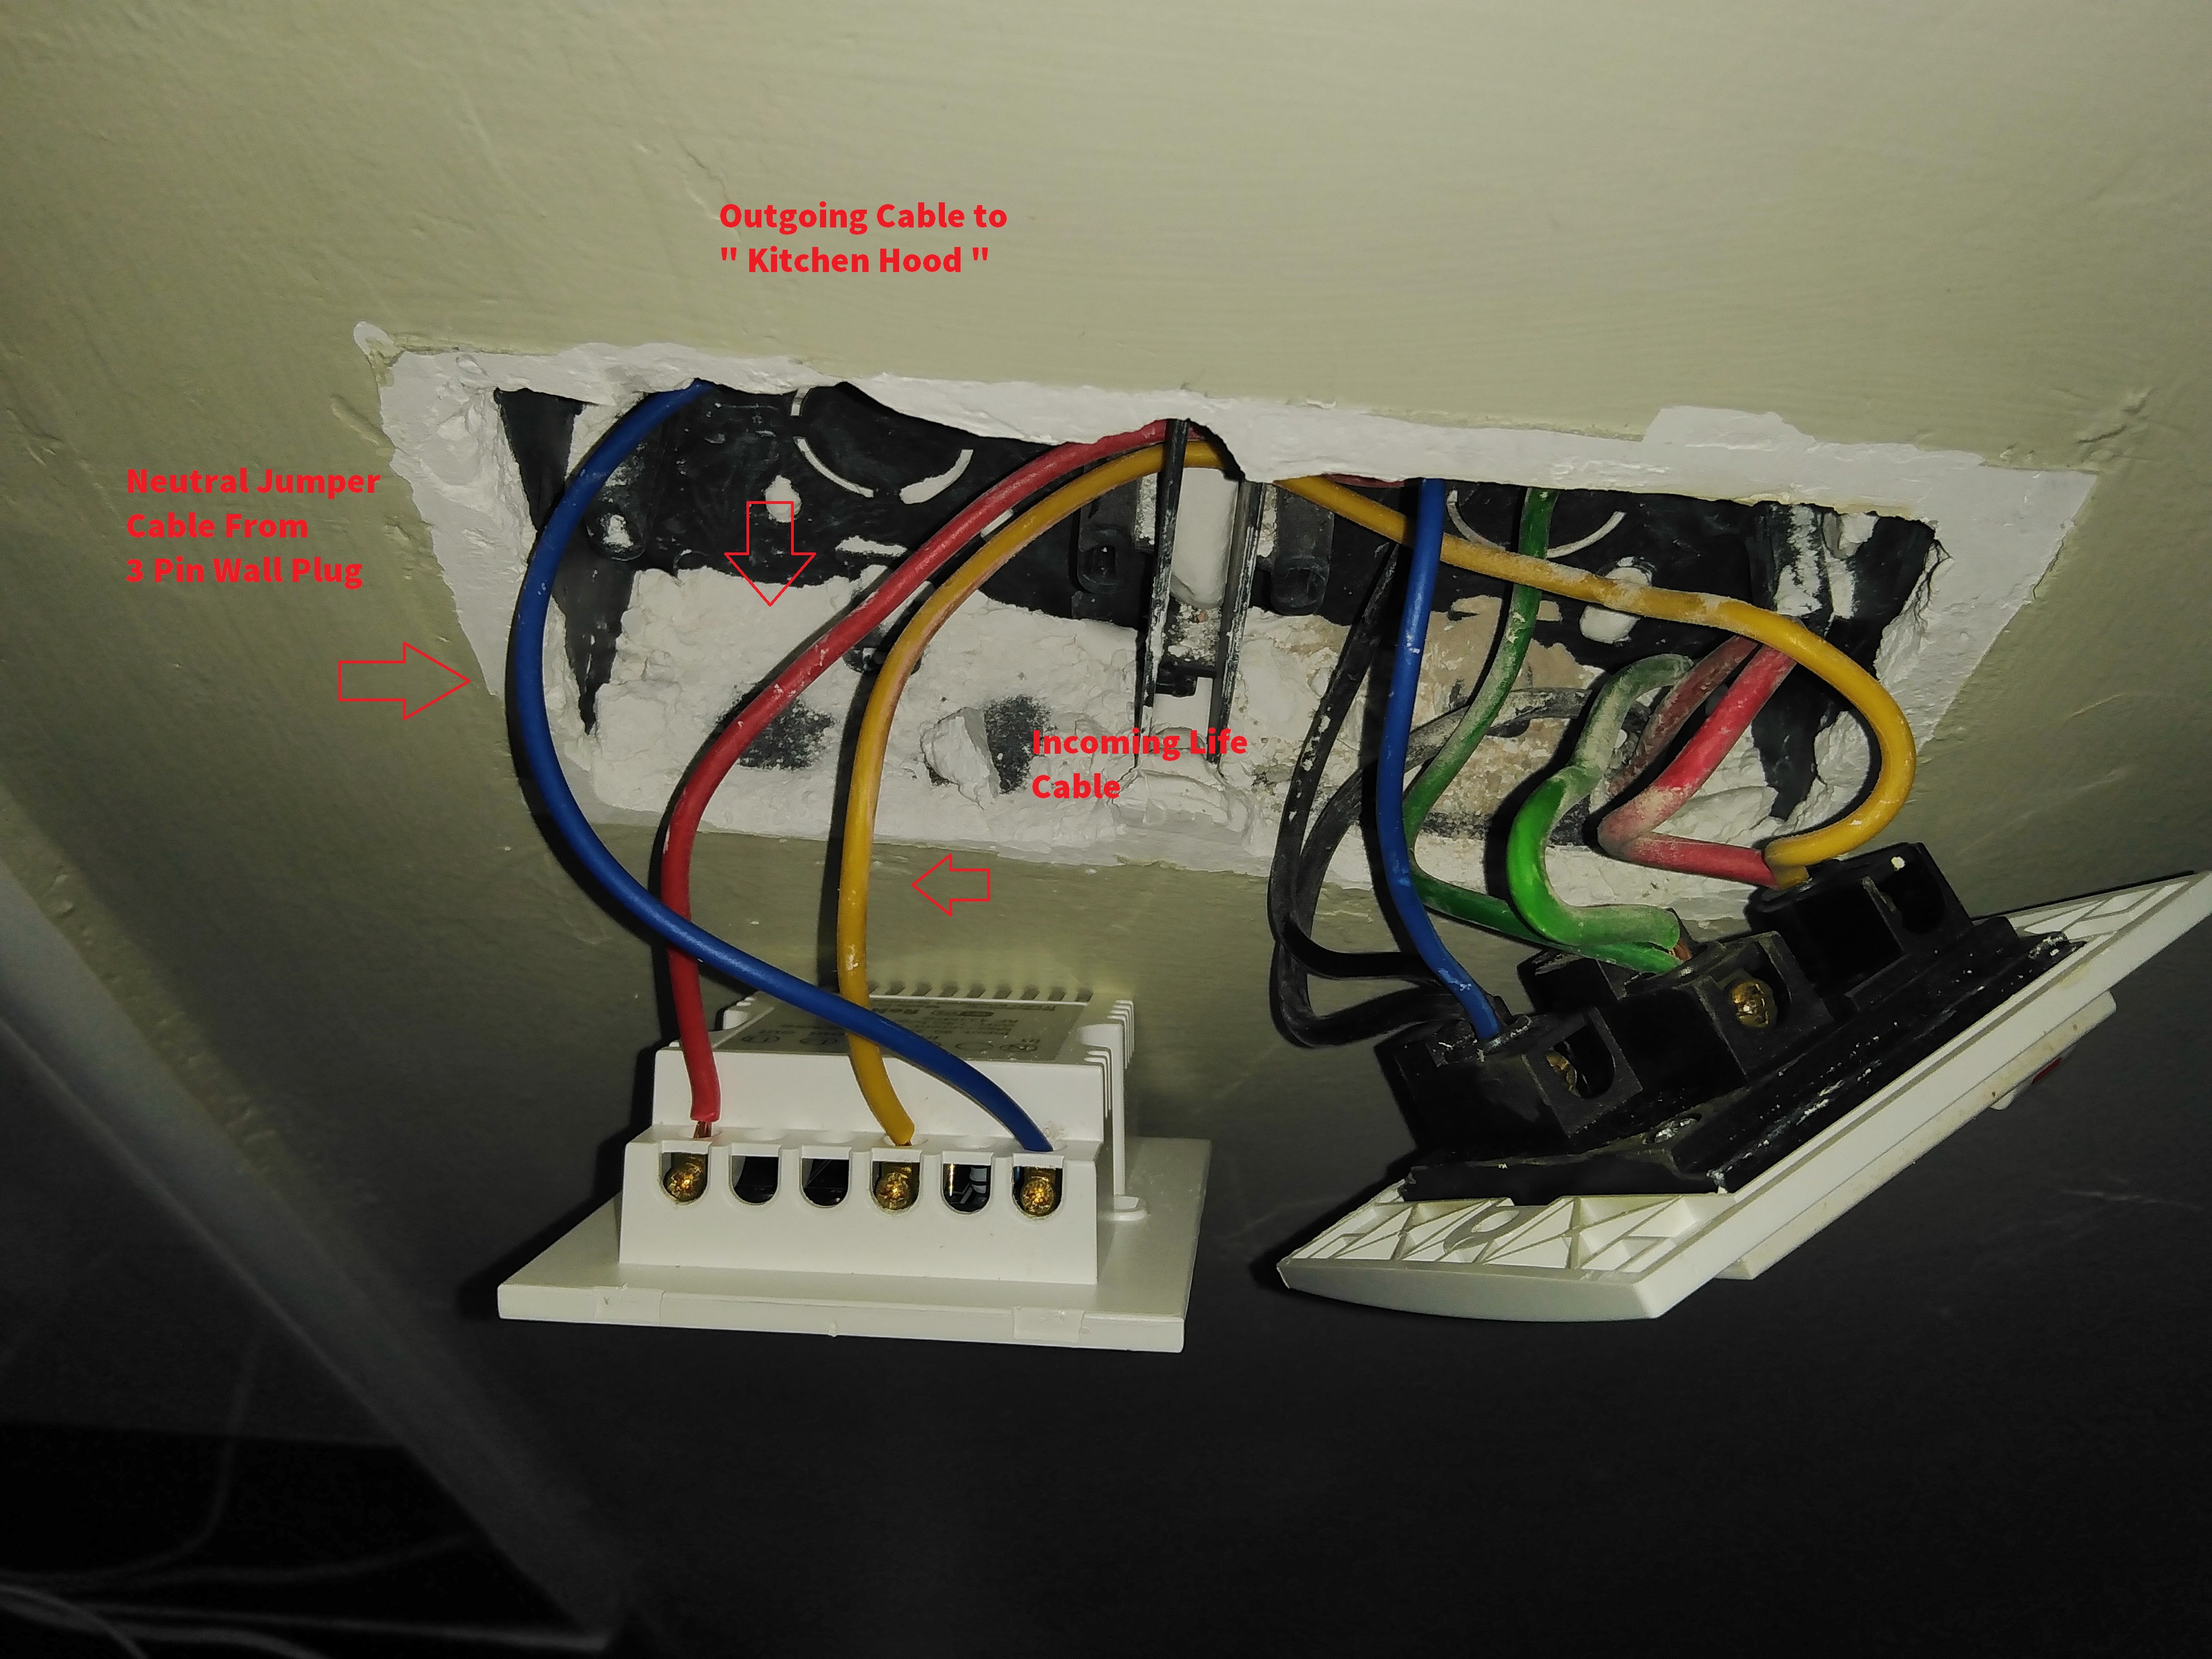
Note : As you can Observe the picture below , the previous Electrical Installer use a yellow Cable for a Life Cable,
which is very wrong . Thus every time when you do any electrical installation , always check properly . Do not assume, it might cost your Life
(1) Identifying Neutral Cable
I will parallel a Neutral point from the 3 Pin UK Type Wall Socket connecting to my SONOFF Smart Switch
Before doing that i need to identify where is the Neutral Cable.
Since this is a 3 PIN Socket , you can easily identify which is the Neutral Cable, by referring the marking at the plastic contact.
But to be safe , i would always check it with a Test Pen

Step 4
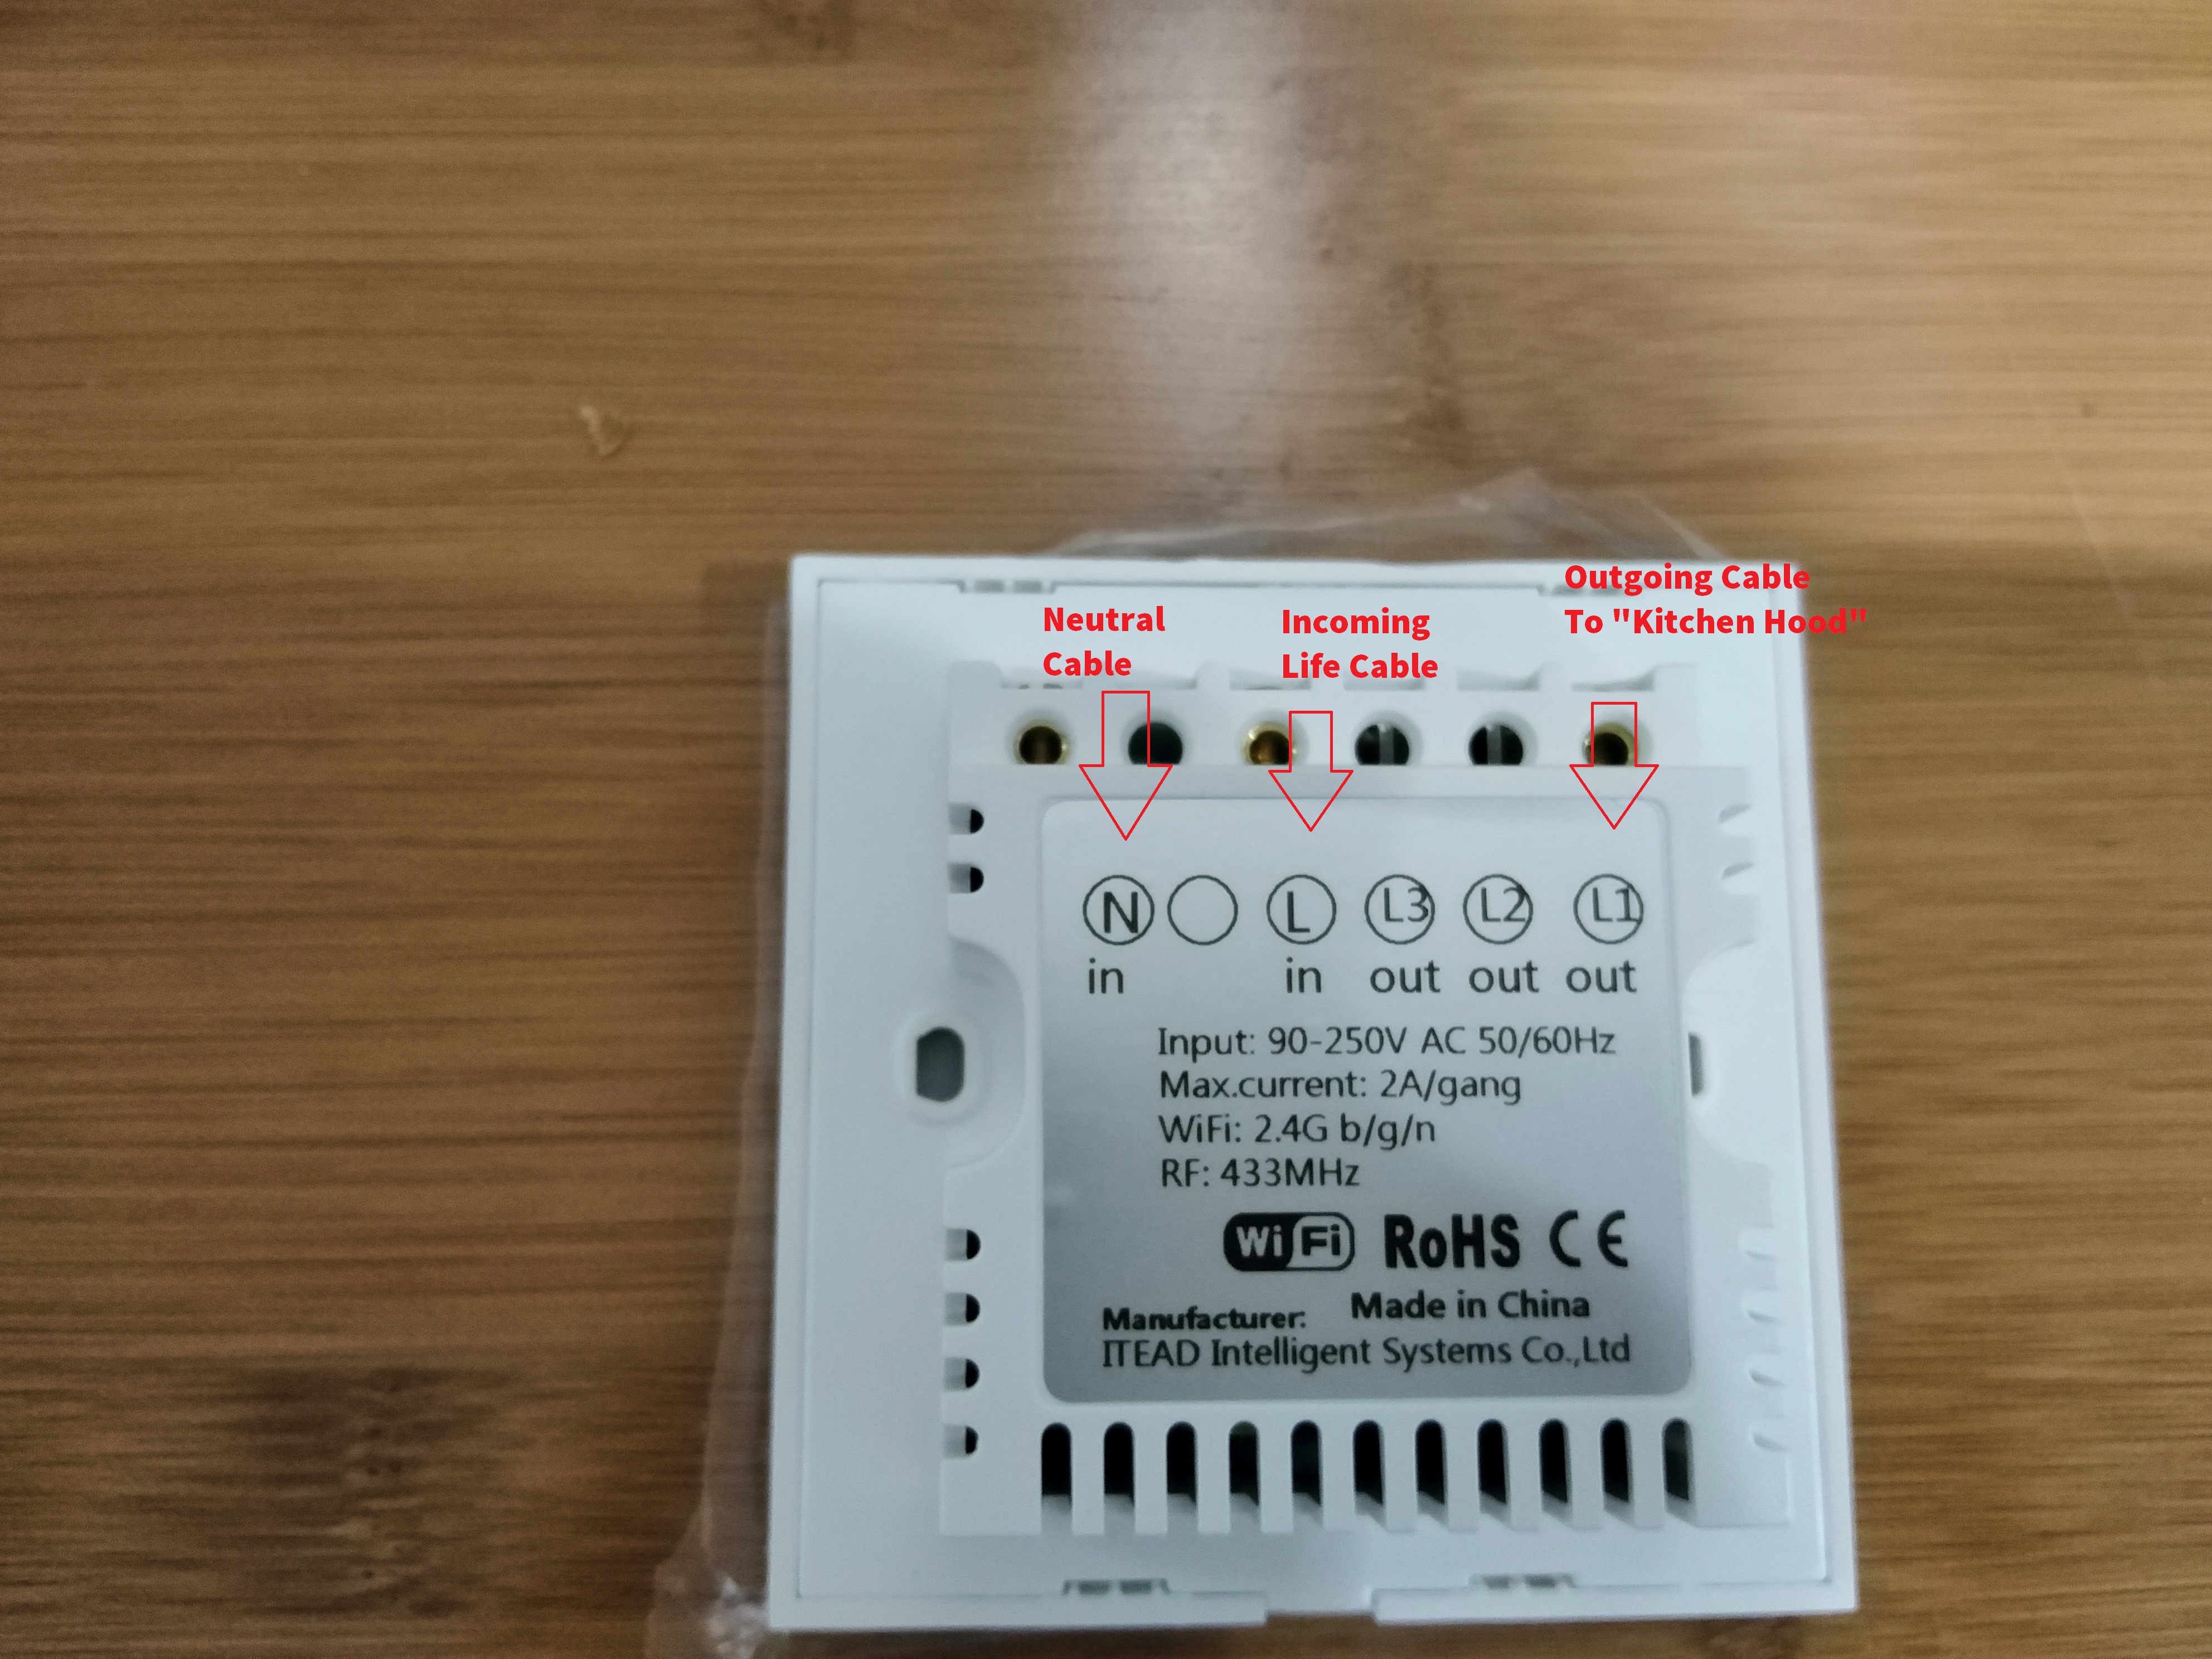
Check the Sonoff Smart Switch Cable Connection Manual
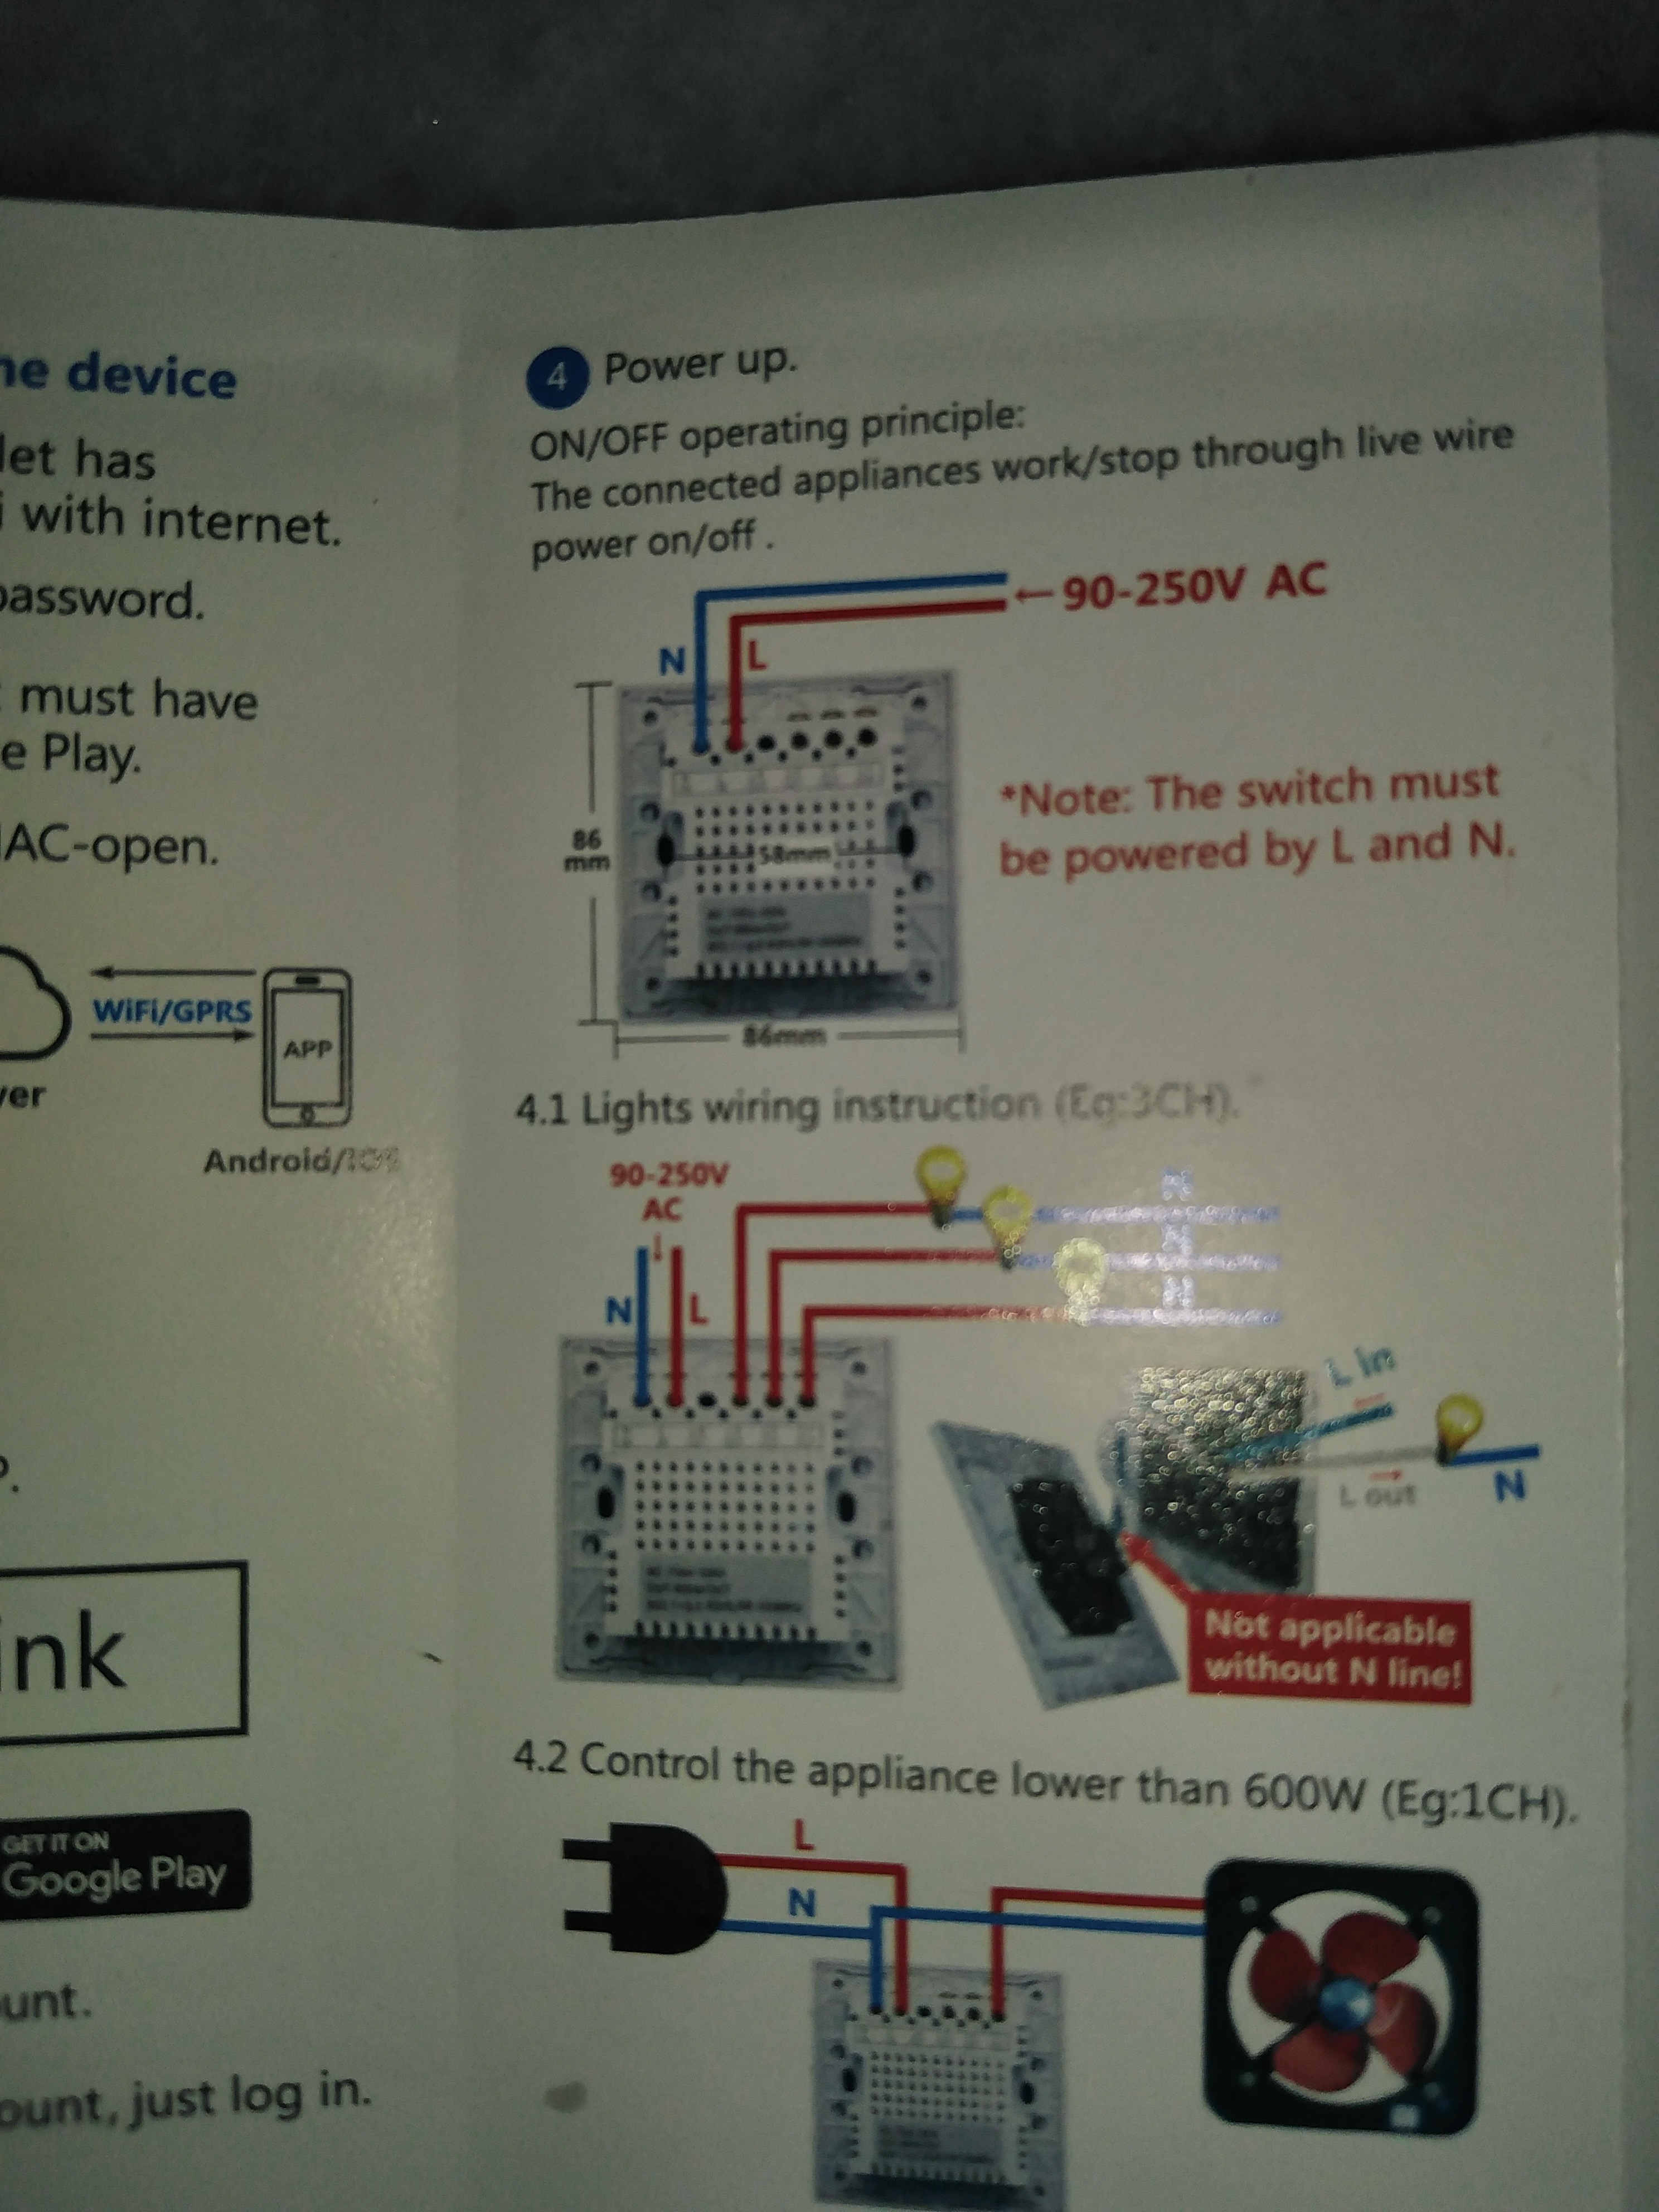
Identify Where to physically connect the Cable to the Sonoff Smart Switch
Step 5
This is the Most Important Step safety first.
(1) Turn Off ( Power Source ) ” MCB ” Connected to the Kitchen Hood and 3 Pin Wall Plug . Be sure to notify your house occupant not to turn that on while you are working.
(2) Dismantle cable from the existing switch.
(3) Loop a Neutral Jumper Cable from the 3 Pin Wall plug and connect it to the Sonoff Smart Switch
(4) Connect the Incoming Life Cable to the Sonoff Smart Switch
(5) Connect the Out going Cable ( To Kitchen Hood) to the Sonoff Smart Switch
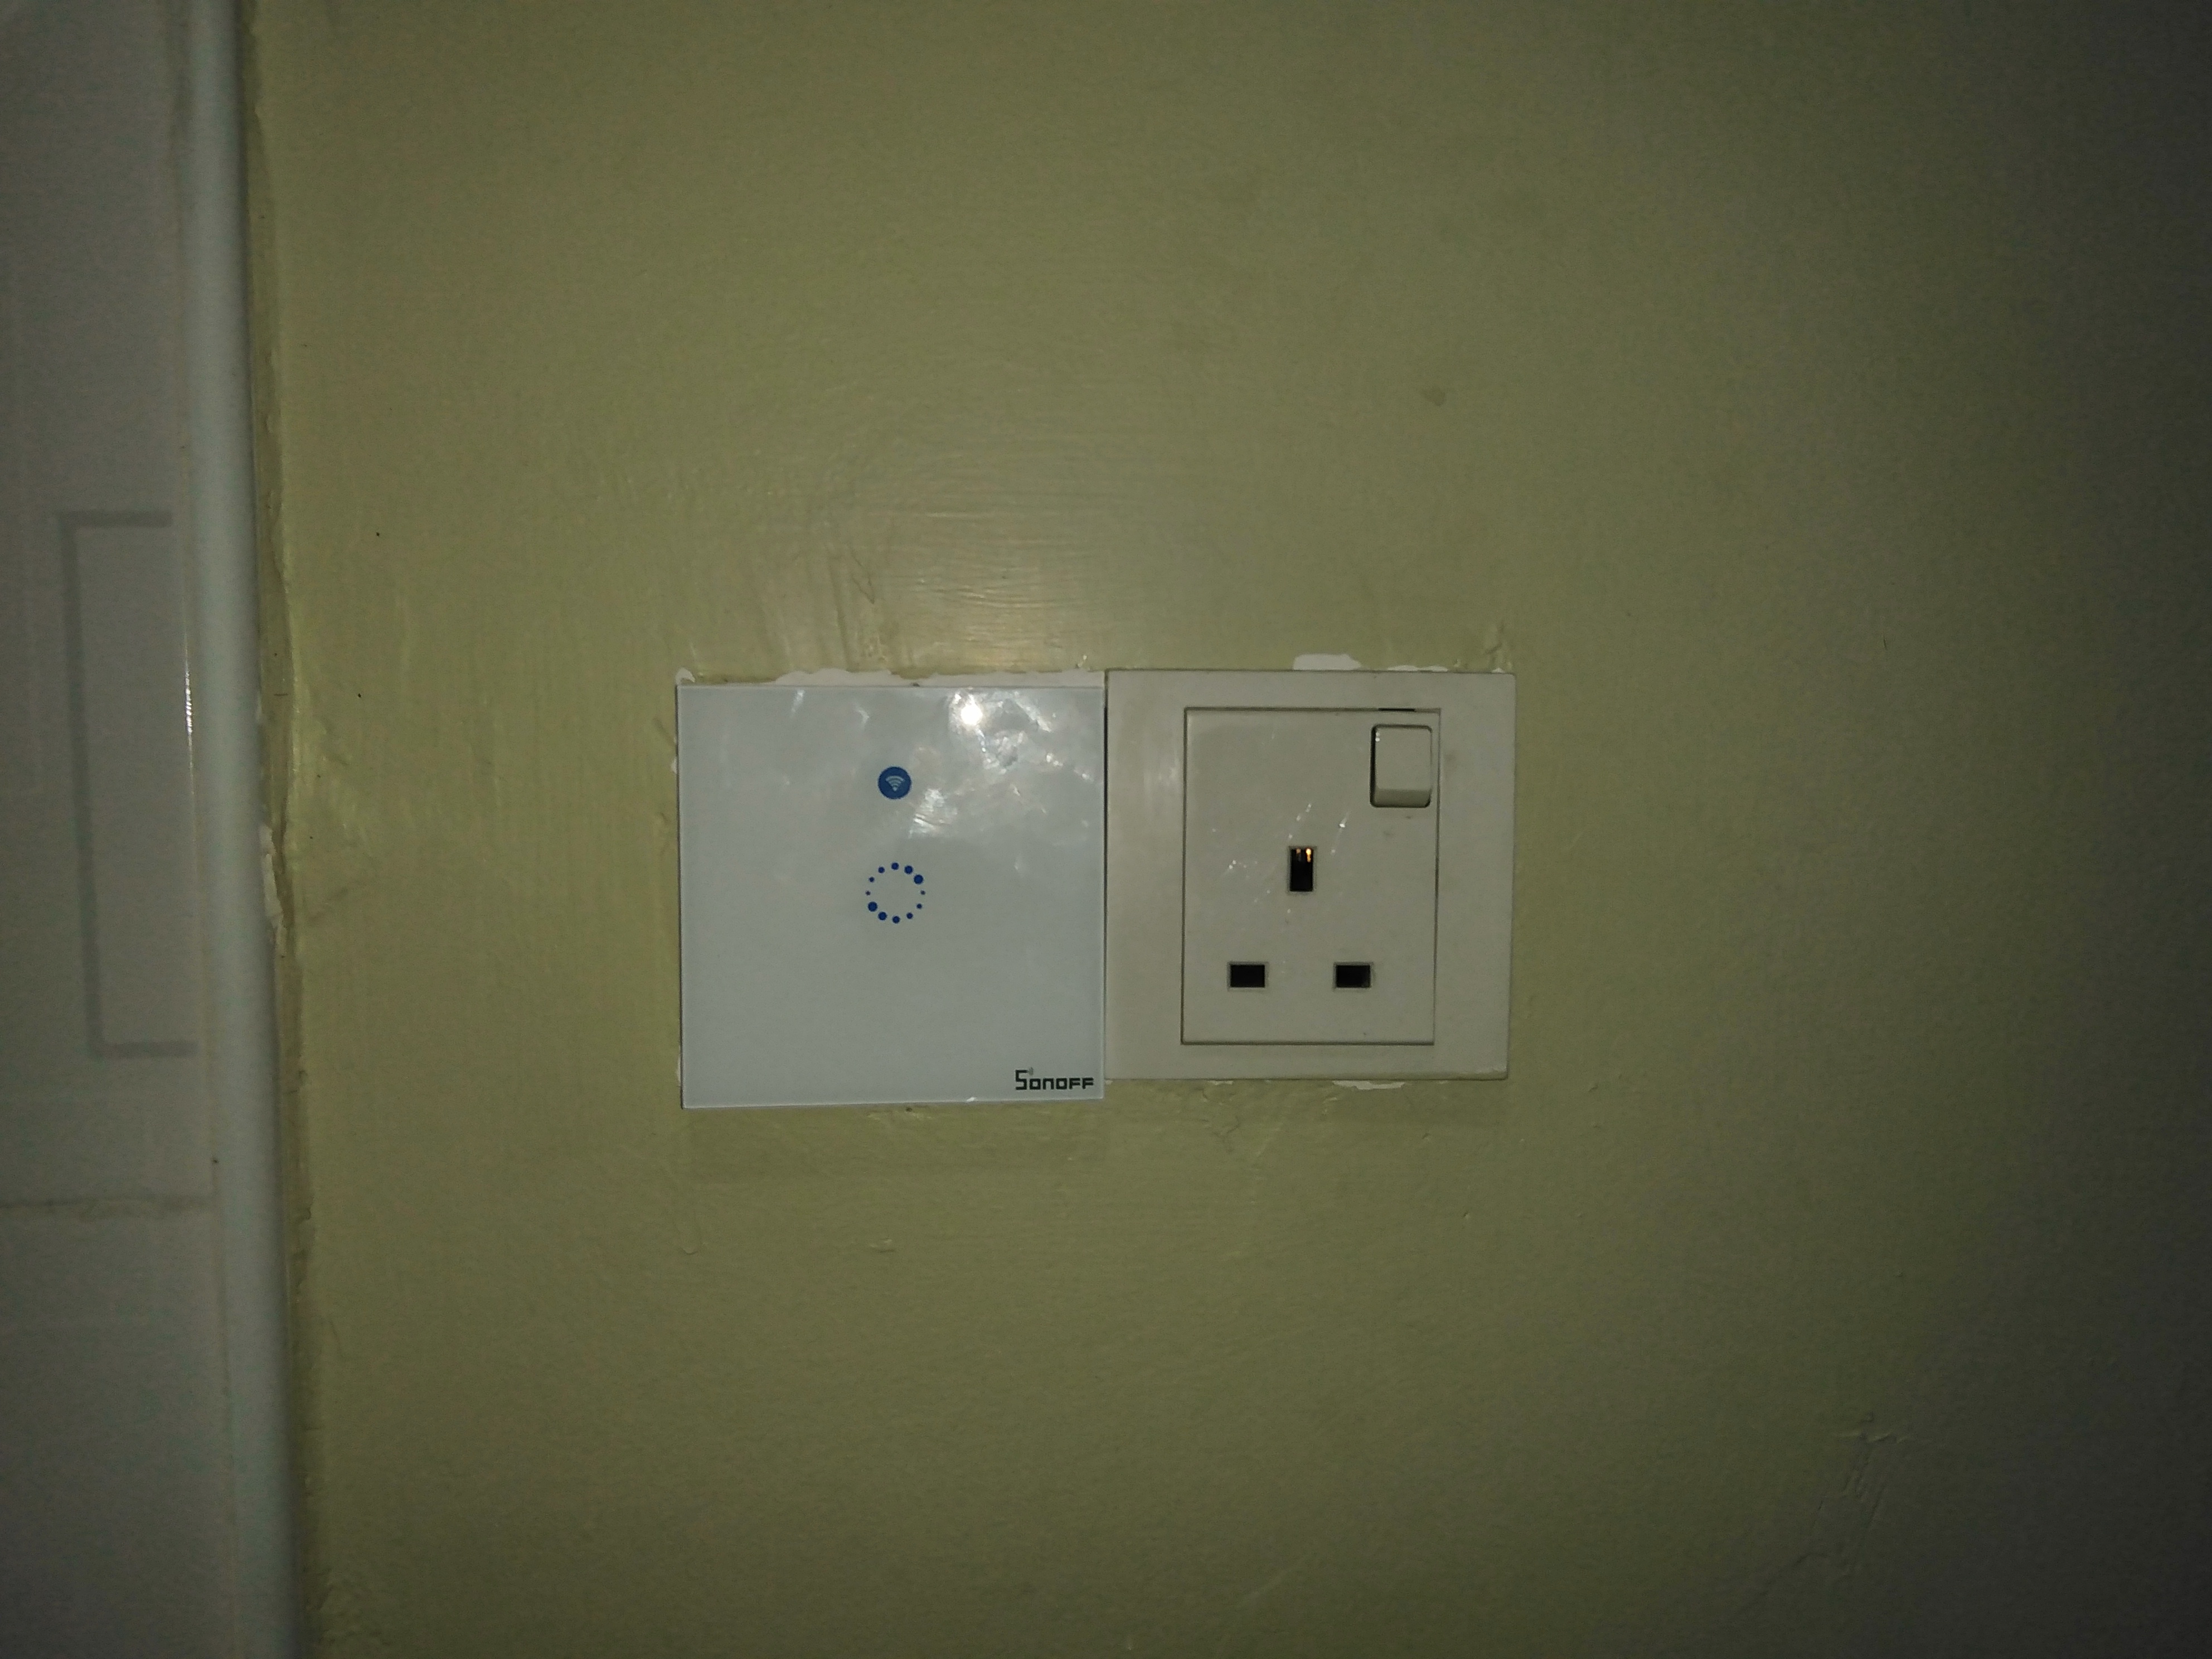
Step 6
Assemble the Switch and the 3 Pin Wall Plug
Step 7
Programme the Switch
- Download eWelink APP at Google Play Store or IOS Apple Store
- Register an eWelink Account
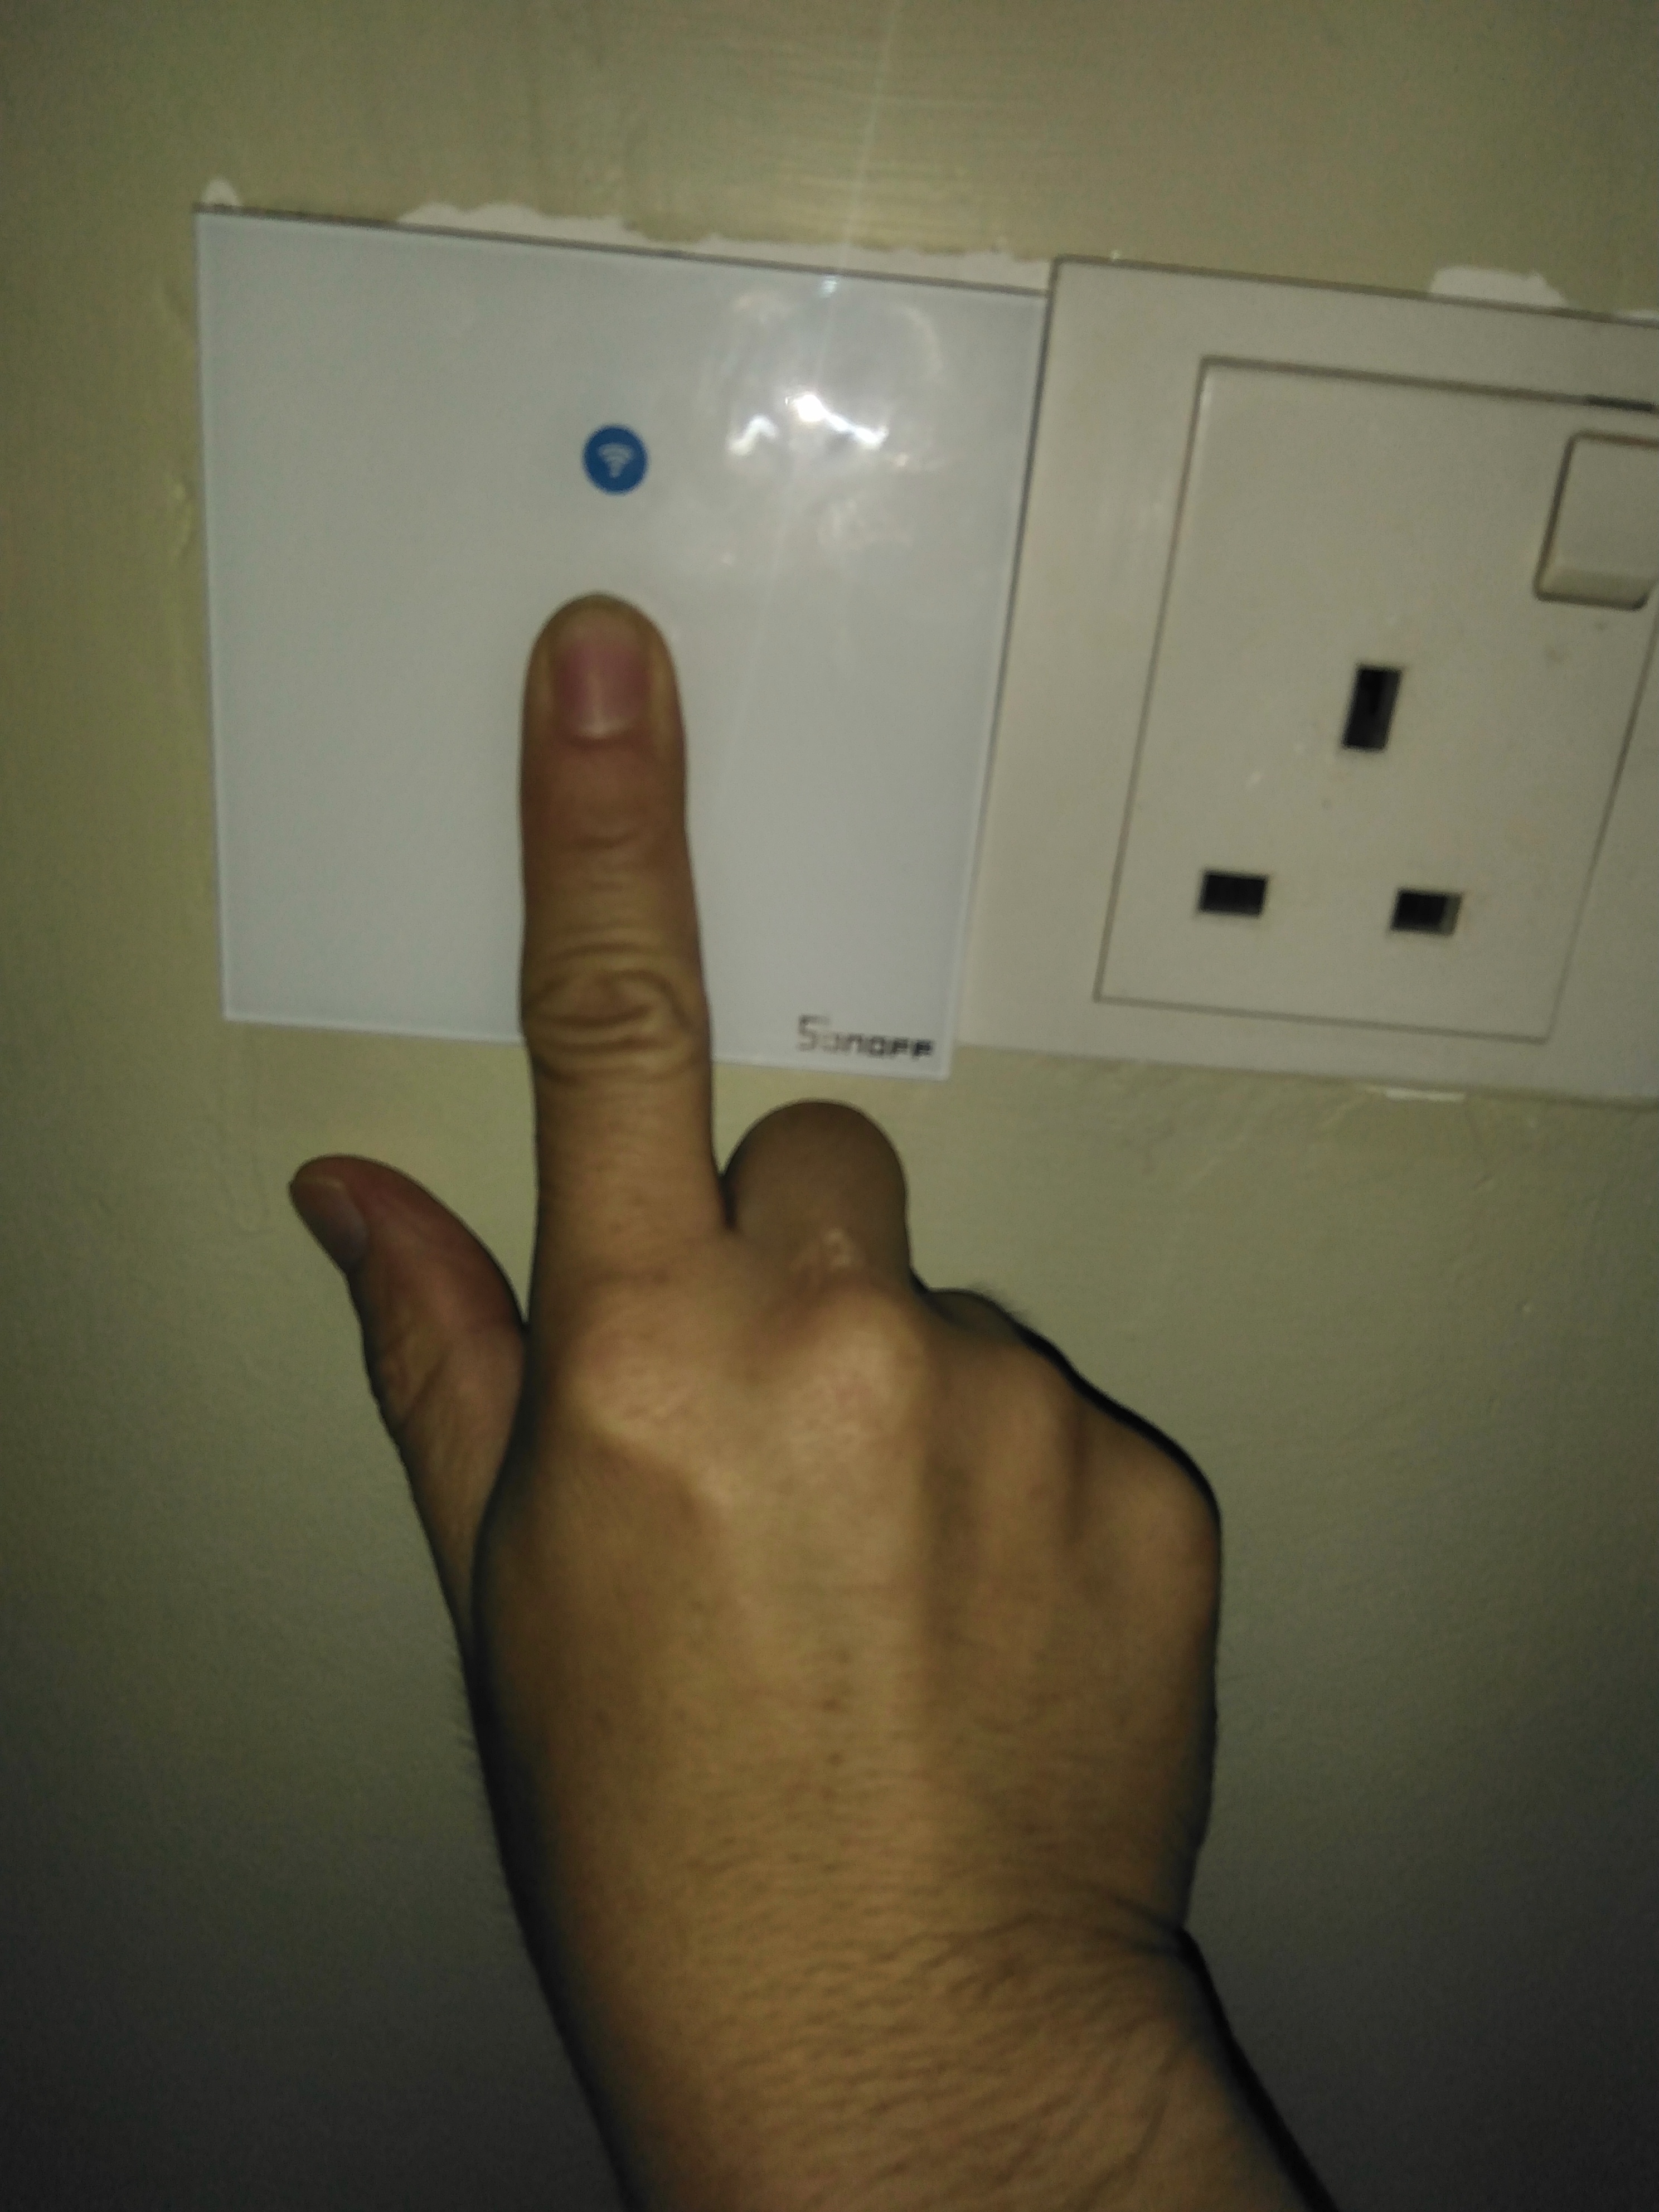
- Place your Finger on the Switch for 7 Second.
- Observe the WIFI Indicator on the Smart Switch . If it Blinks 3 Time and then turn Solid and the cycle repeat , you are ready to Pair the Switch to your WIFI
5. Open your eWeLink App and Click Quick Pairing
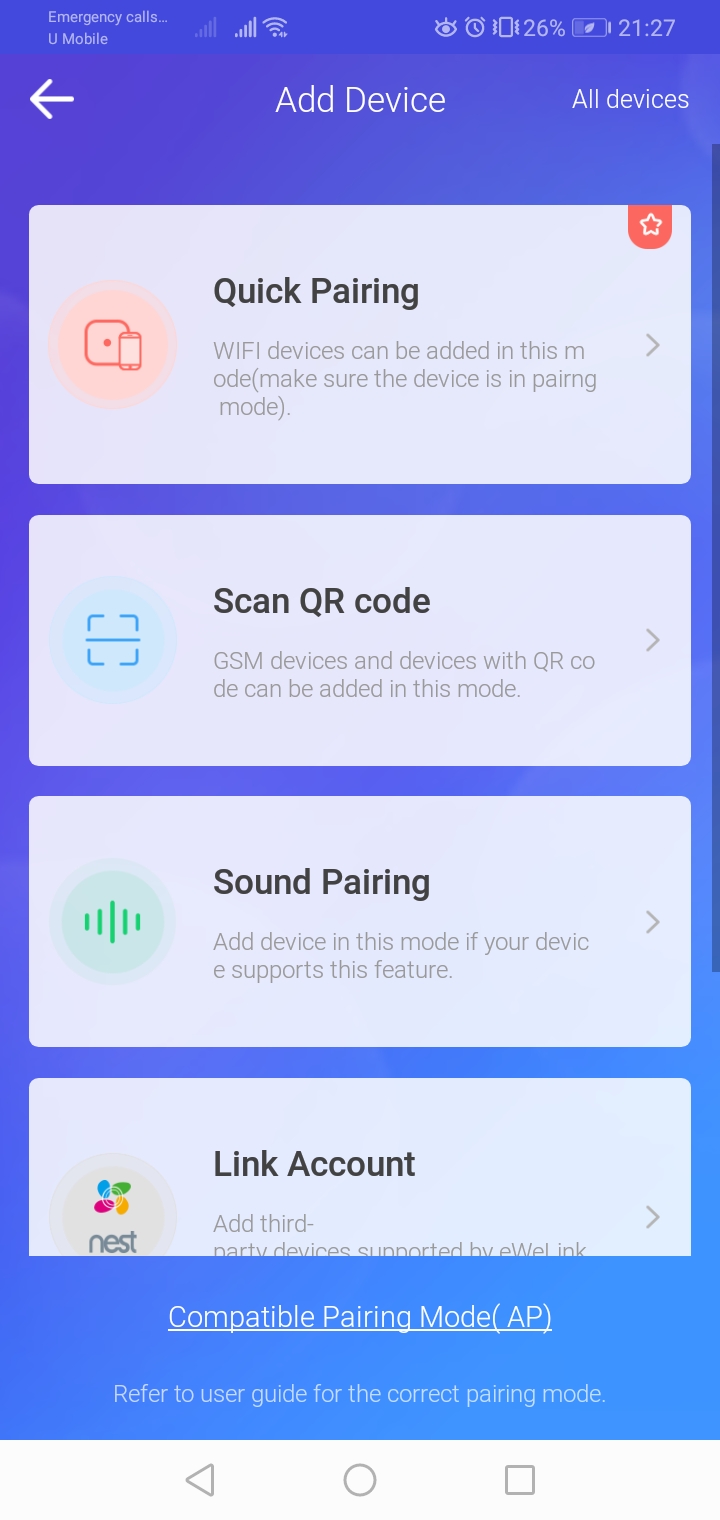
6. Click Next and Enter your WIFI Credentials
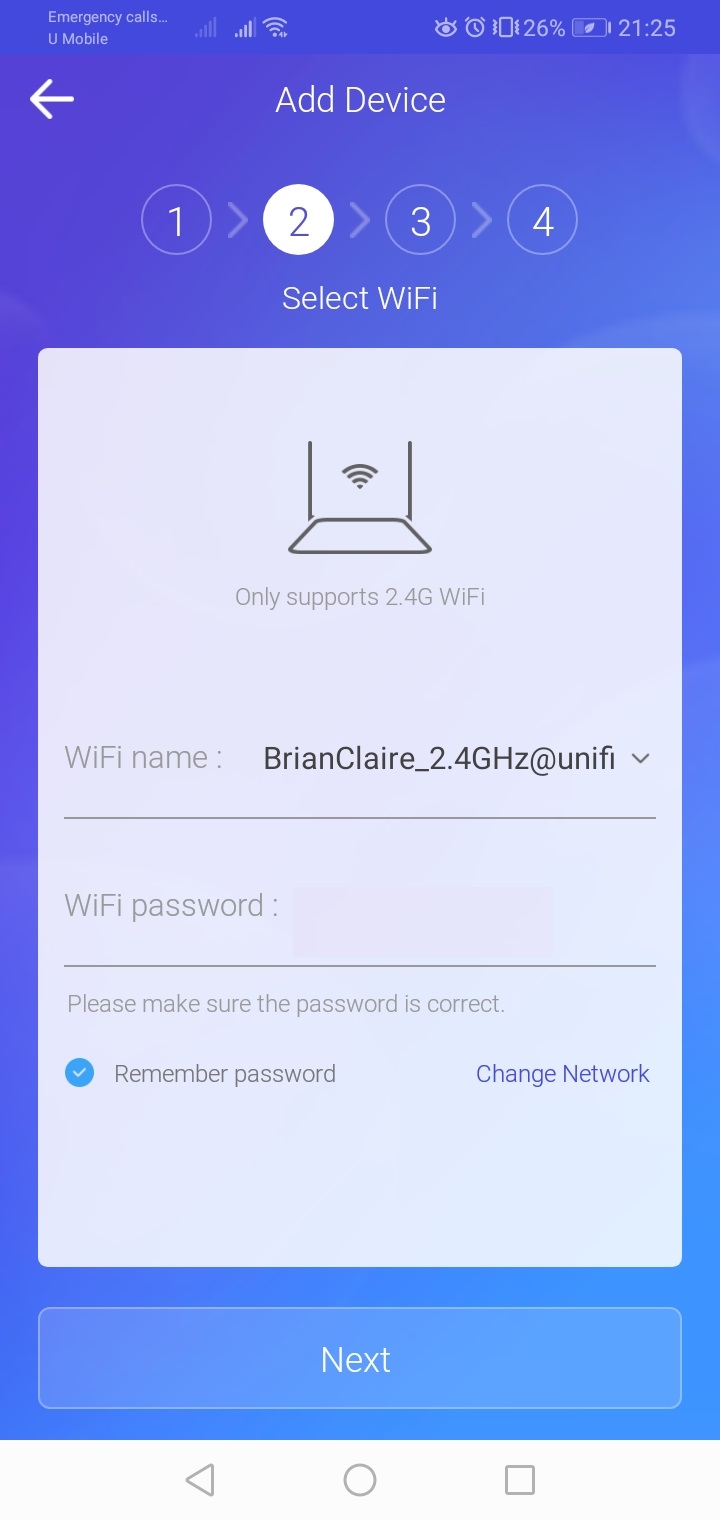
6. Click Next and it will start pairing and looking for the Smart Switch
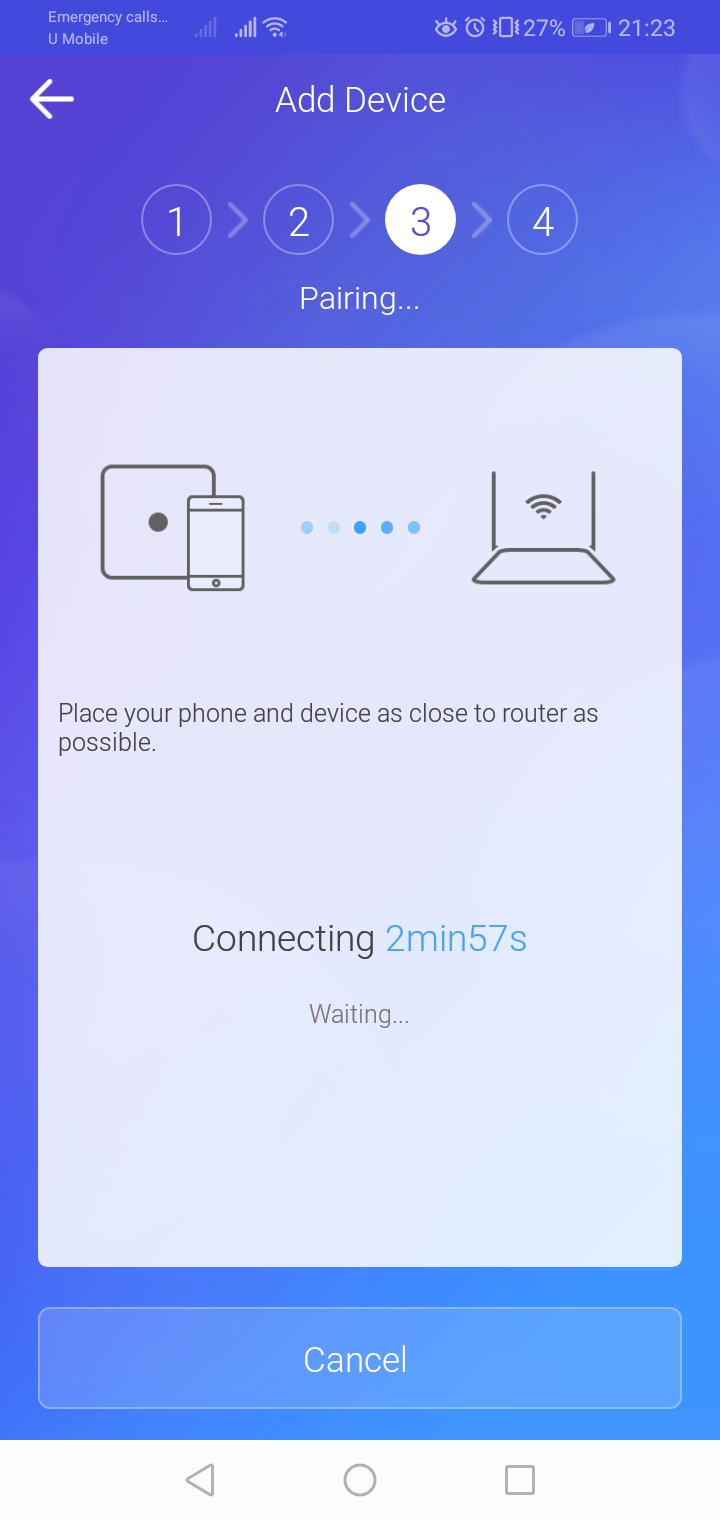
7. When Pairing Successful , you will see the below screen.
-> Name your Device
-> Click Complete
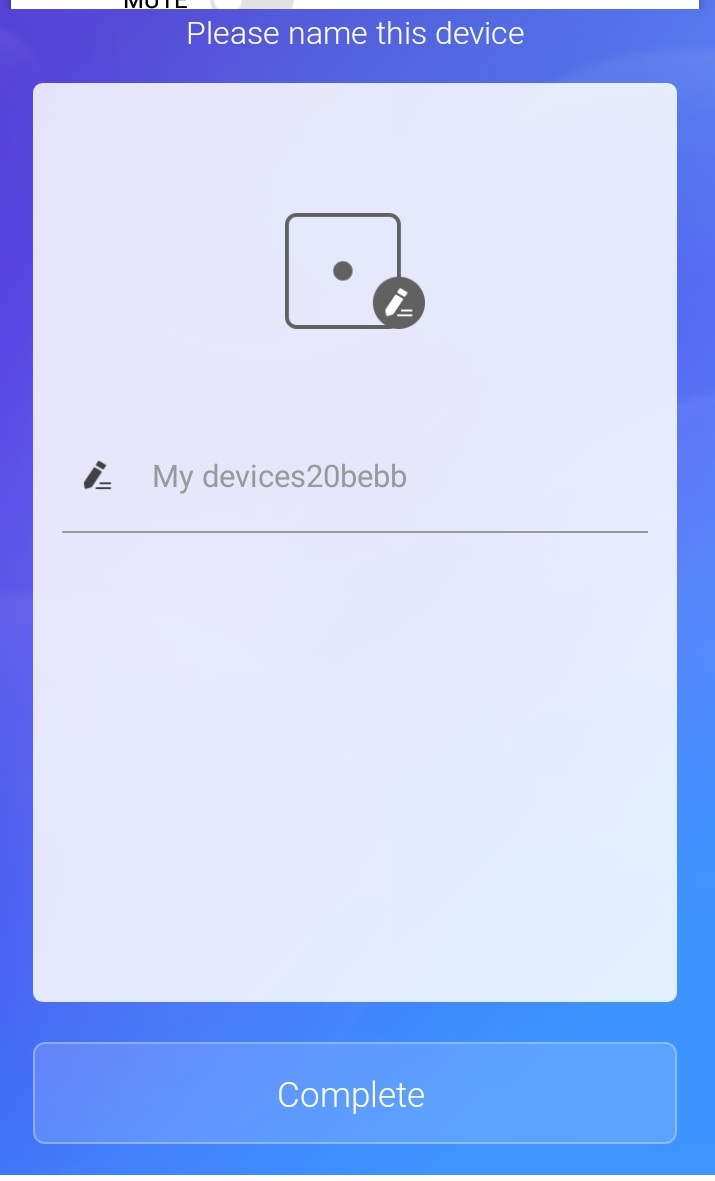
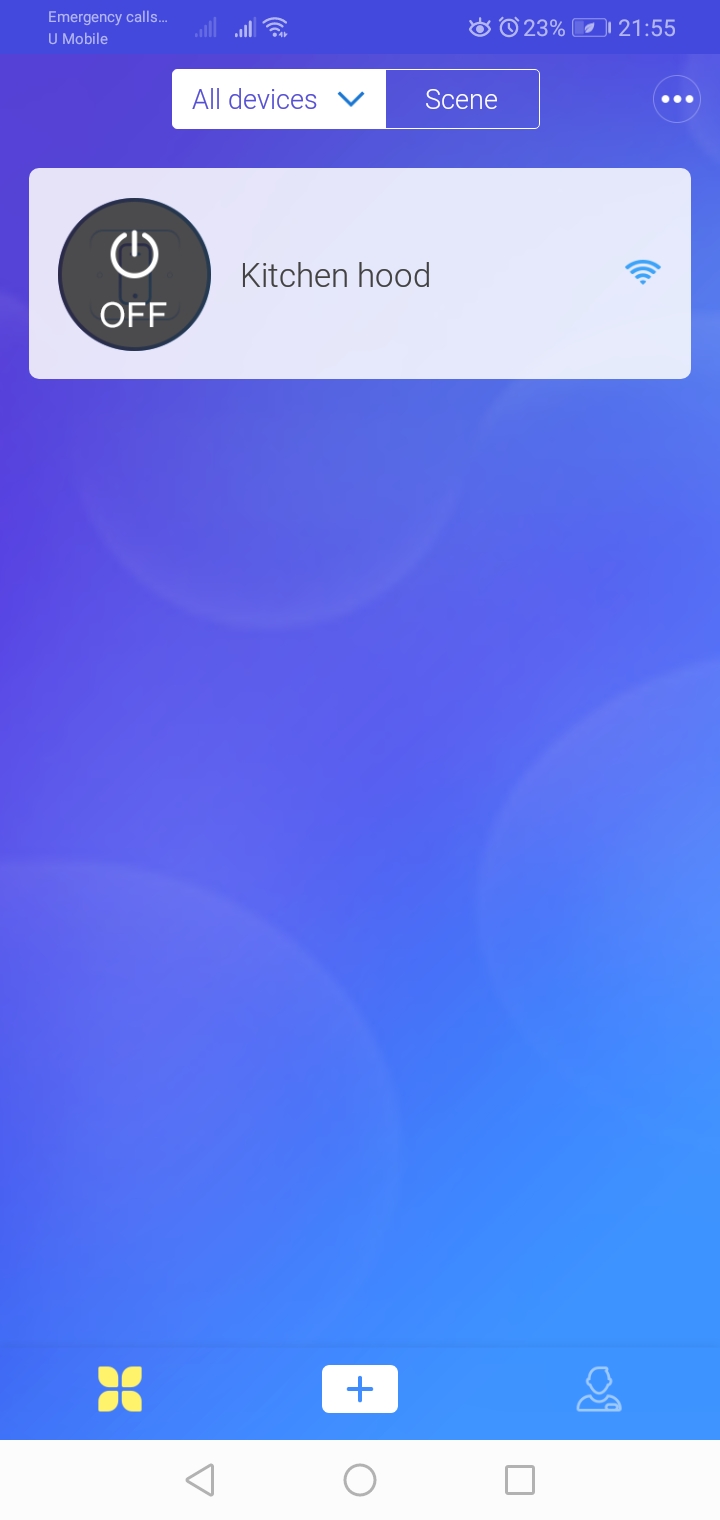
8. Now Your eWelink is linked to your Smart Switch .
You will be able to use the App to Control ” On / Off” of the connected device.
Step 8
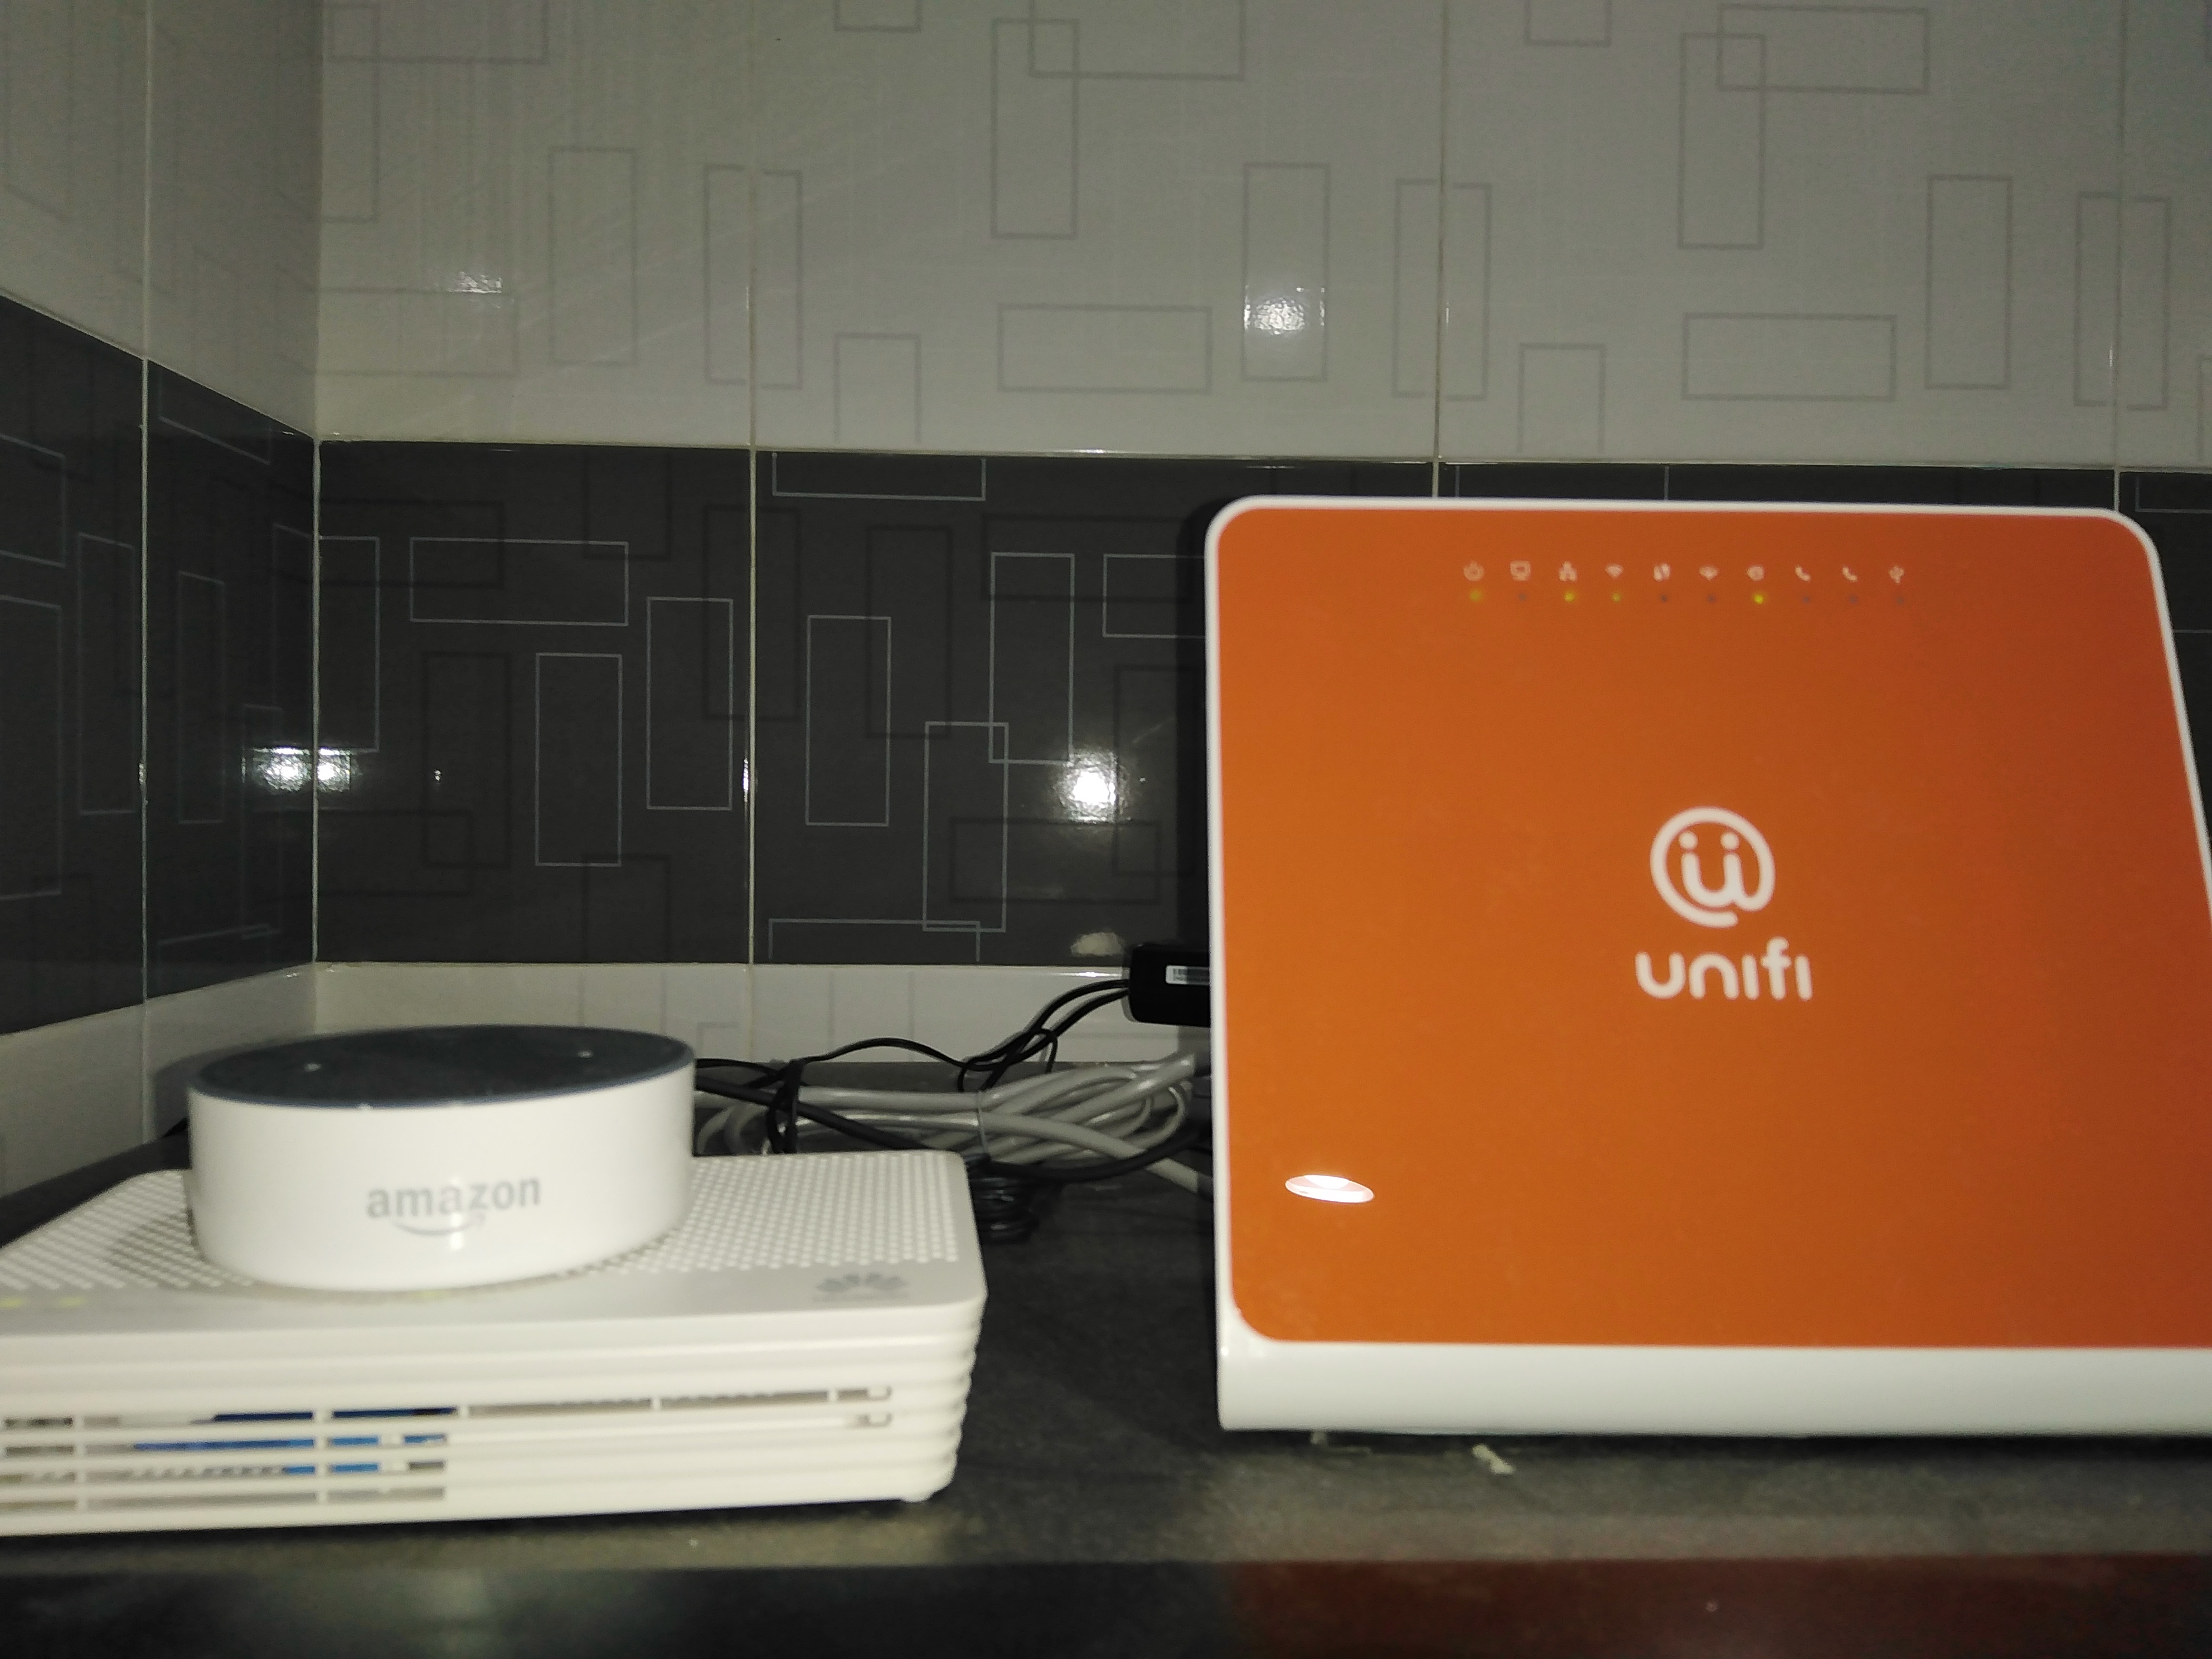
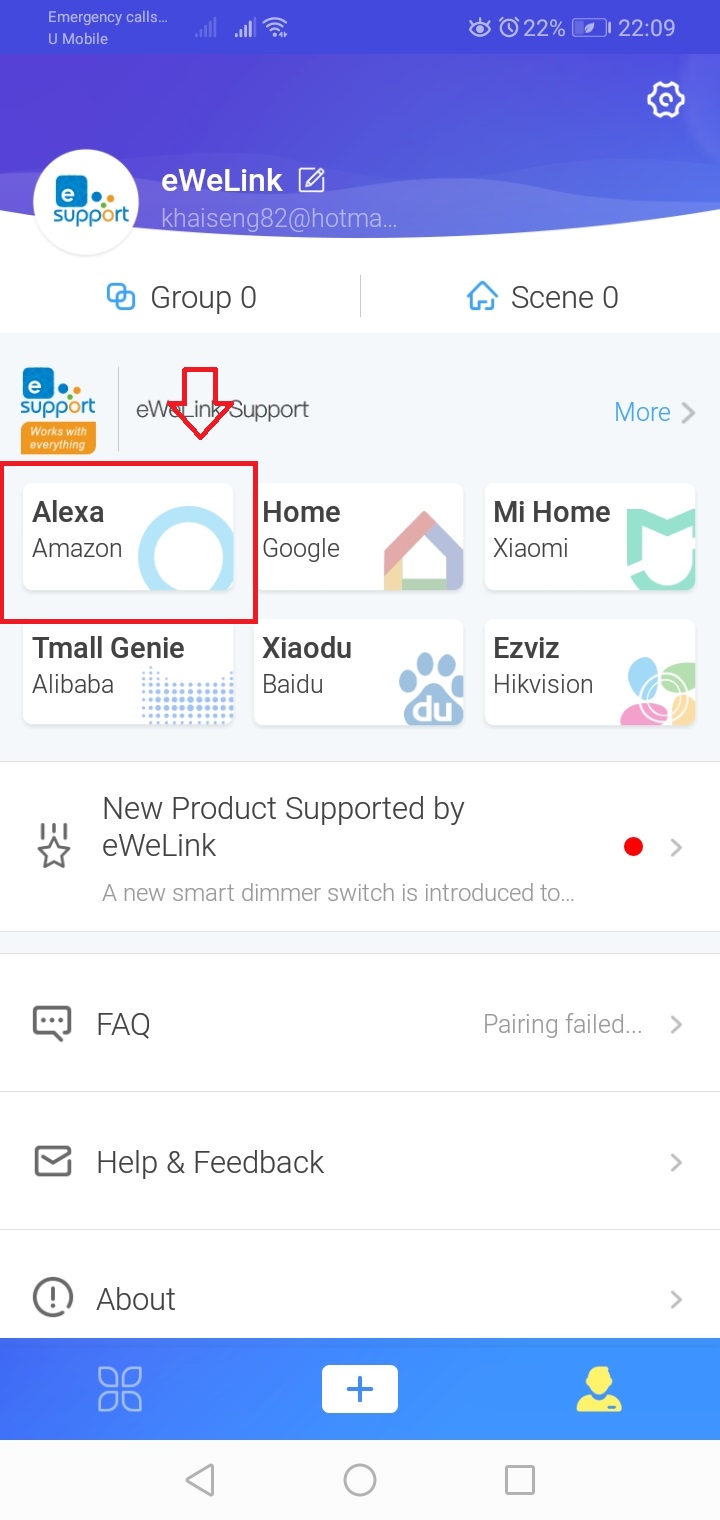
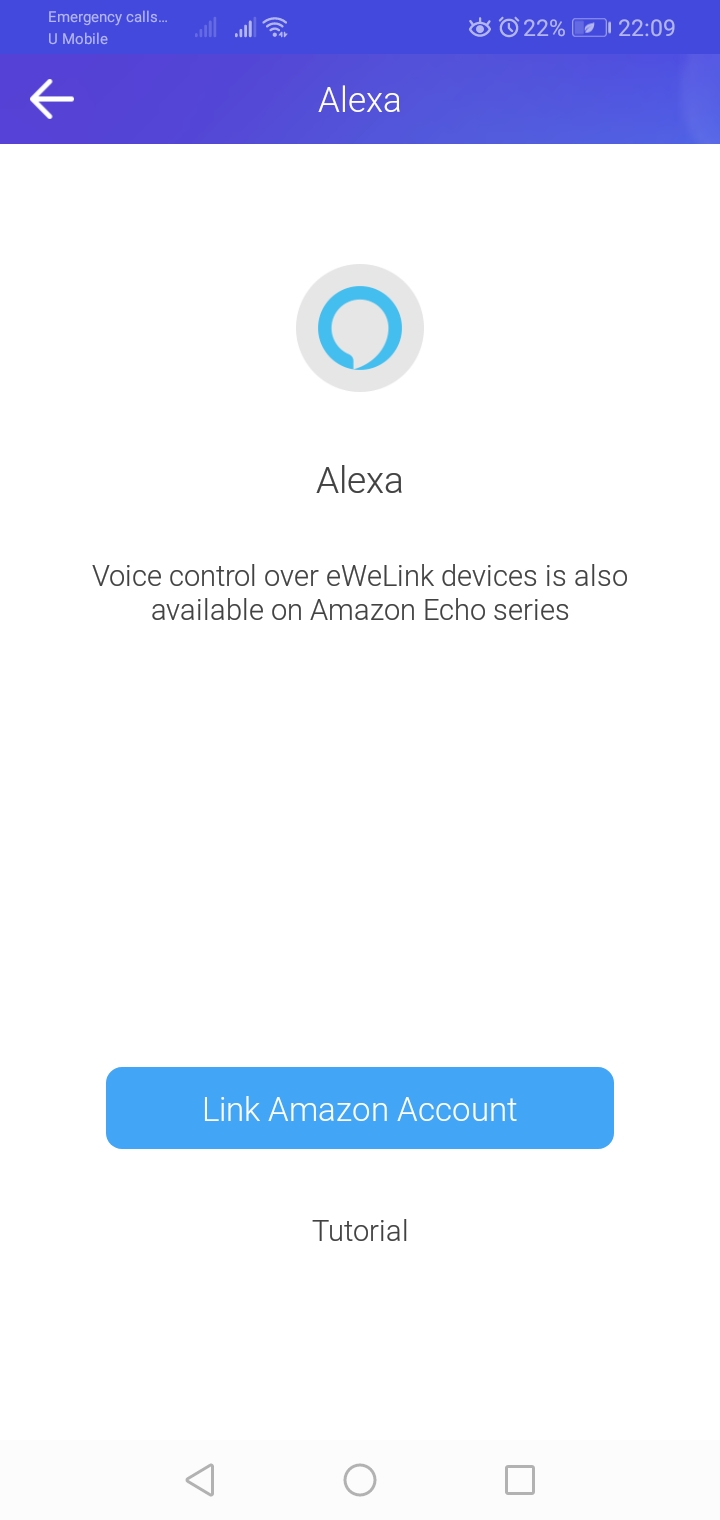
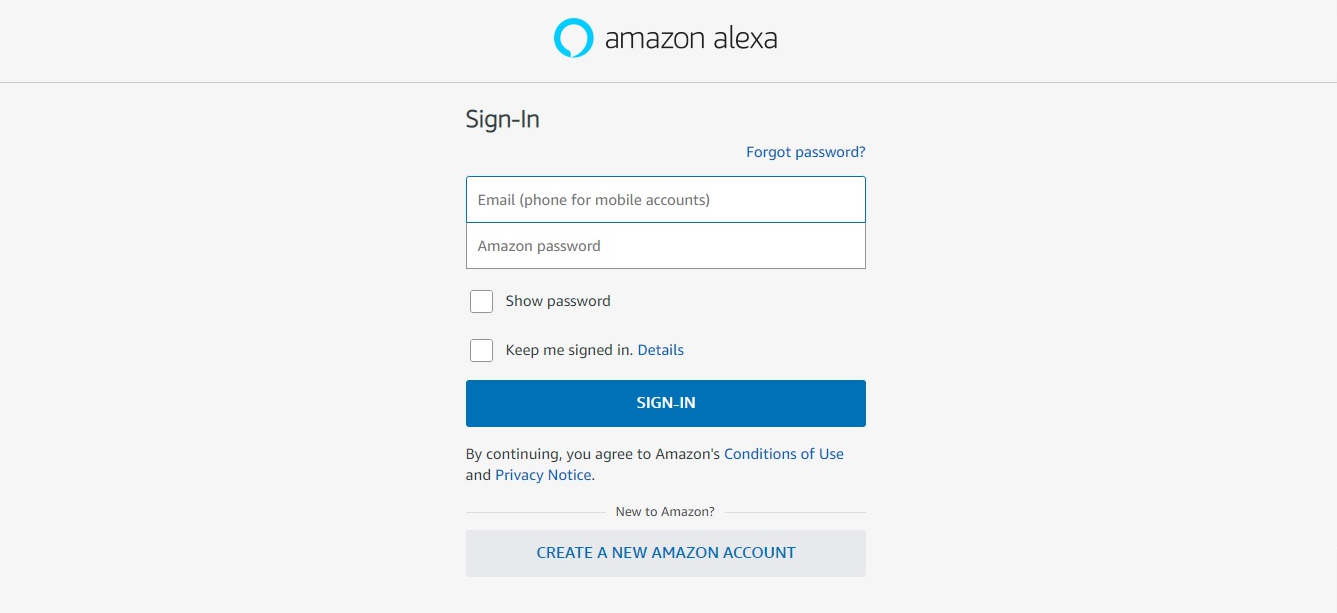
Link eWelink App to your Alexa Amazon Account
(1) Go to Setting
(2)Click and Select Alexa Amazon
Step 9
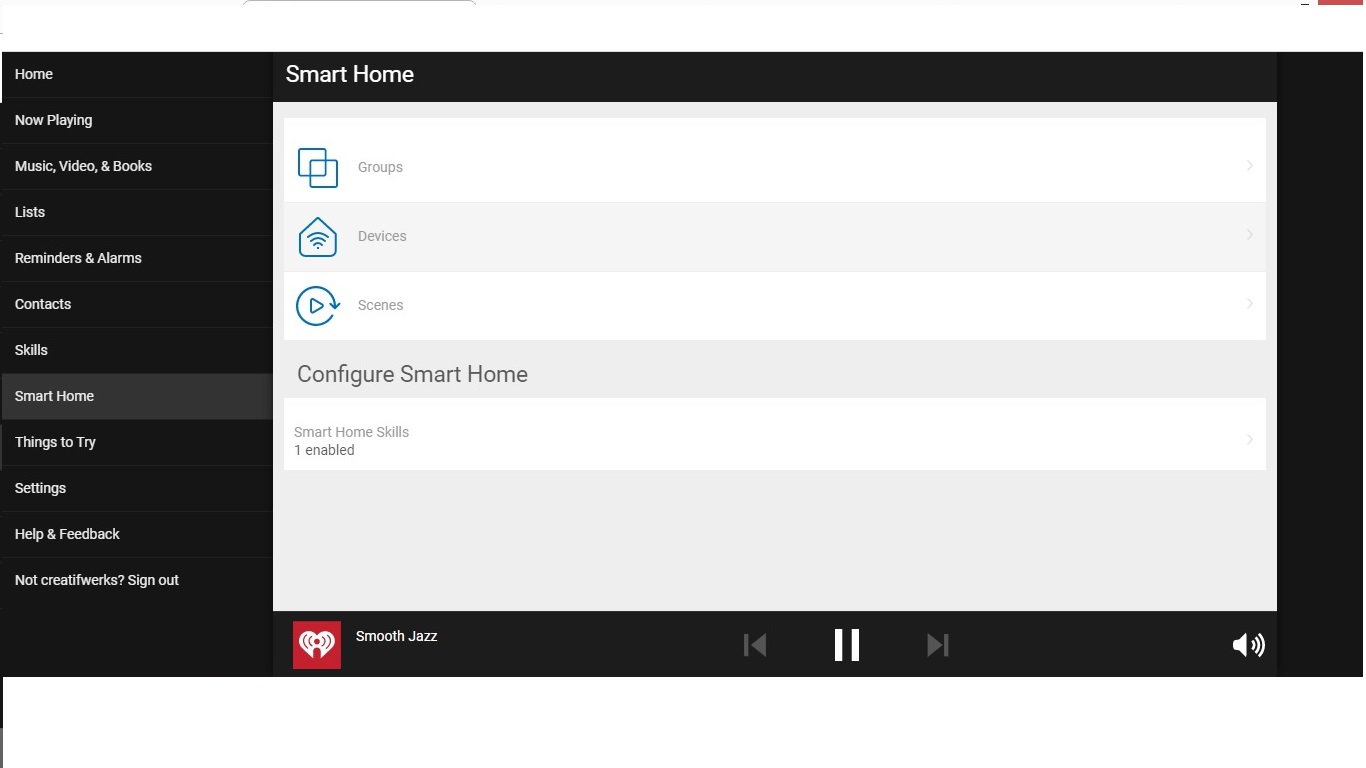
Check eWelink Skill at Alexa Amazon Account

check out how to install wall Mounted fordable table here